NFT Slideshow
Overview
In this tutorial you will learn how to get NFT (Non-fungible token) data using the Blockchain API. The NFT data will be used to display the results on an UI Image object. The lesson will also cover how to get an owner's collection of NFTs and display the images as a slideshow.
- Completion Time: 30 minutes.
- Knowledge Level: None needed.
- Skills you will learn:
- Learn how to get token's data using Blockchain API.
- Display the NFT as an image in Core.
- Read a collection of tokens using the Blockchain API.
- Make a slideshow using an array of images.
NFT Data
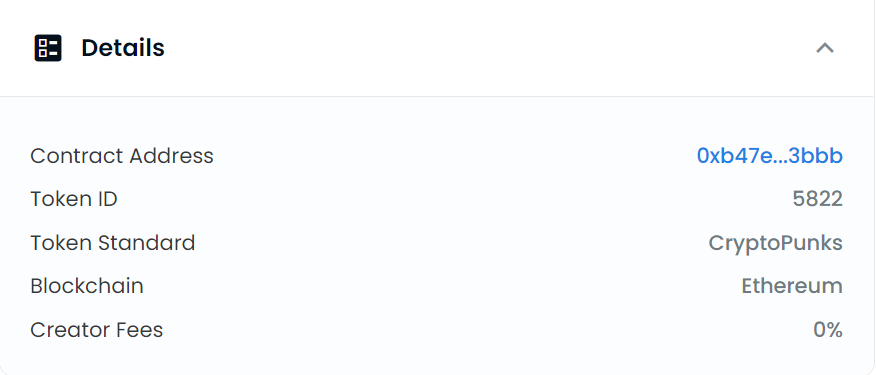
NFTs are grouped together in collections. A collection of NFTs will have a Contract Address and each NFT from the collection will have a Token ID. These two information are needed to specify a certain NFT.
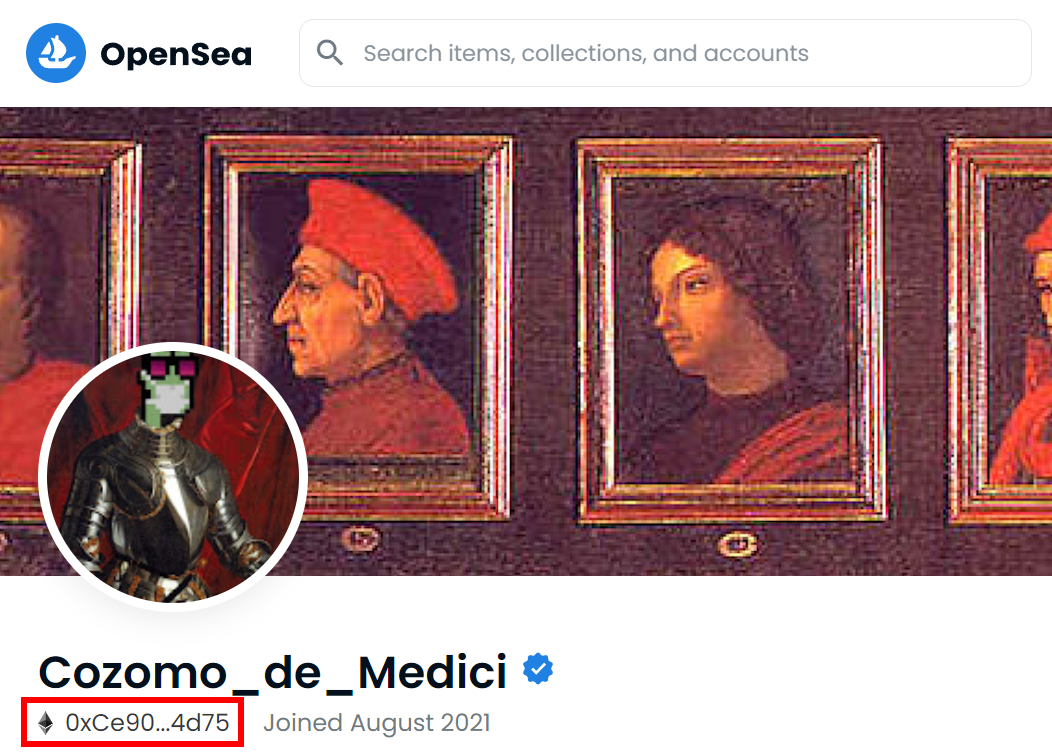
Explore OpenSea
The OpenSea website is a marketplace and library of NFTs. It is an easy way to find information for certain items, collections, and owners.
For example, below is a link to the CryptoPunk 5822 NFT. Notice how the URL contains the contract address and token id.
https://opensea.io/assets/ethereum/0xb47e3cd837ddf8e4c57f05d70ab865de6e193bbb/5822
World Space Image
The first part of this lesson will be creating a NFT art portrait. This requires a UI Image object to be inside a UI Container marked as World Space.
Create UI Components
In a new project, create the following UI components.
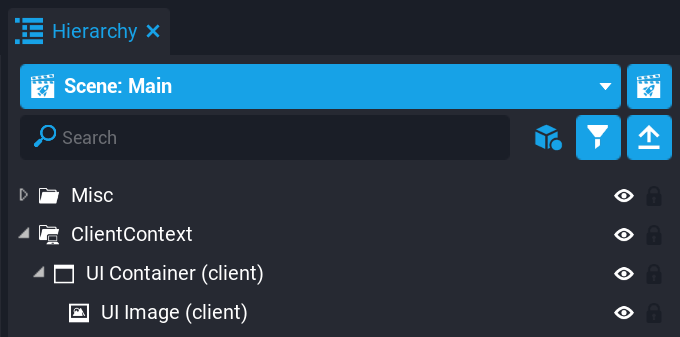
- Create a Client Context in the Hierarchy window.
- Create a UI Container inside the Client Context folder.
- Create a UI Image inside the UI Container.
Center the UI Image
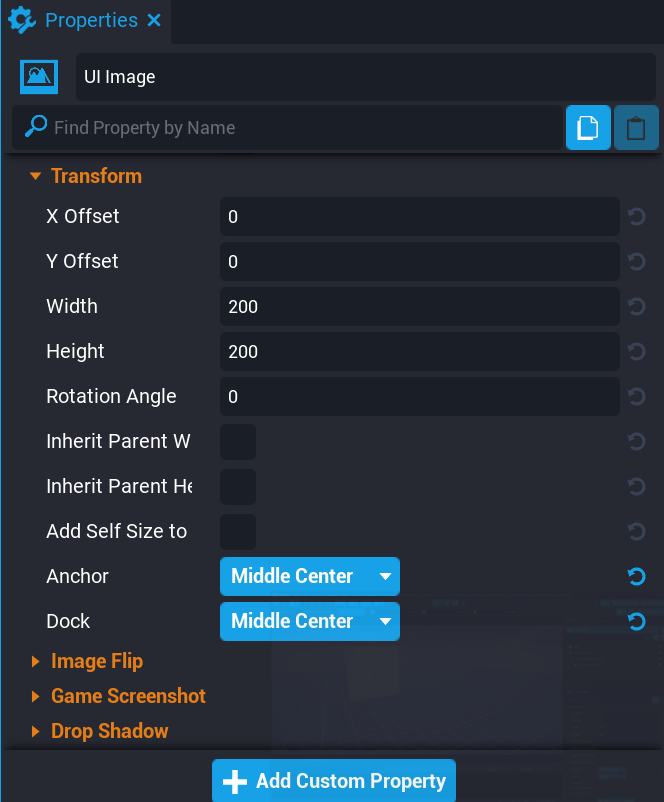
Select the UI Image object and open the Properties window. Set the Anchor and Dock property to Middle Center.
Change UI Container to World Space
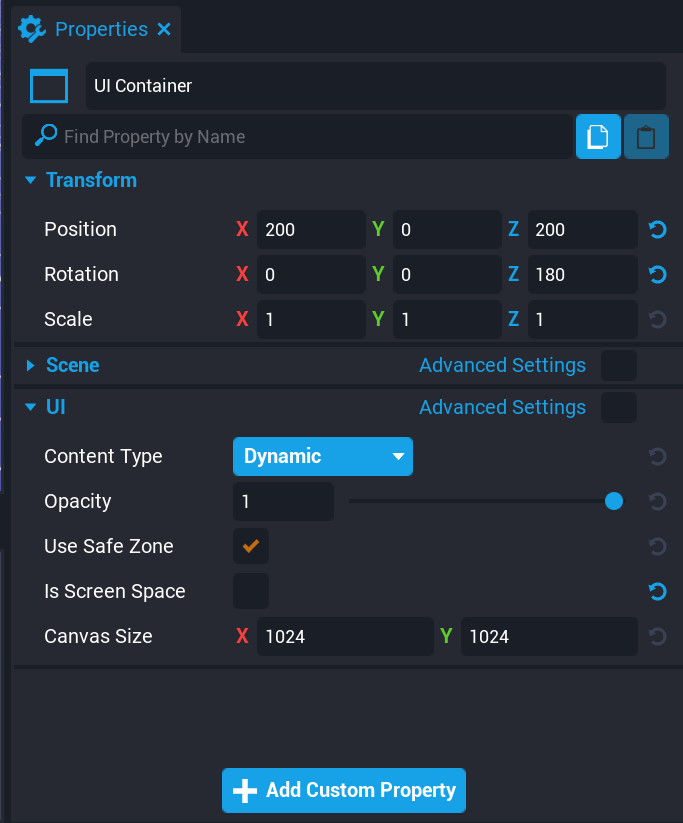
Select the UI Container object and open the Properties window.
- Deactivate the Is Screen Space property.
- Set the Position property to X
200Y0Z200. - Set the Rotation property to X
0Y0Z180.
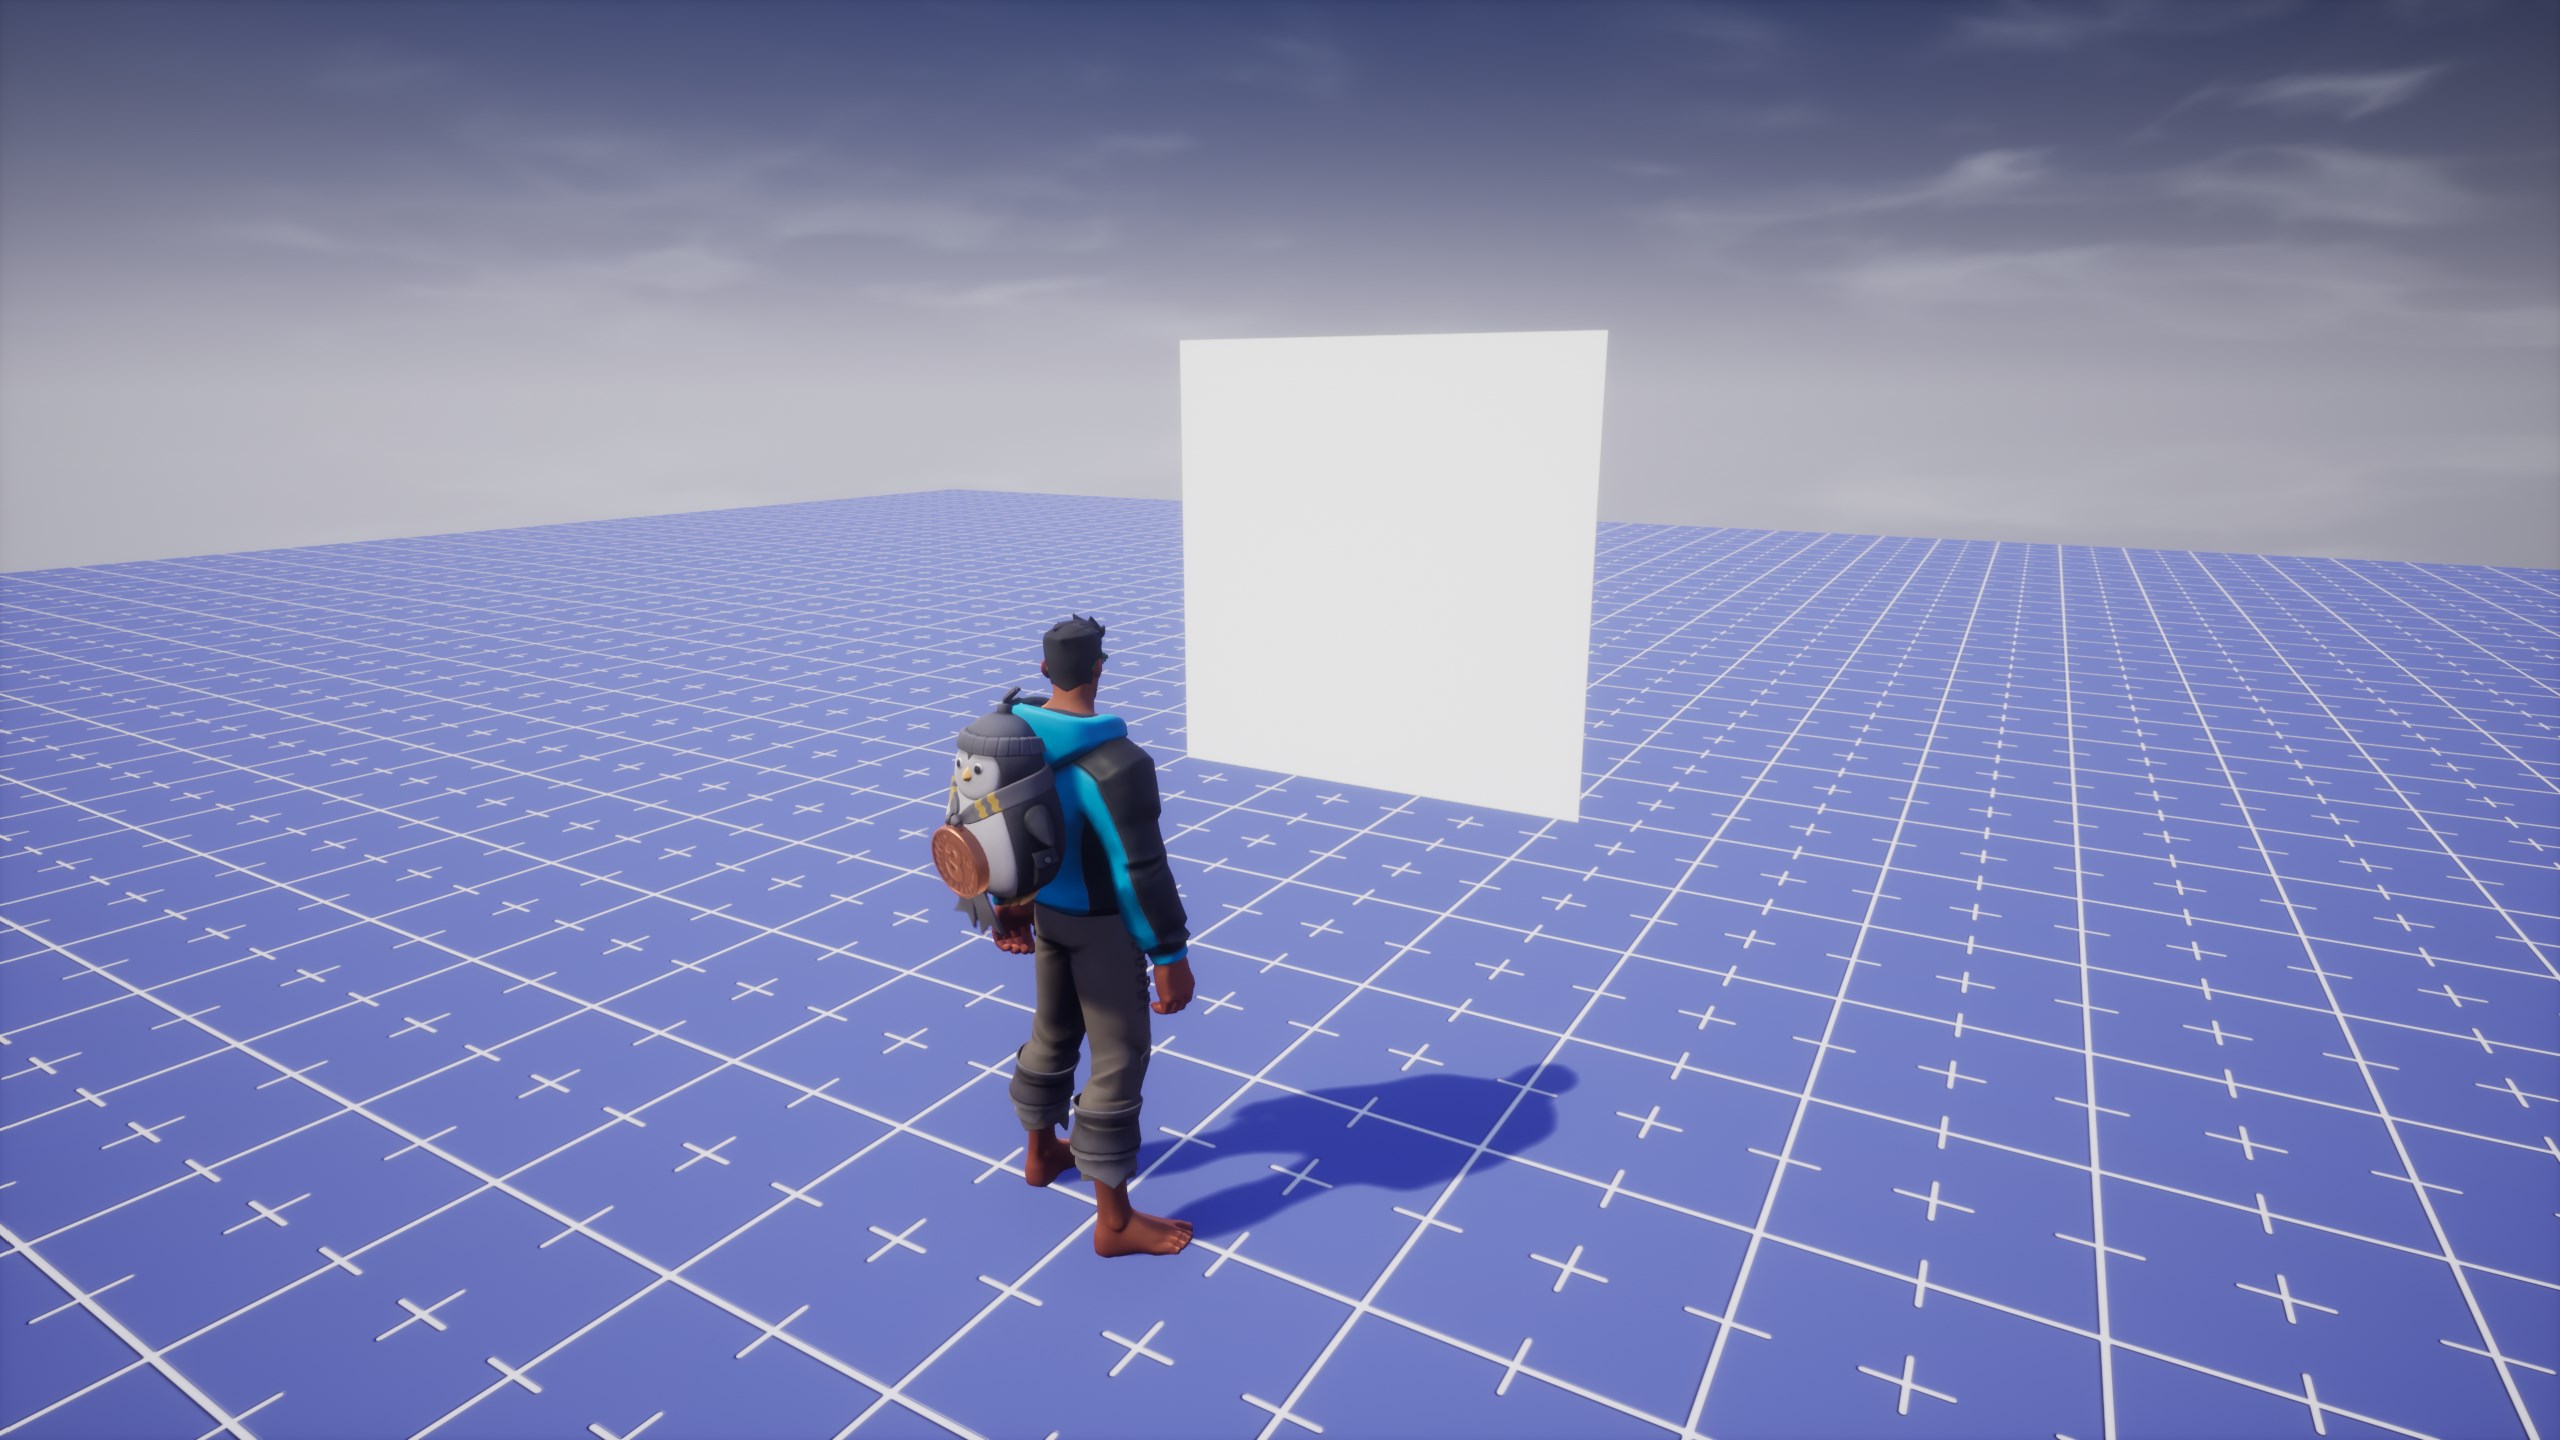
Preview the Project
Press the Play button to preview the project. There should be a white square image in front of the player.
NFT Image Script
Now that there is a blank UI Image, it can be used to display an NFT. A script will need to be created to get the NFT data using the Blockchain API. It will then use the data to set the UI Image object to the NFT image.
Create a New Script
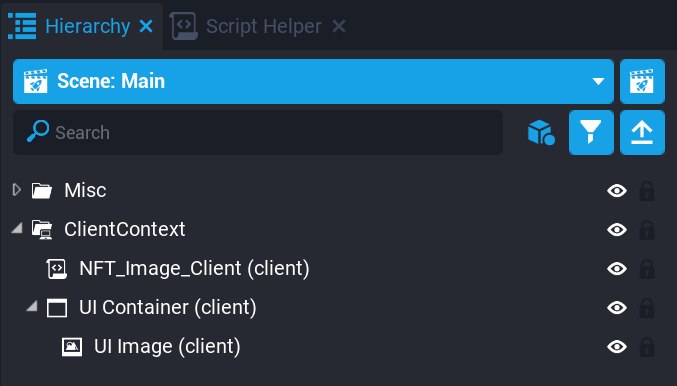
Create a new script named NFT_Image_Client. Place it inside Client Context.
Add Custom Properties
The script will need a reference to the UI Image object and information about the specific NFT. This lesson will be using CryptoPunk #5822 as an example.
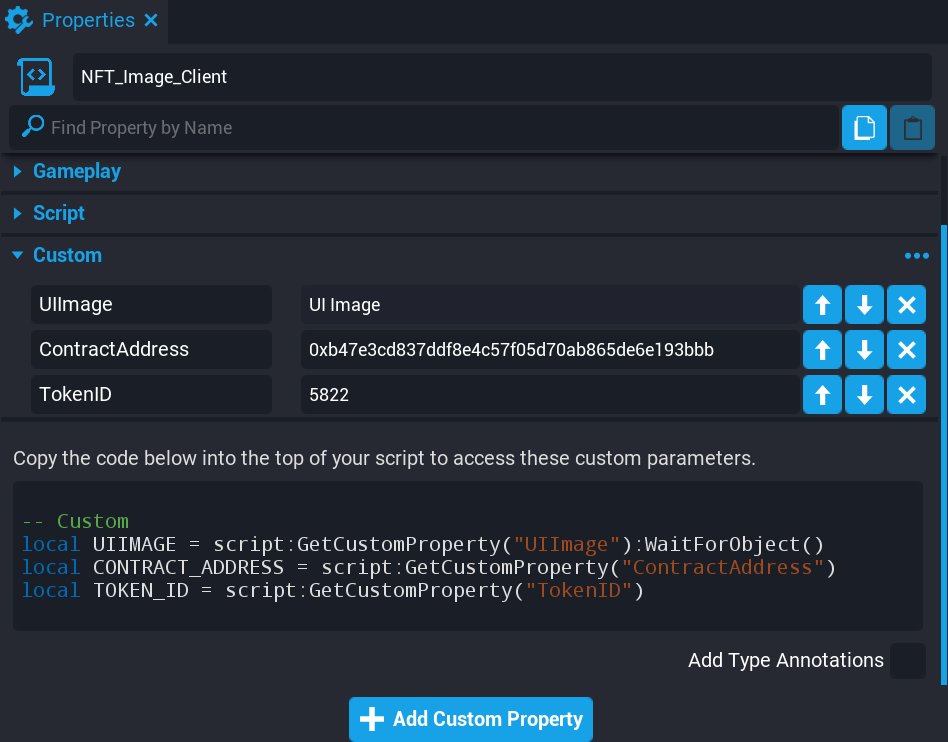
Select the NFT_Image_Client script and open the Properties window.
- Drag and drop the UI Image object as a custom property.
- Add a new String custom property named
ContractAddressand set it to0xb47e3cd837ddf8e4c57f05d70ab865de6e193bbb. - Add a new String custom property named
TokenIDand set it to5822.
Add Code to the Script
Double click the NFT_Image_Client script to open the Script Editor window.
Reference the Custom Properties
Create variables that reference the custom properties.
local UIIMAGE = script:GetCustomProperty("UIImage"):WaitForObject()
local CONTRACT_ADDRESS = script:GetCustomProperty("ContractAddress")
local TOKEN_ID = script:GetCustomProperty("TokenID")
Read the NFT Data
Create a token variable that uses the Blockchain.GetToken function to return a BlockchainToken type. This variable holds the NFT data.
local token = Blockchain.GetToken(CONTRACT_ADDRESS, TOKEN_ID)
Set the Image to the NFT
Use the SetBlockchainToken function to display the NFT image on the UI Image.
UIIMAGE:SetBlockchainToken(token)
The NFT_Image_Client Script
NFT_Image_Client Script
local UIIMAGE = script:GetCustomProperty("UIImage"):WaitForObject()
local CONTRACT_ADDRESS = script:GetCustomProperty("ContractAddress")
local TOKEN_ID = script:GetCustomProperty("TokenID")

local token = Blockchain.GetToken(CONTRACT_ADDRESS, TOKEN_ID)

UIIMAGE:SetBlockchainToken(token)
Preview the Project
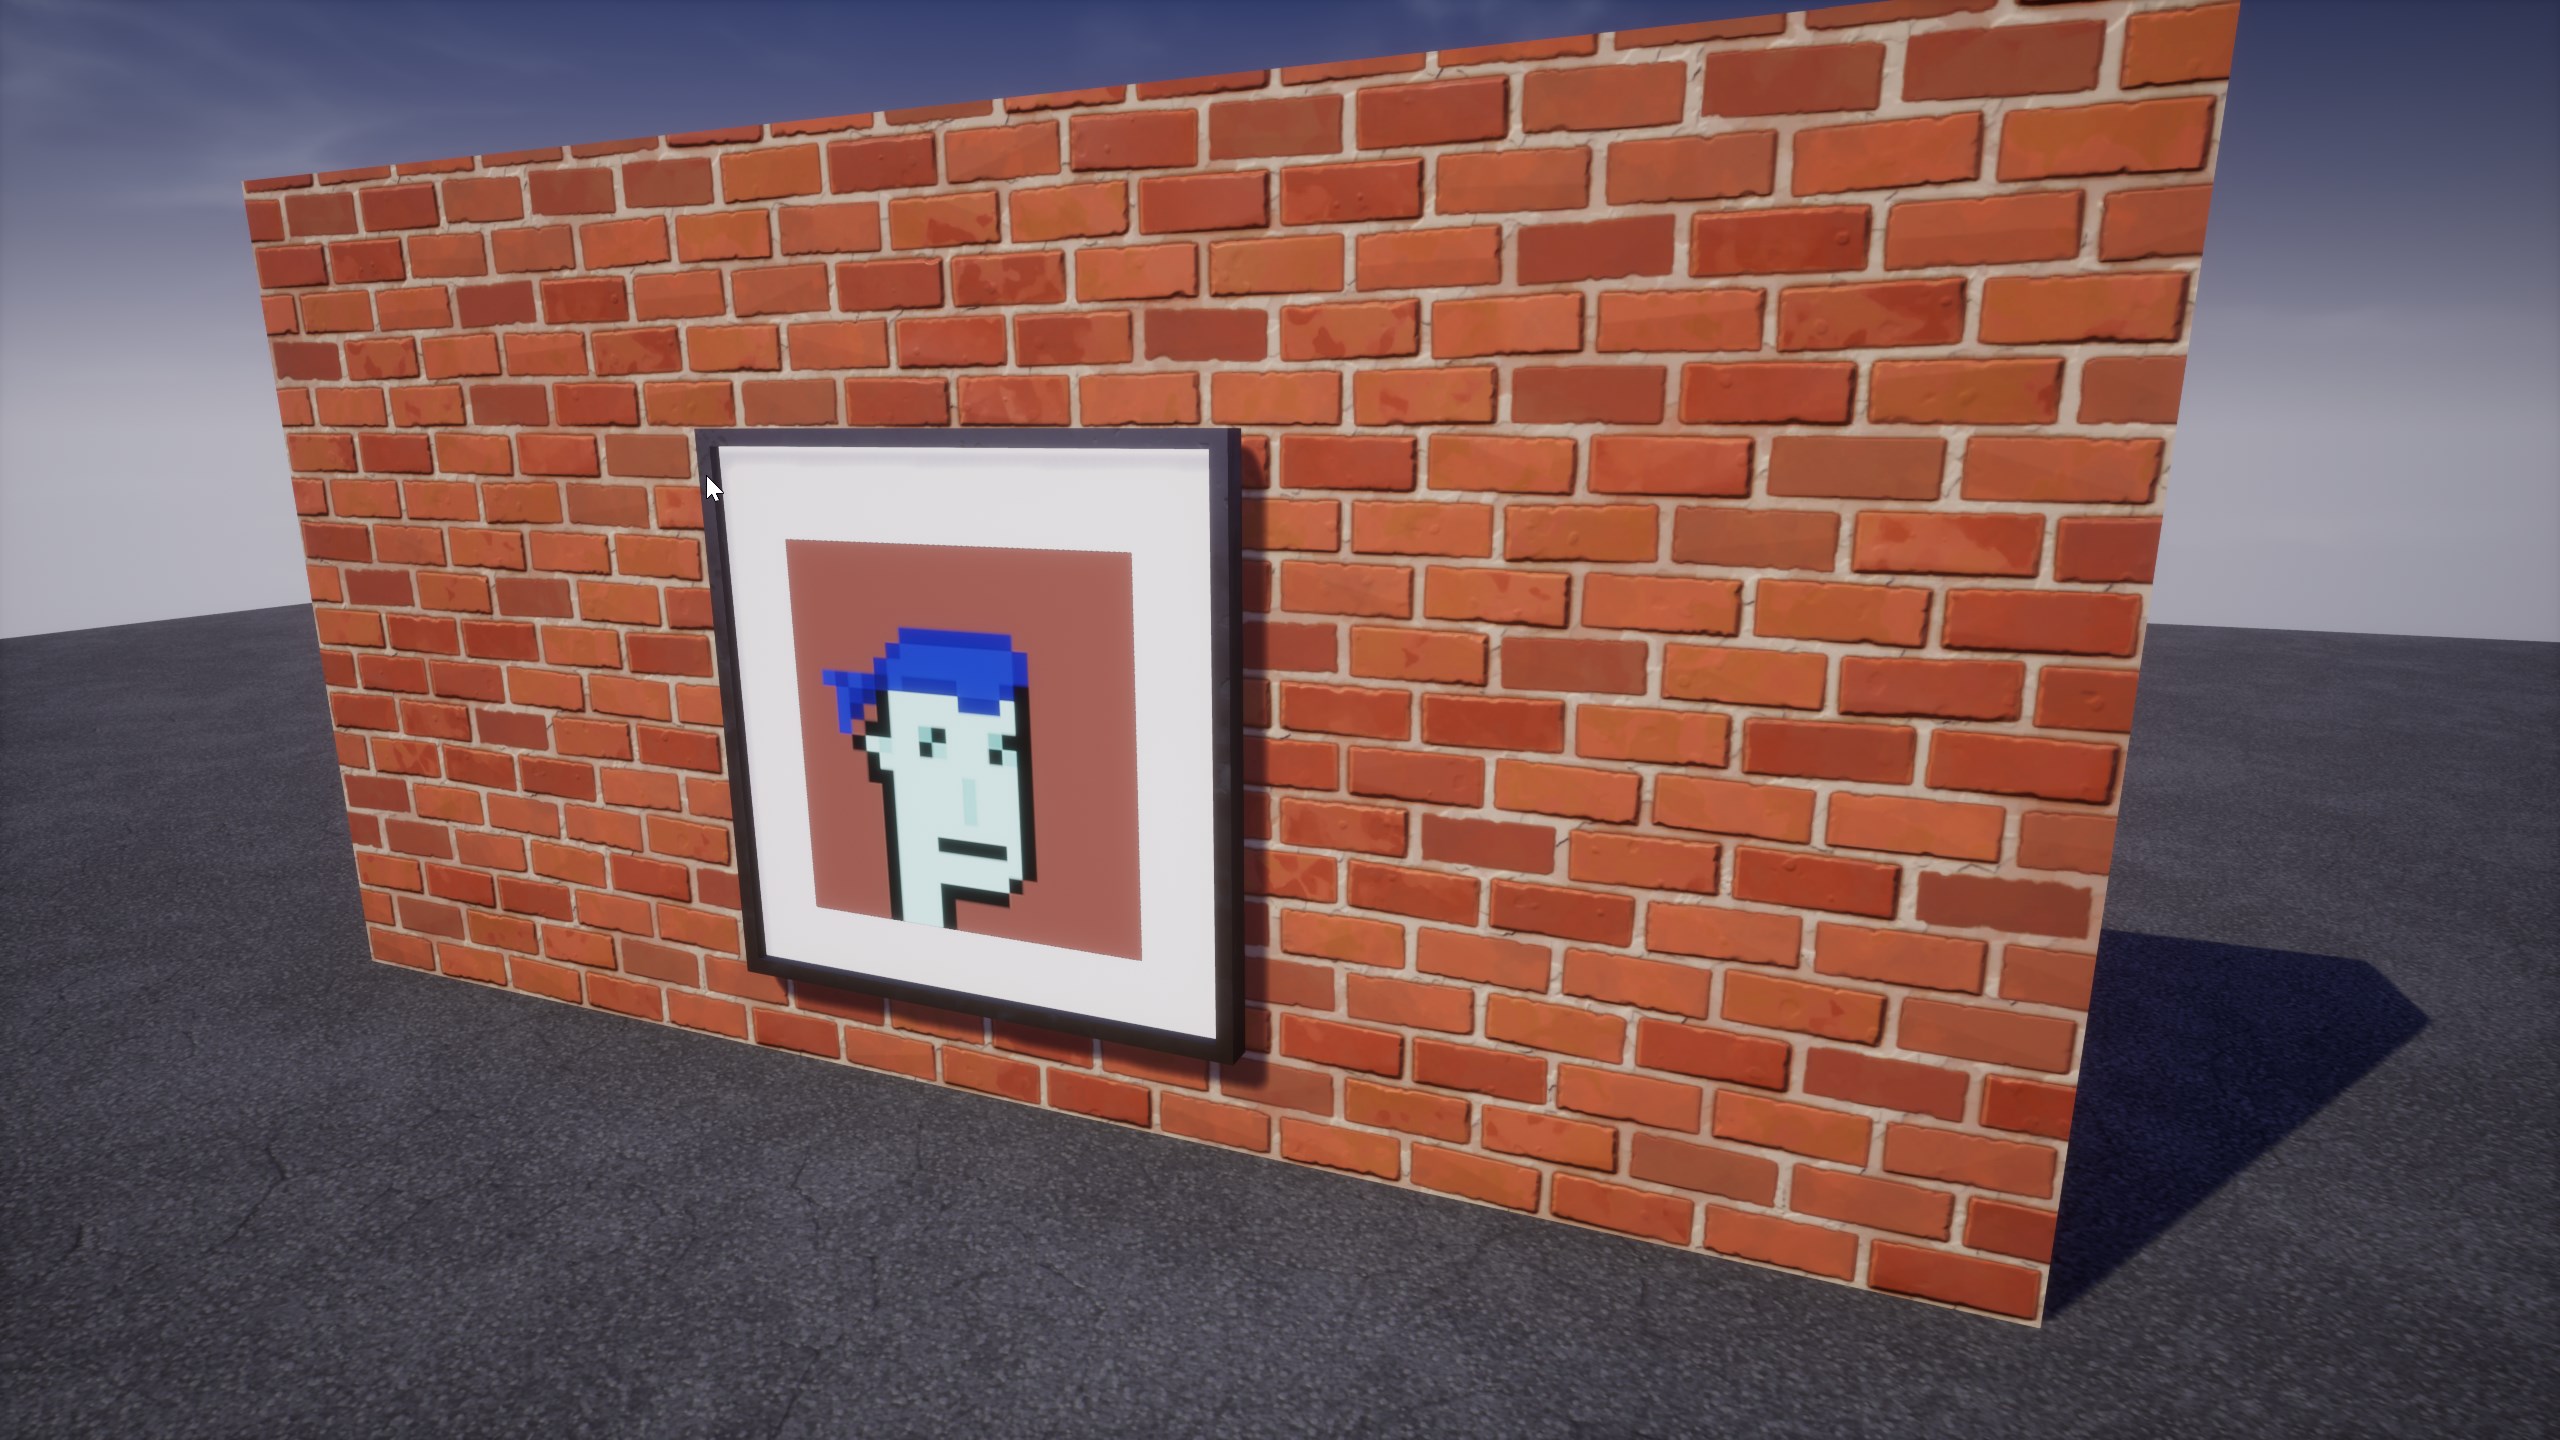
Save the code and preview the project. The NFT should appear on the image.
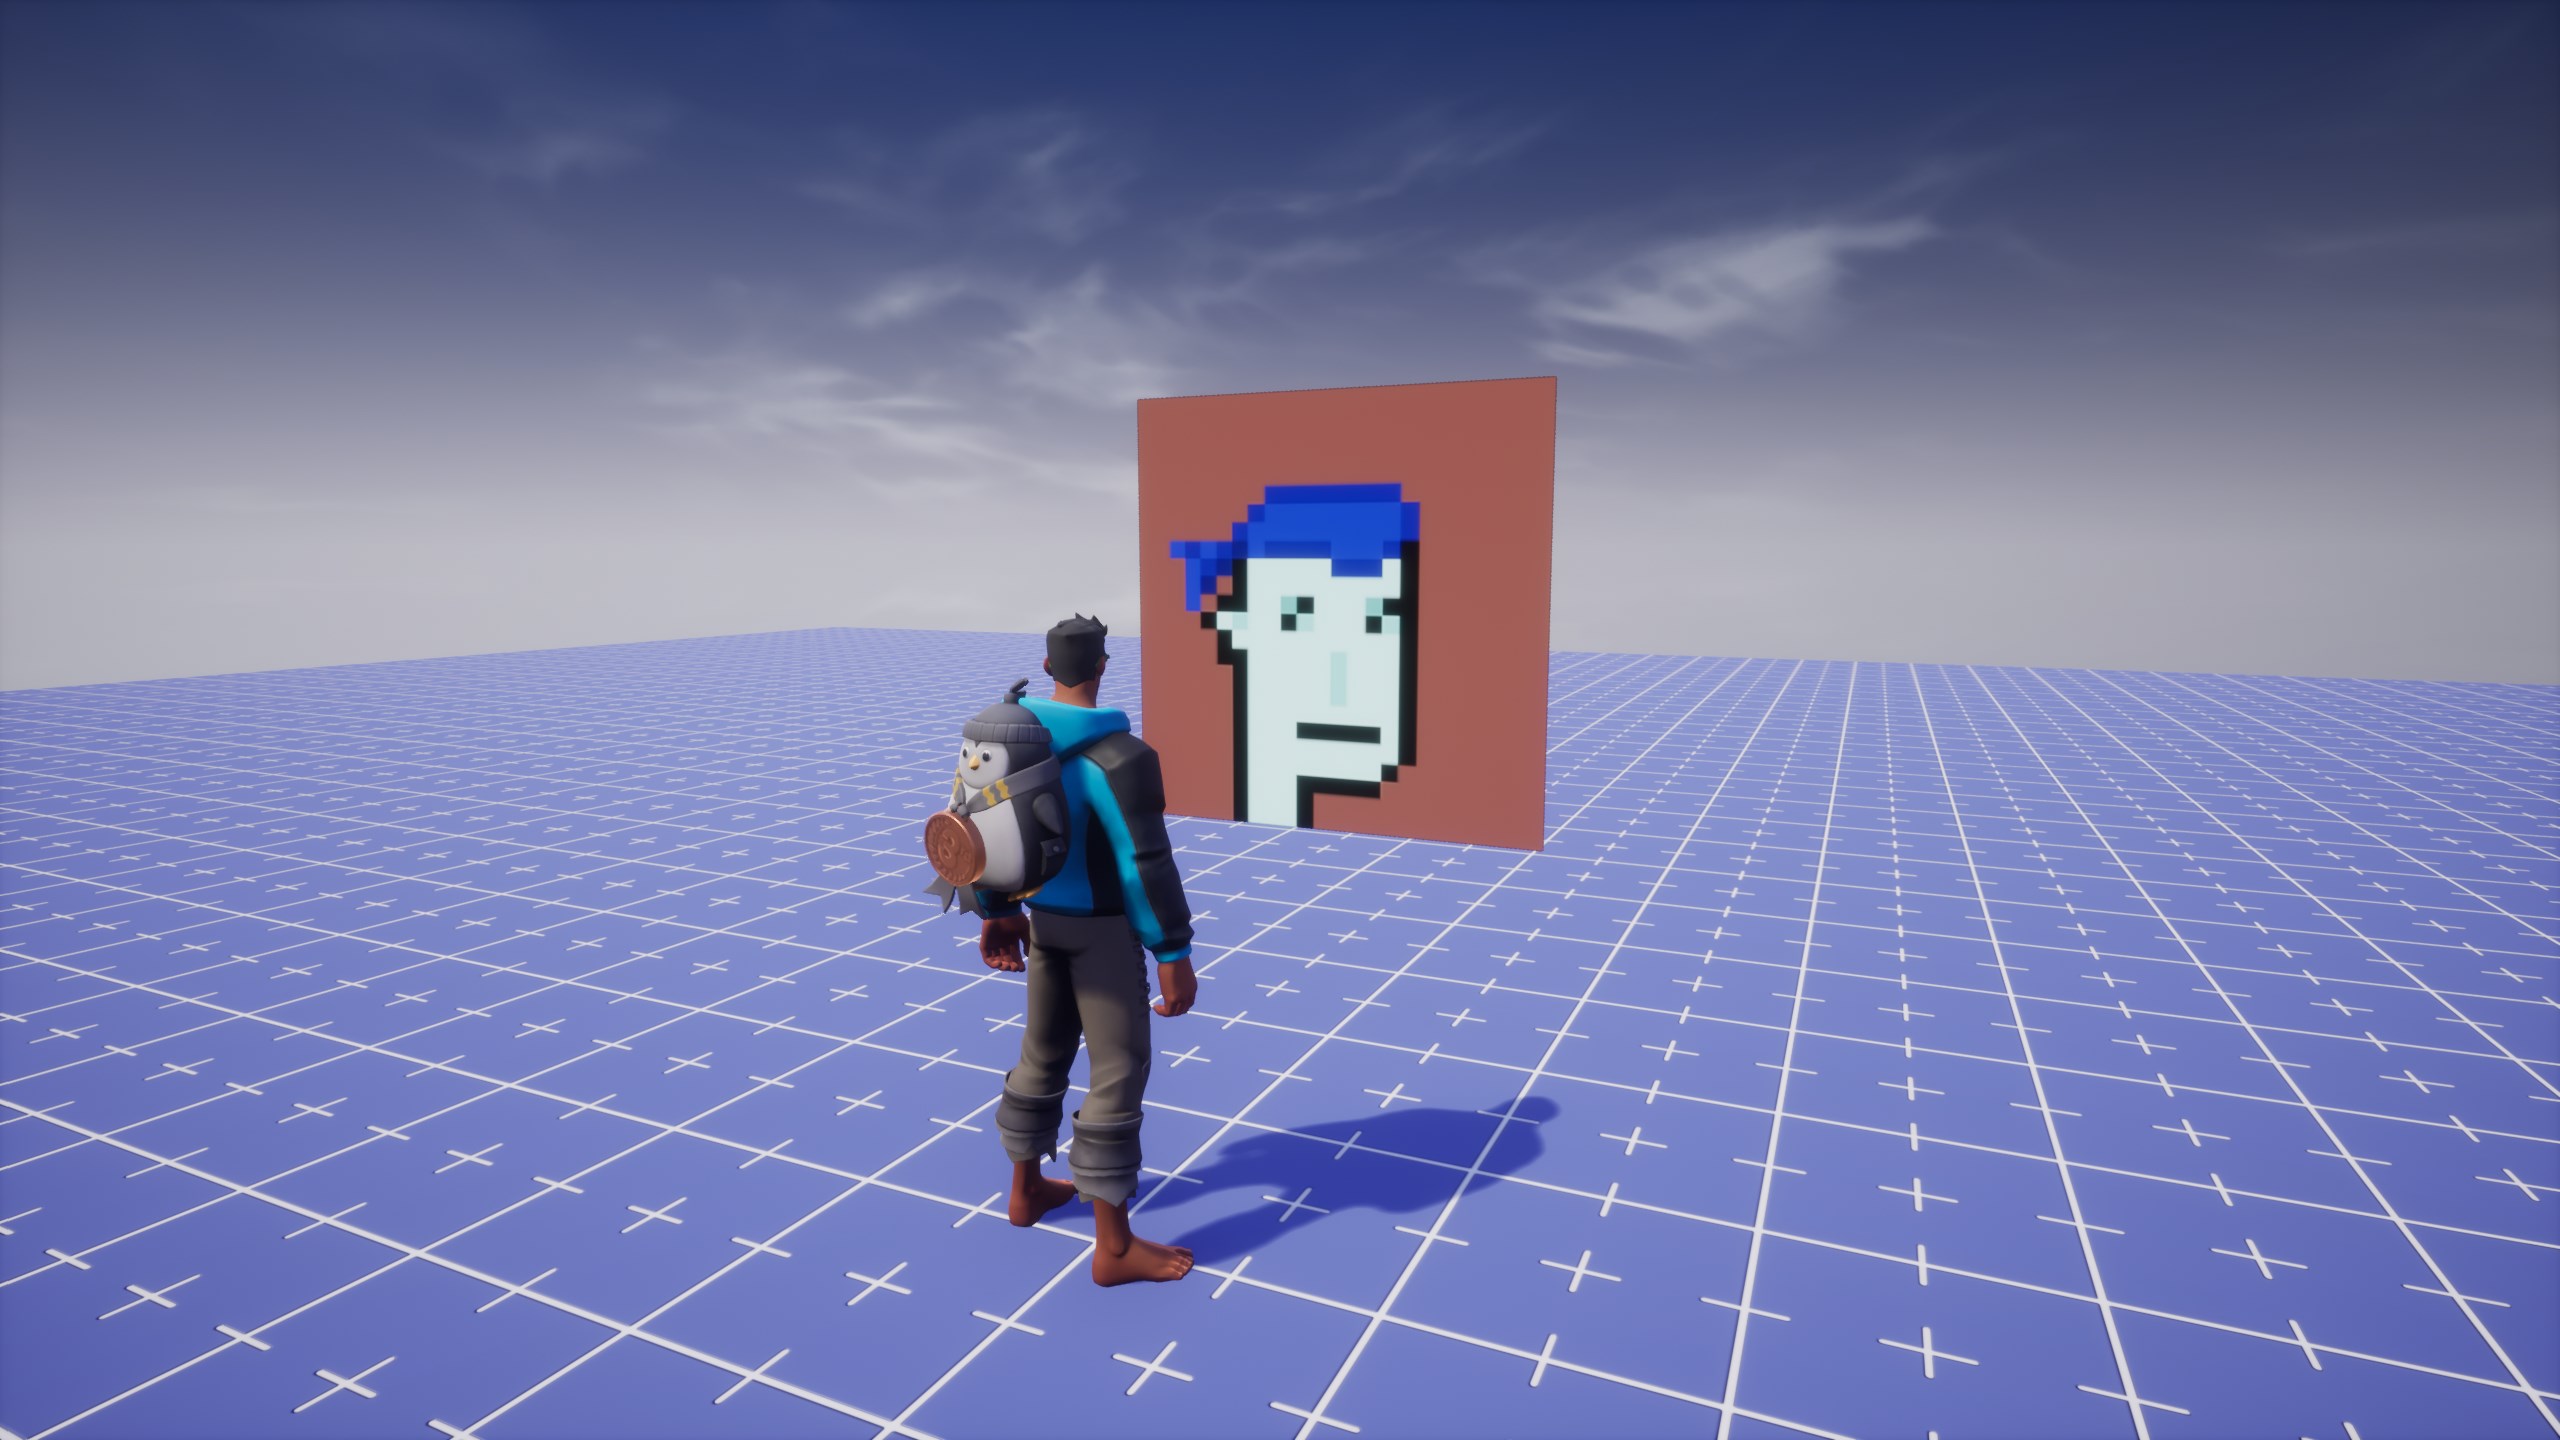
Make the Image 3D
Right now the image is flat and invisible from the back. Using the Core Content window, add cubes and materials to make the image look like an art portrait. Place these shapes outside the Client Context so they have collision.
NFT Slideshow
The next part of this lesson will be making a slideshow of multiple NFTs. The slideshow will be displayed on screen when the player interacts with a trigger. For this lesson, the slideshow will display all CryptoPunk NFTs from a certain owner.
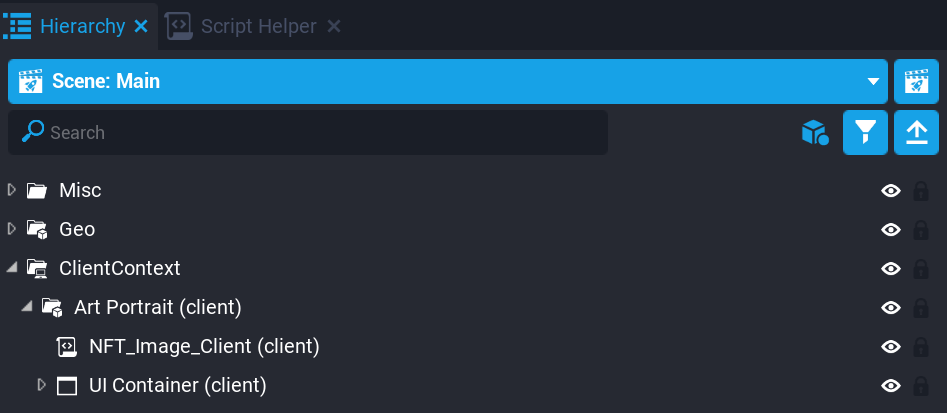
Organize the Client Context
Inside the Client Context, select the NFT_Image_Client script and UI Container object. Put them inside a new group named Art Portrait using the Ctrl+G keyboard shortcut.
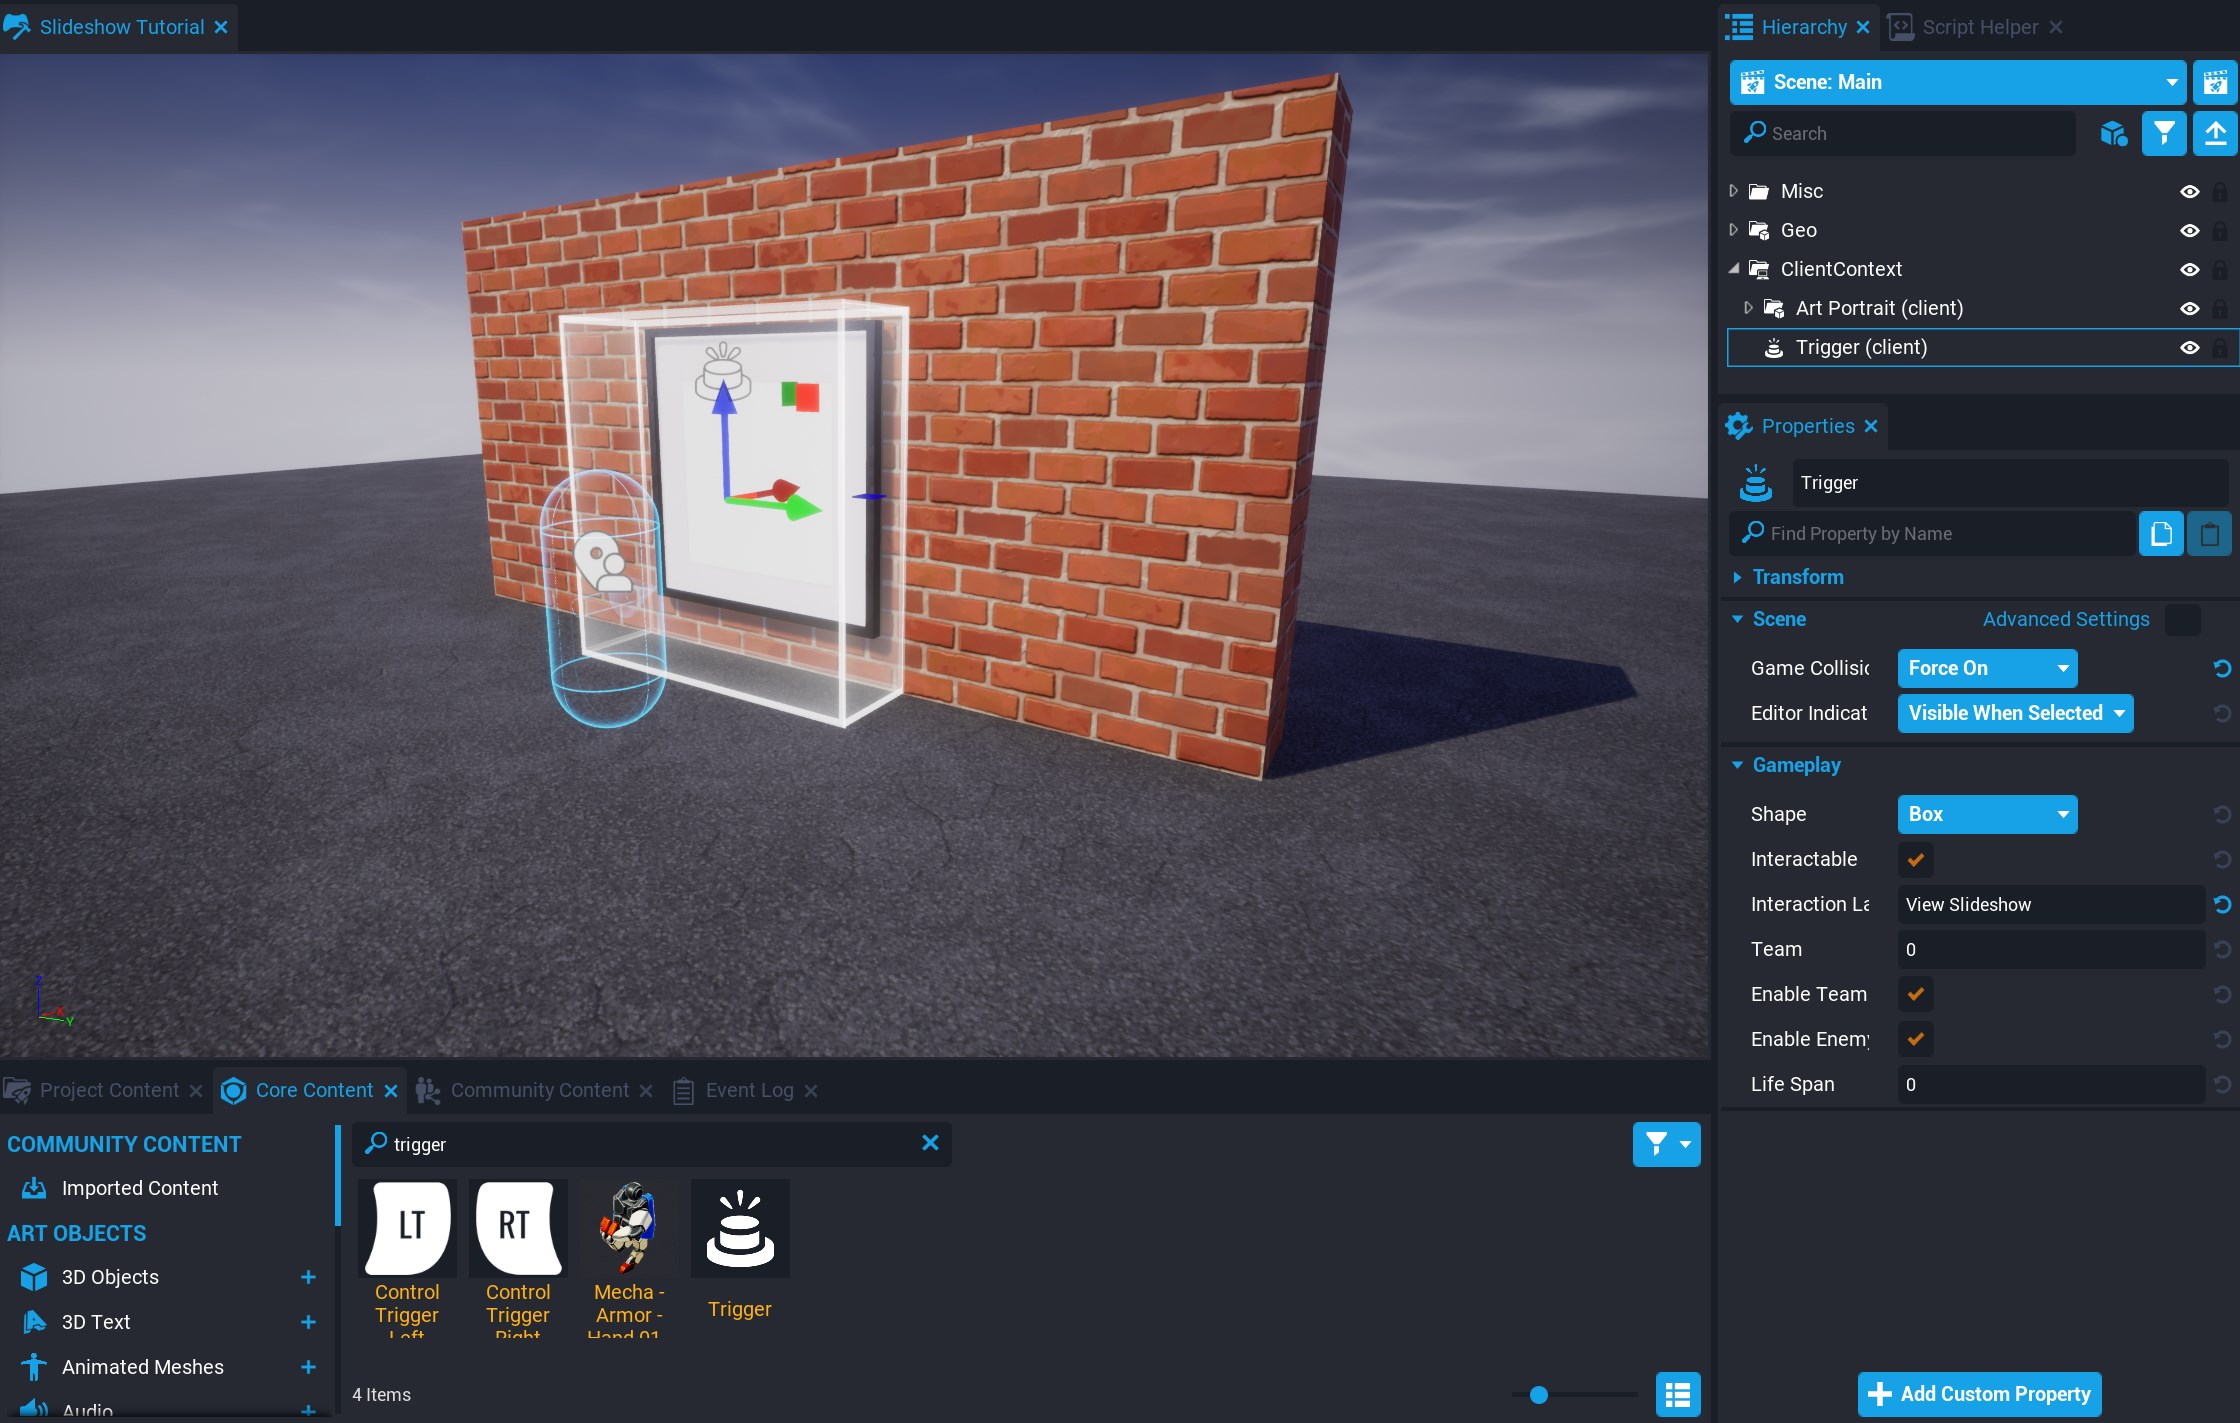
Add a Trigger
From Core Content, add a Trigger object to the Client Context. Select the Trigger object and open the Properties window.
- Set the Game Collision property to Force On.
- Activate the Interactable property.
- Set the Interaction Label to
View Slideshow. - Change the Position and Scale properties so it is in front of the portrait.
If the trigger is not visible, then make sure gizmos are visible using the V keyboard shortcut.
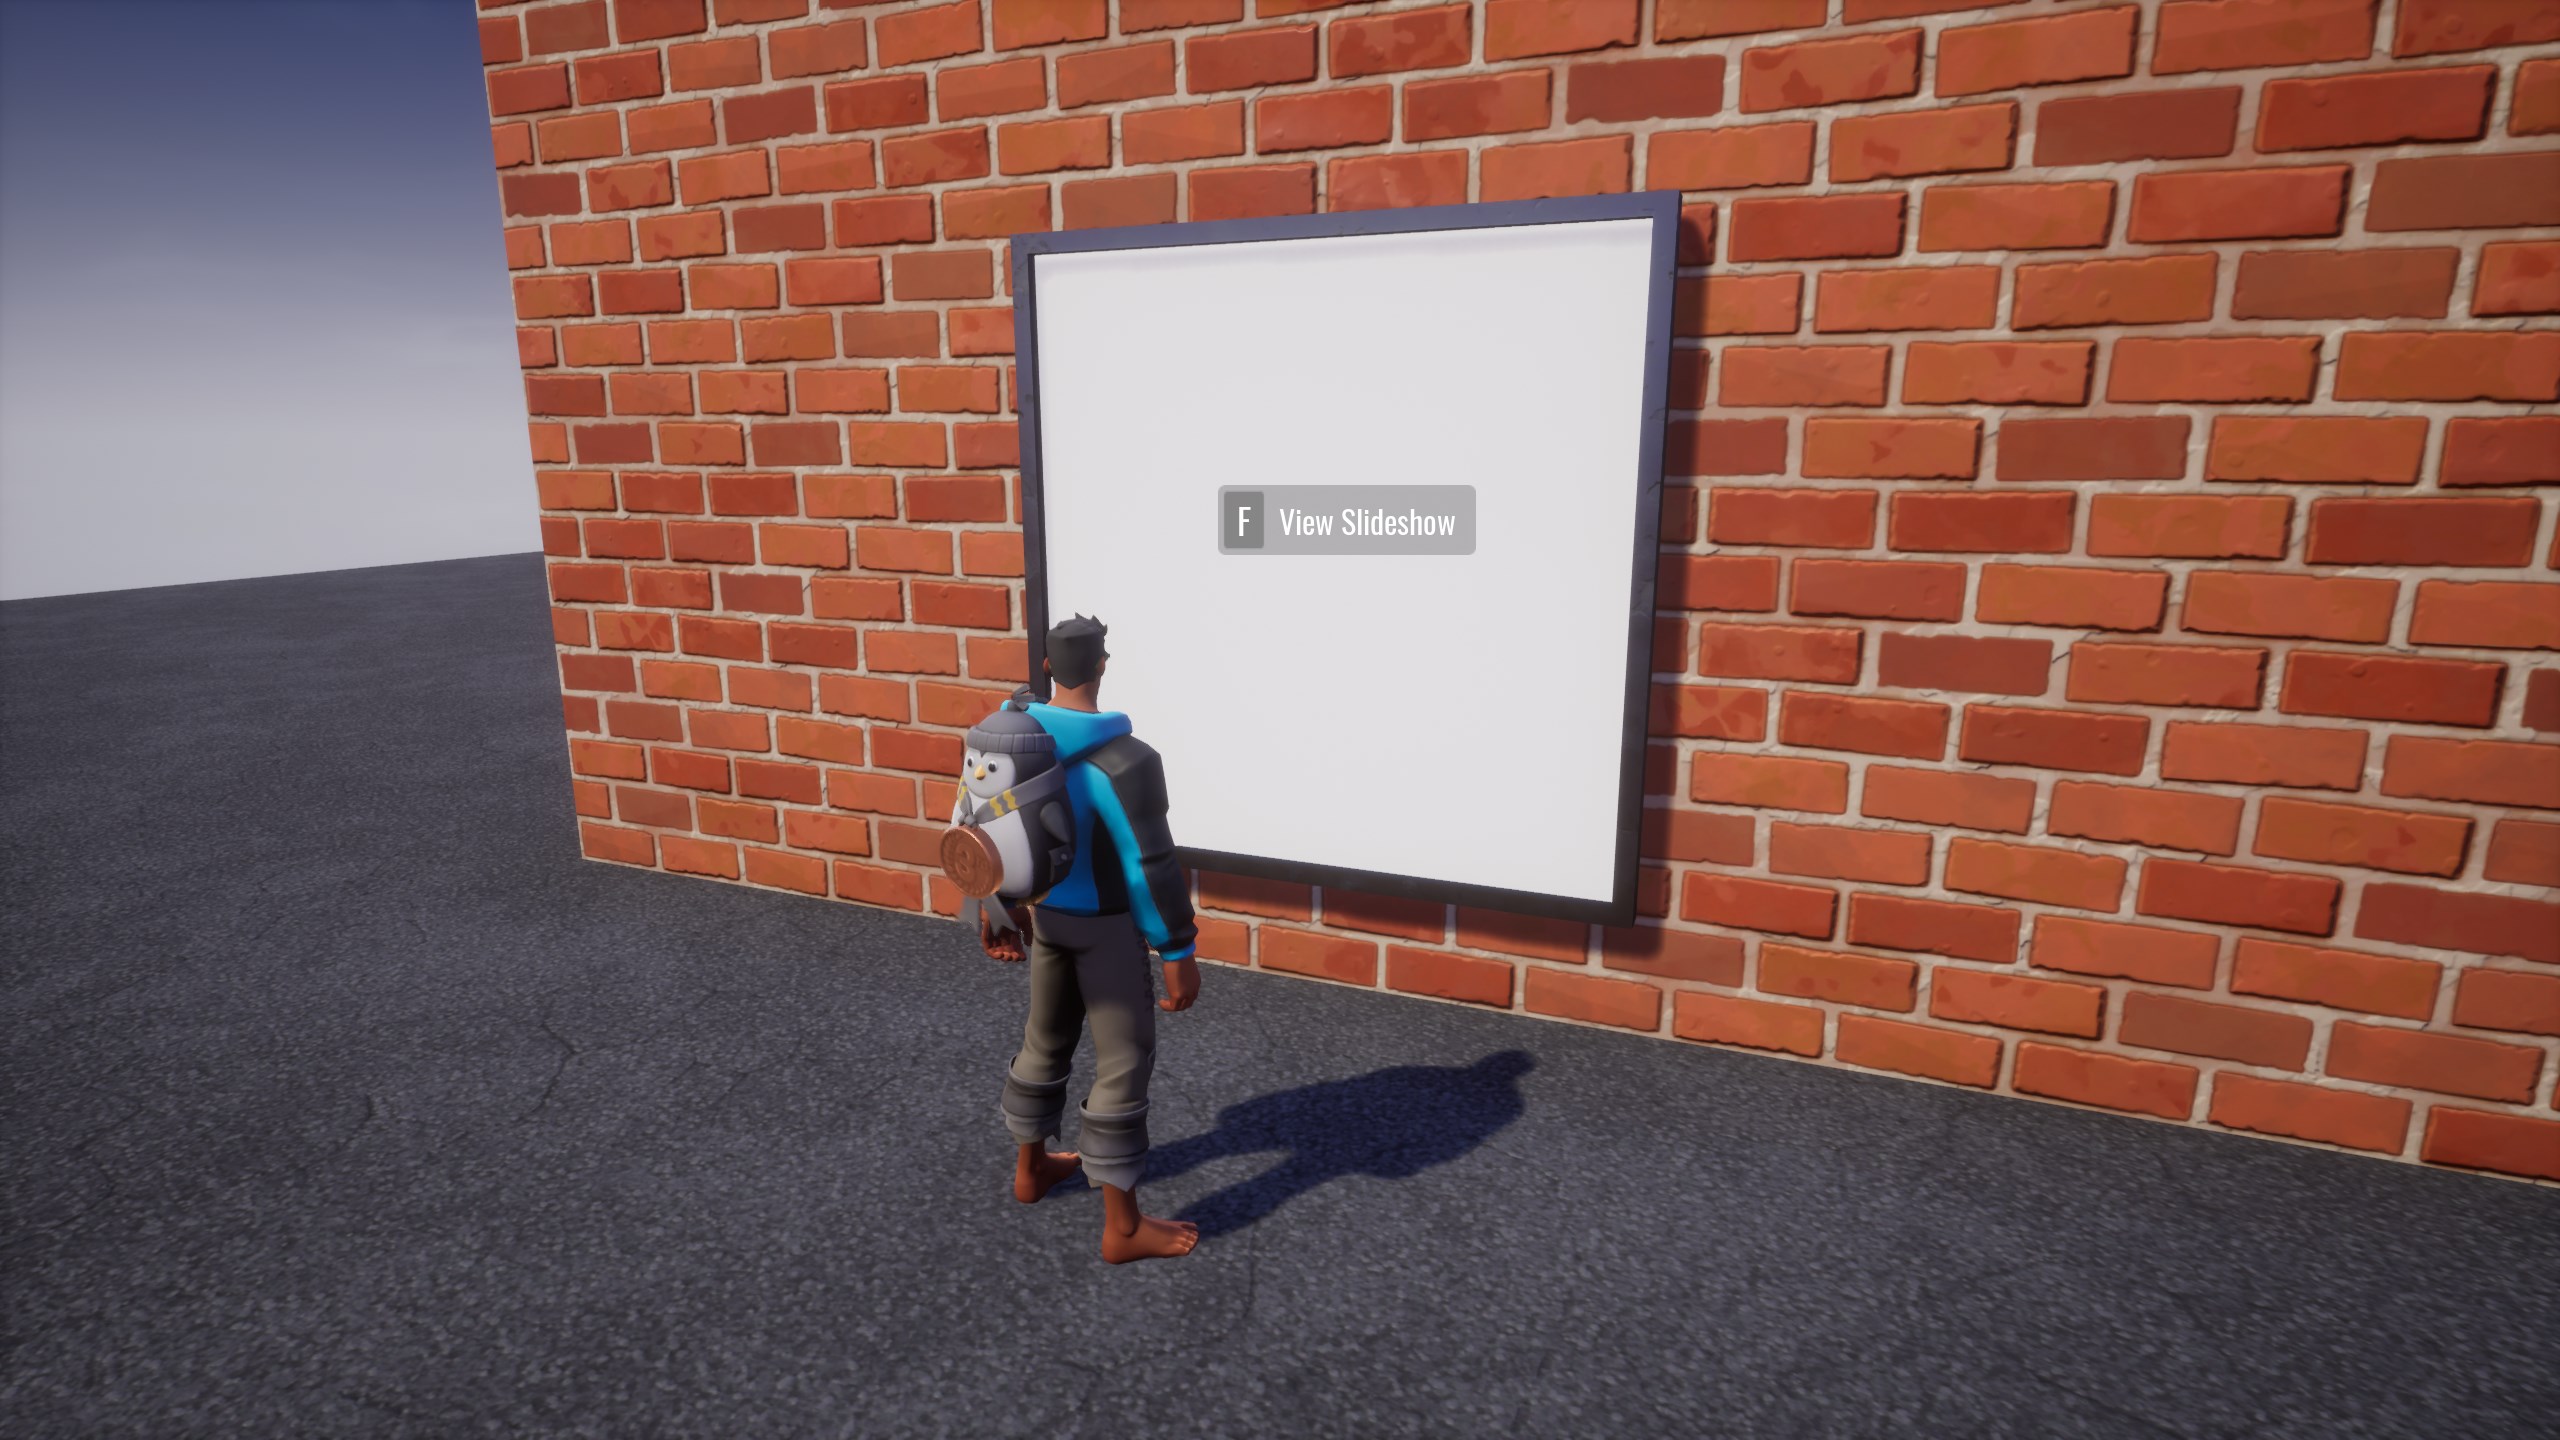
Preview the Project
The player should see the option to interact when in front of the portrait.
Screen Space UI
The Slideshow UI will be displayed in Screen Space when the player interacts with the trigger. It will need multiple UI components to focus on the current image, display the current image index, buttons to change the index, and a button to close the UI.
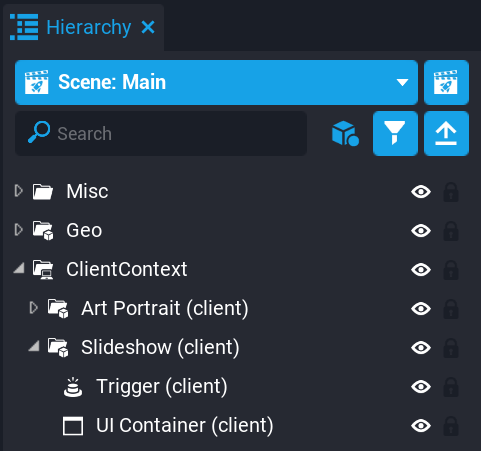
Create the UI Container
Open the Core Content window and add a new UI Container to the Client Context. Select the new UI Container and Trigger. Add them to a new group named Slideshow using the Ctrl+G keyboard shortcut.
Create the Focus and Scroll Panels
The Slideshow UI will have a Focus Panel that clips any children images outside of its rectangle. This panel will contain a child Scroll Panel that contains all the images and moves left and right according to the current image index.
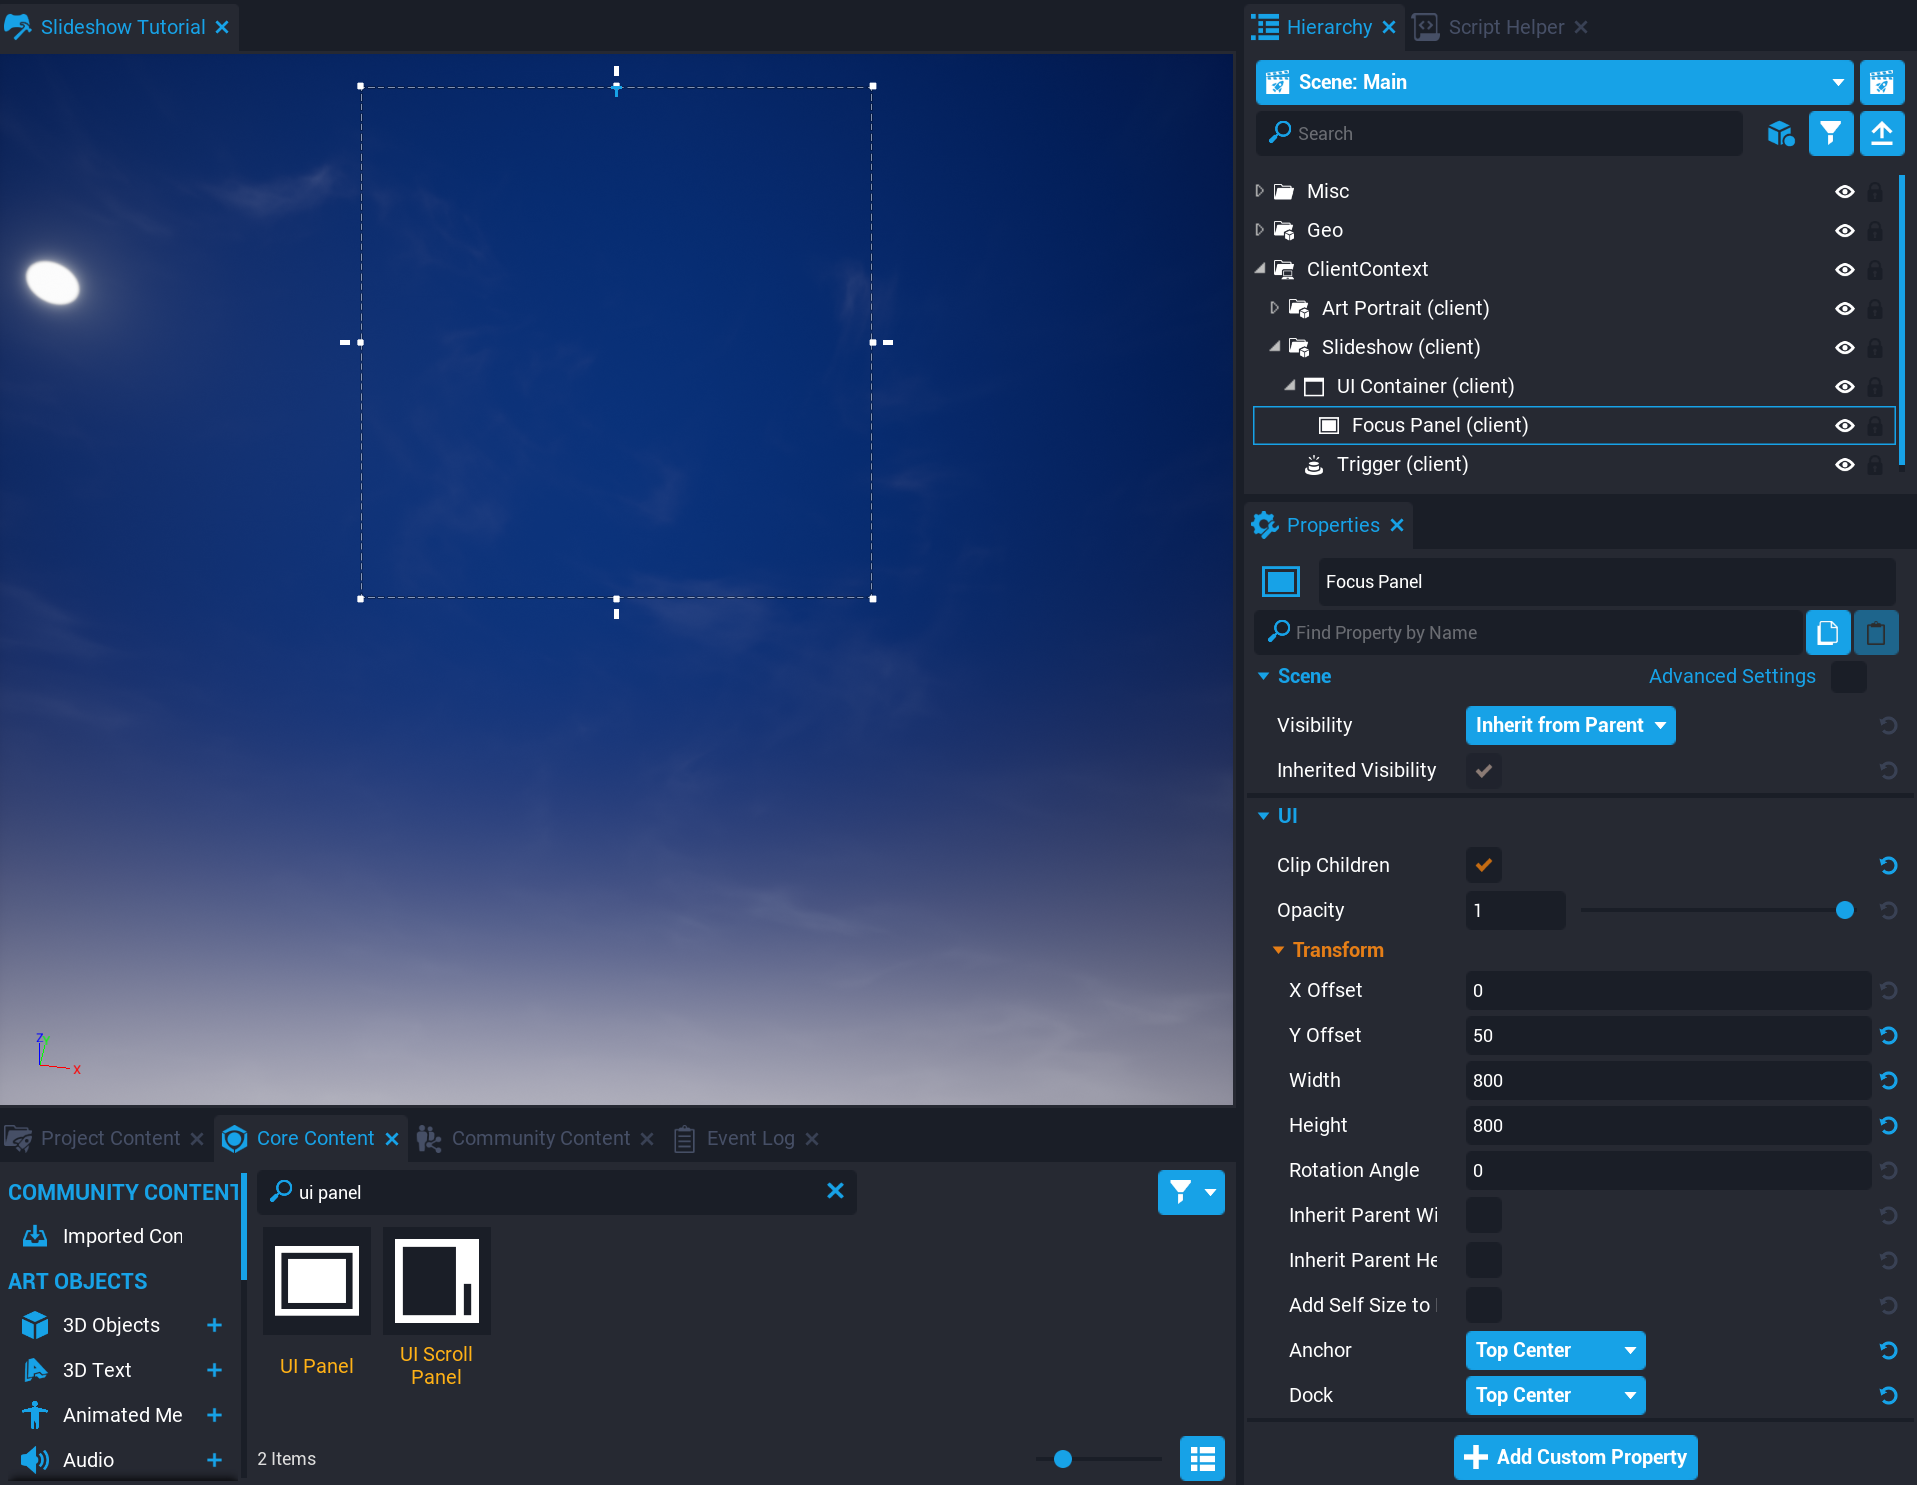
Focus Panel
Add a new UI Panel to the Slideshow's UI Container and rename it Focus Panel. With the panel selected, open the Properties window.
- Activate the Clip Children property.
- Set the Y Offset property to
50. - Set the Width property to
800. - Set the Height property to
800. - Set the Anchor and Dock property to Top Center.
Scroll Panel
Add another UI Panel to the Focus Panel and rename it Scroll Panel. Select the Scroll Panel and open the Properties window. Set the Width and Height property to 800.
The Width property will be increased in a script so it can hold all the images.

Create an Image Template
The script will first load the NFT data and then create the UI Image objects. In order to spawn an image, an Image Template needs to be created.
Add a UI Image
Add a UI Image object to the Scroll Panel. Set the Width and Height property to 800.
Create the Template
Right click the UI Image and select New Template From Object. Name it Image Template. Then delete the Image Template from the Hierarchy.

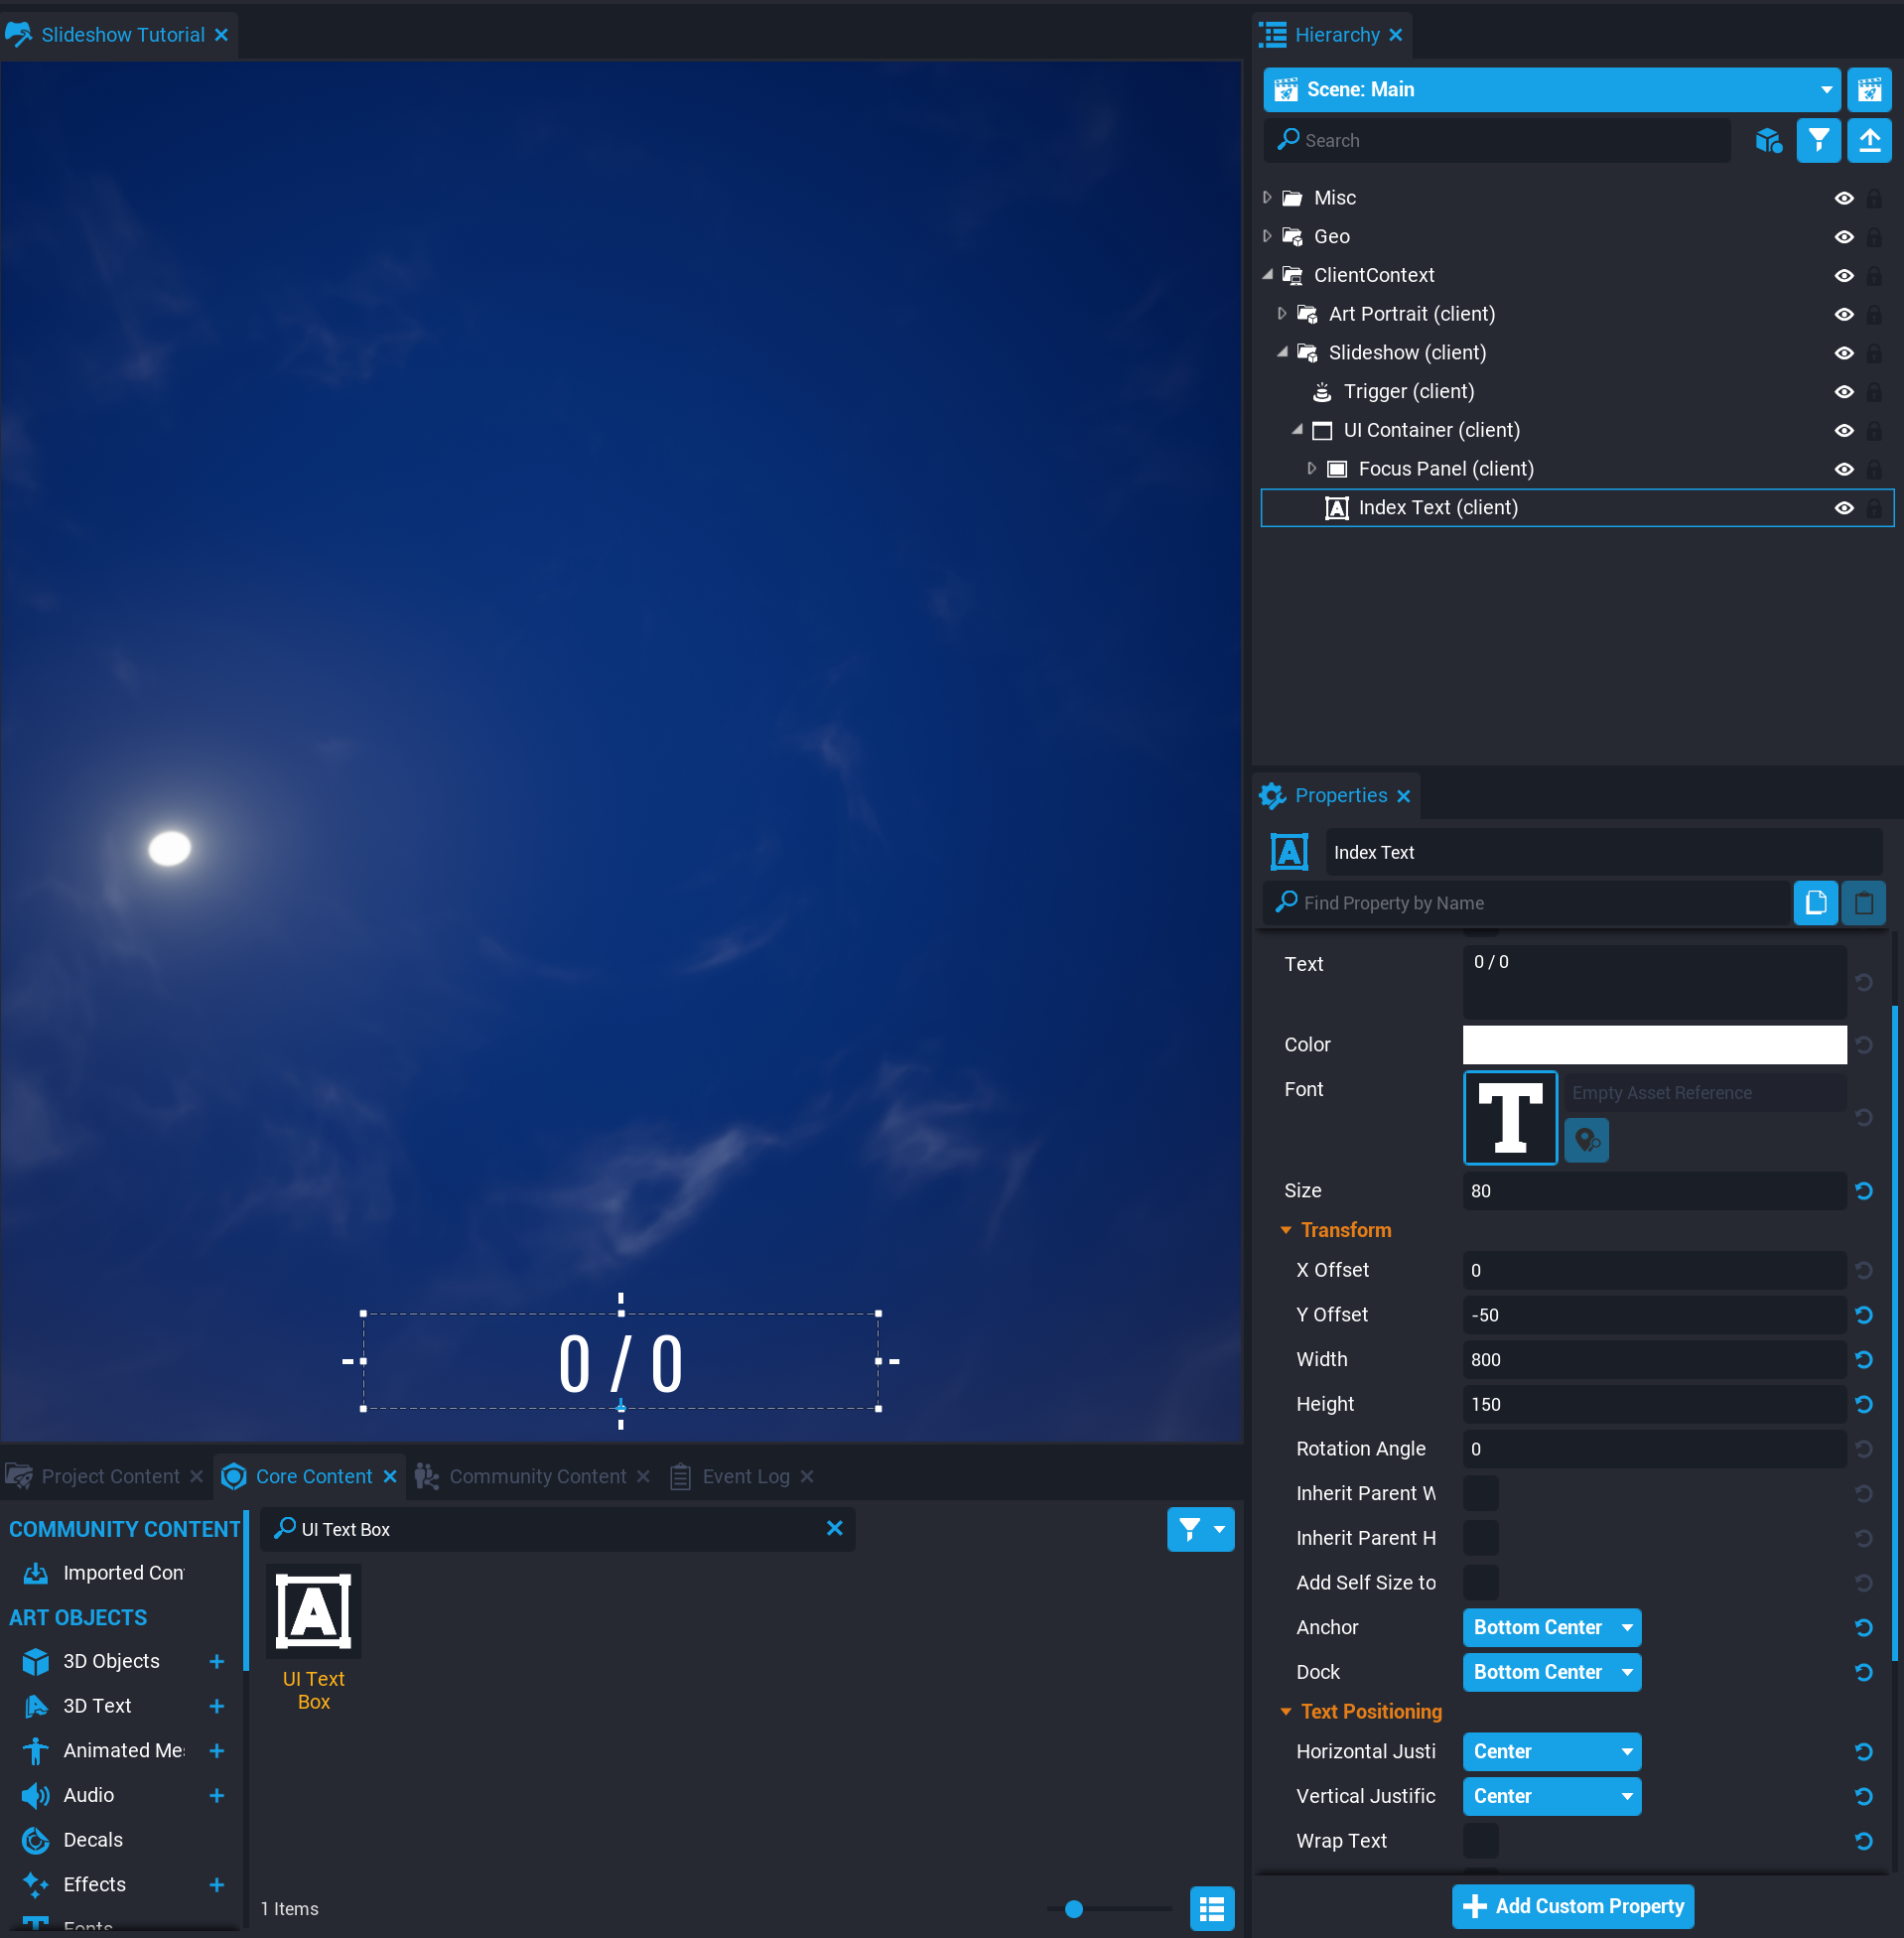
Create the Index Text
The next thing to add is text so the player can see the total amount of images and the current image index. Add a UI Text Box to the Slideshow's UI Container and rename it Index Text. Select the Index Text object and open the Properties window.
- Set the Text property to
0 / 0. - Set the Size property to
80. - Set the Y Offset property to
-50. - Set the Width property to
800. - Set the Height property to
150. - Set the Anchor and Dock property to Bottom Center.
- Set the Horizontal and Vertical Justification to Center.
- Deactivate the Wrap Text property.
Create the Left and Right Buttons
There will be a Left and Right button for the player to increase and decrease the current image index.
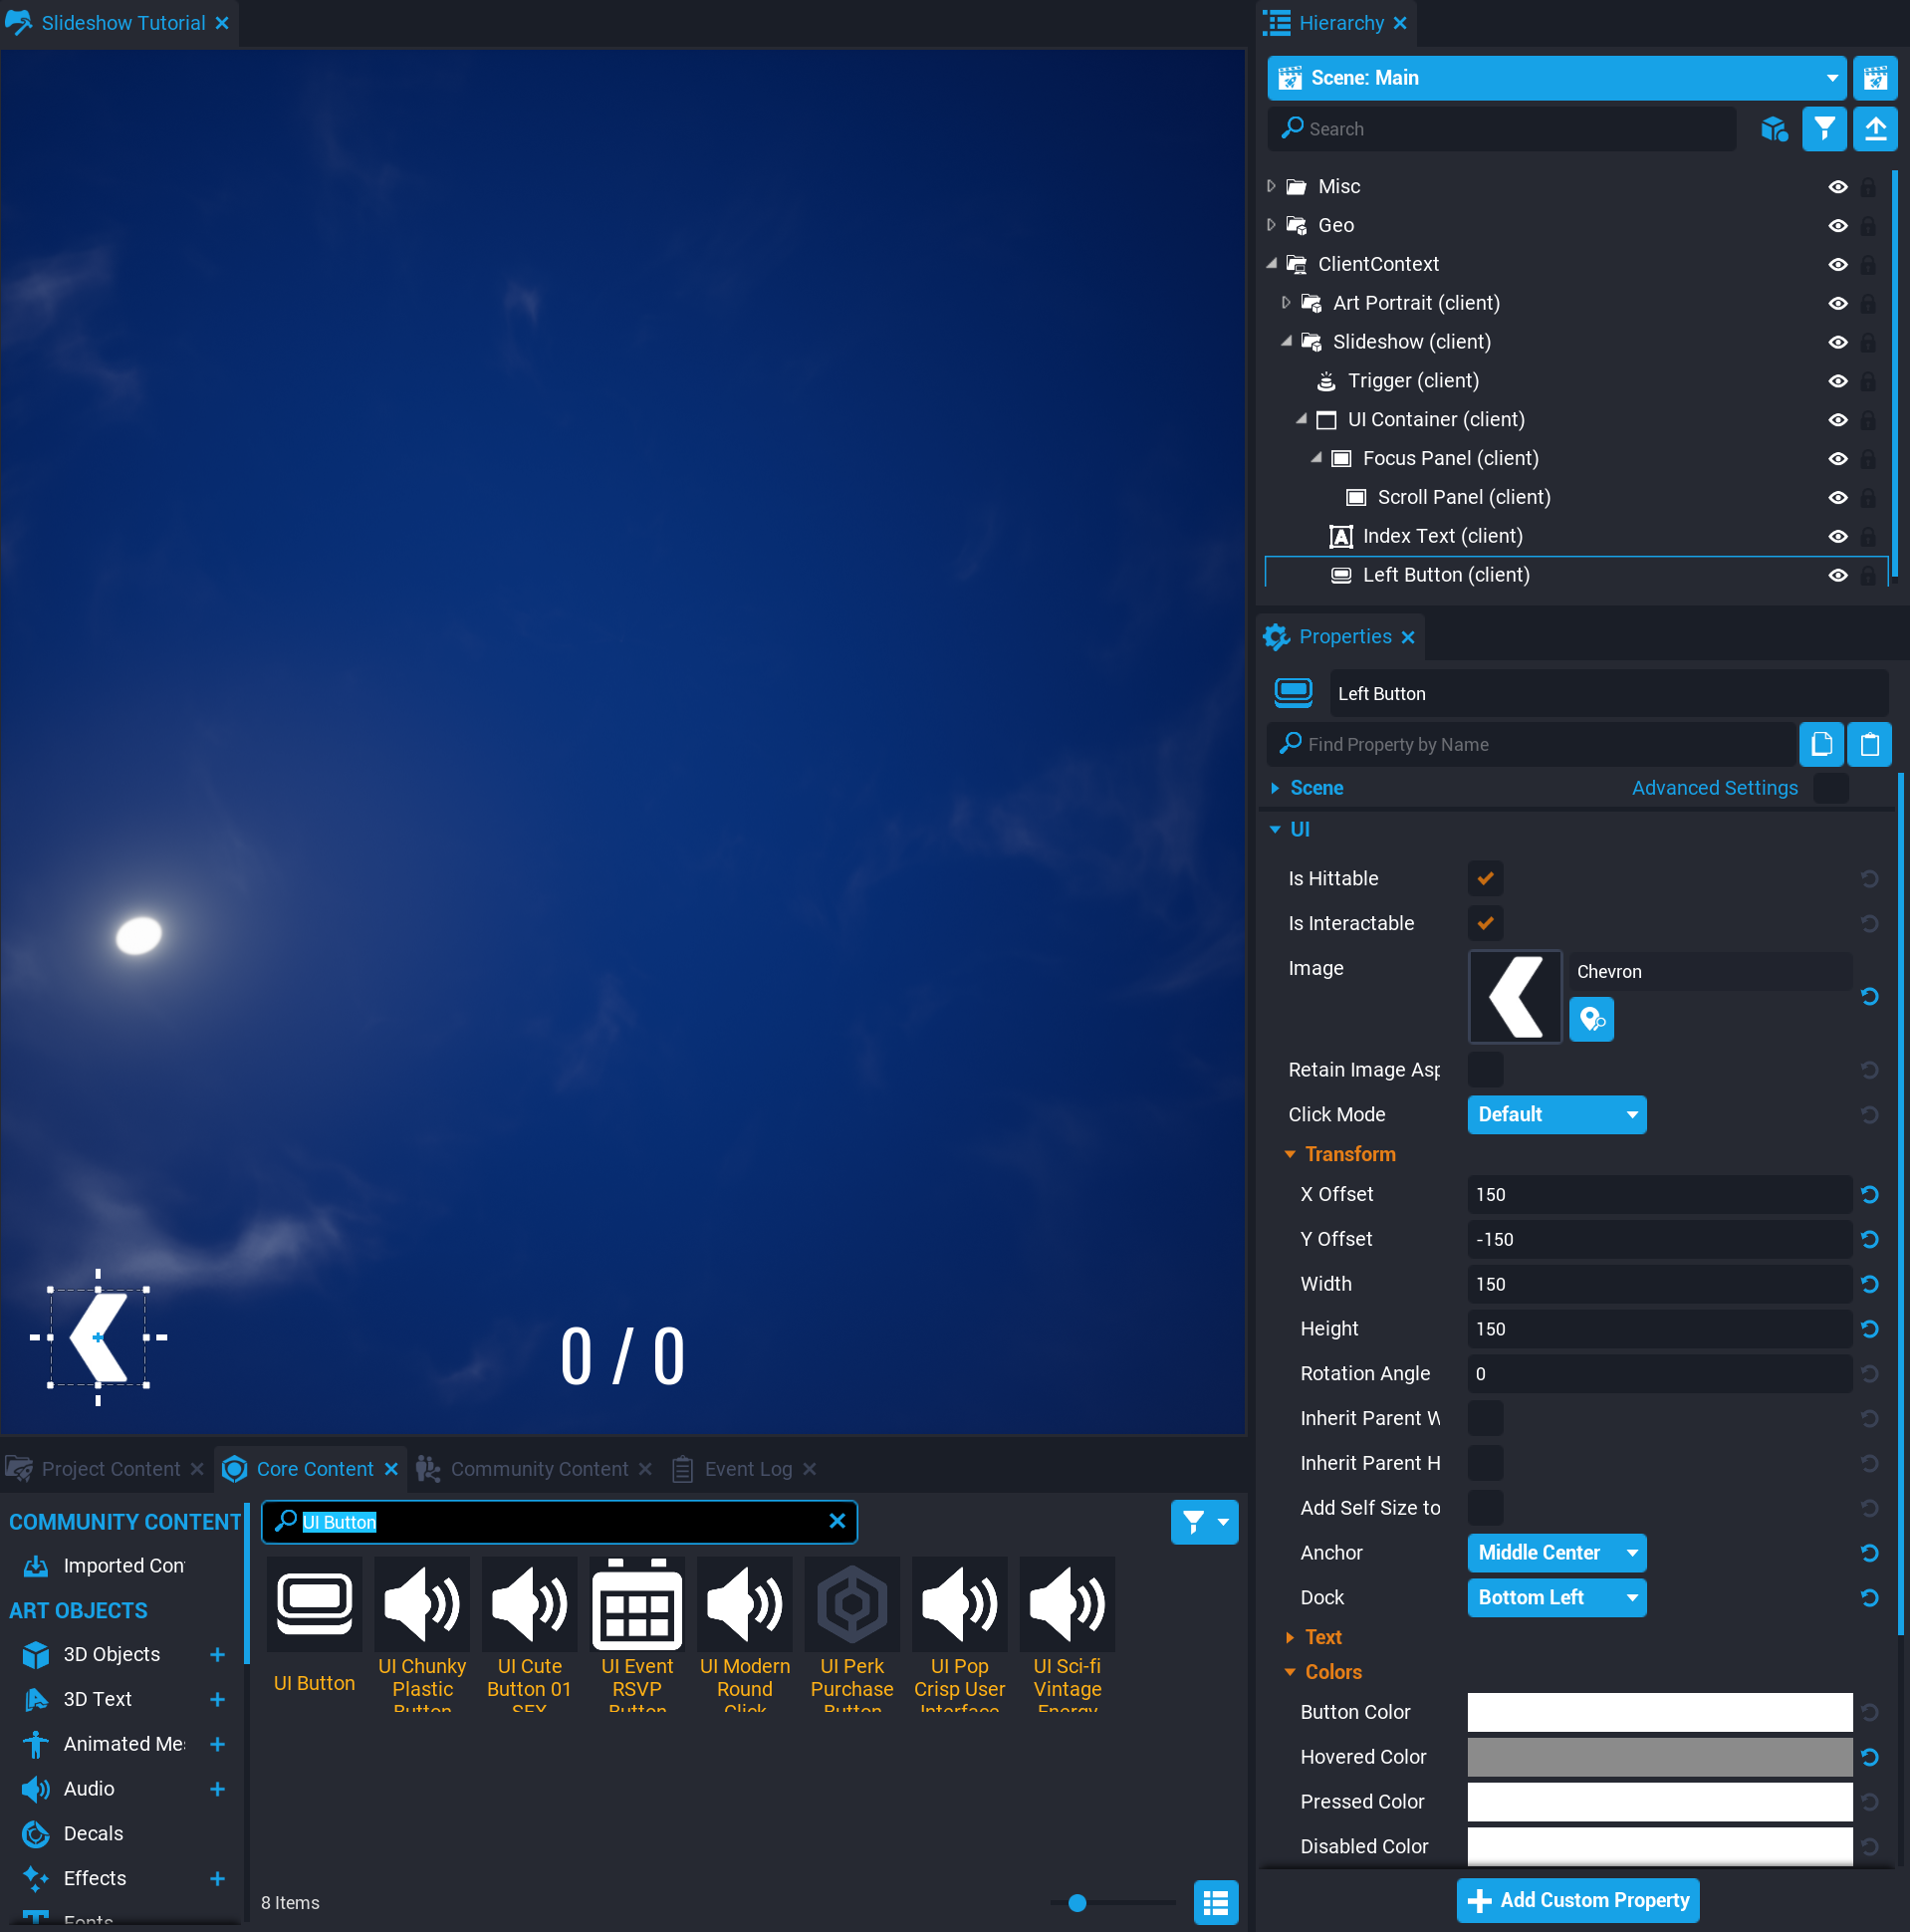
Left Button
Add a UI Button to the Slideshow's UI Container and rename it Left Button. Select Left Button and open the Properties window.
- Set the Image property to Chevron.
- Set the X Offset property to
150. - Set the Y Offset property to
-150. - Set the Width and Height property to
150. - Set the Anchor property to Middle Center.
- Set the Dock property to Bottom Left.
- Set the Hovered Color property to a darker color.
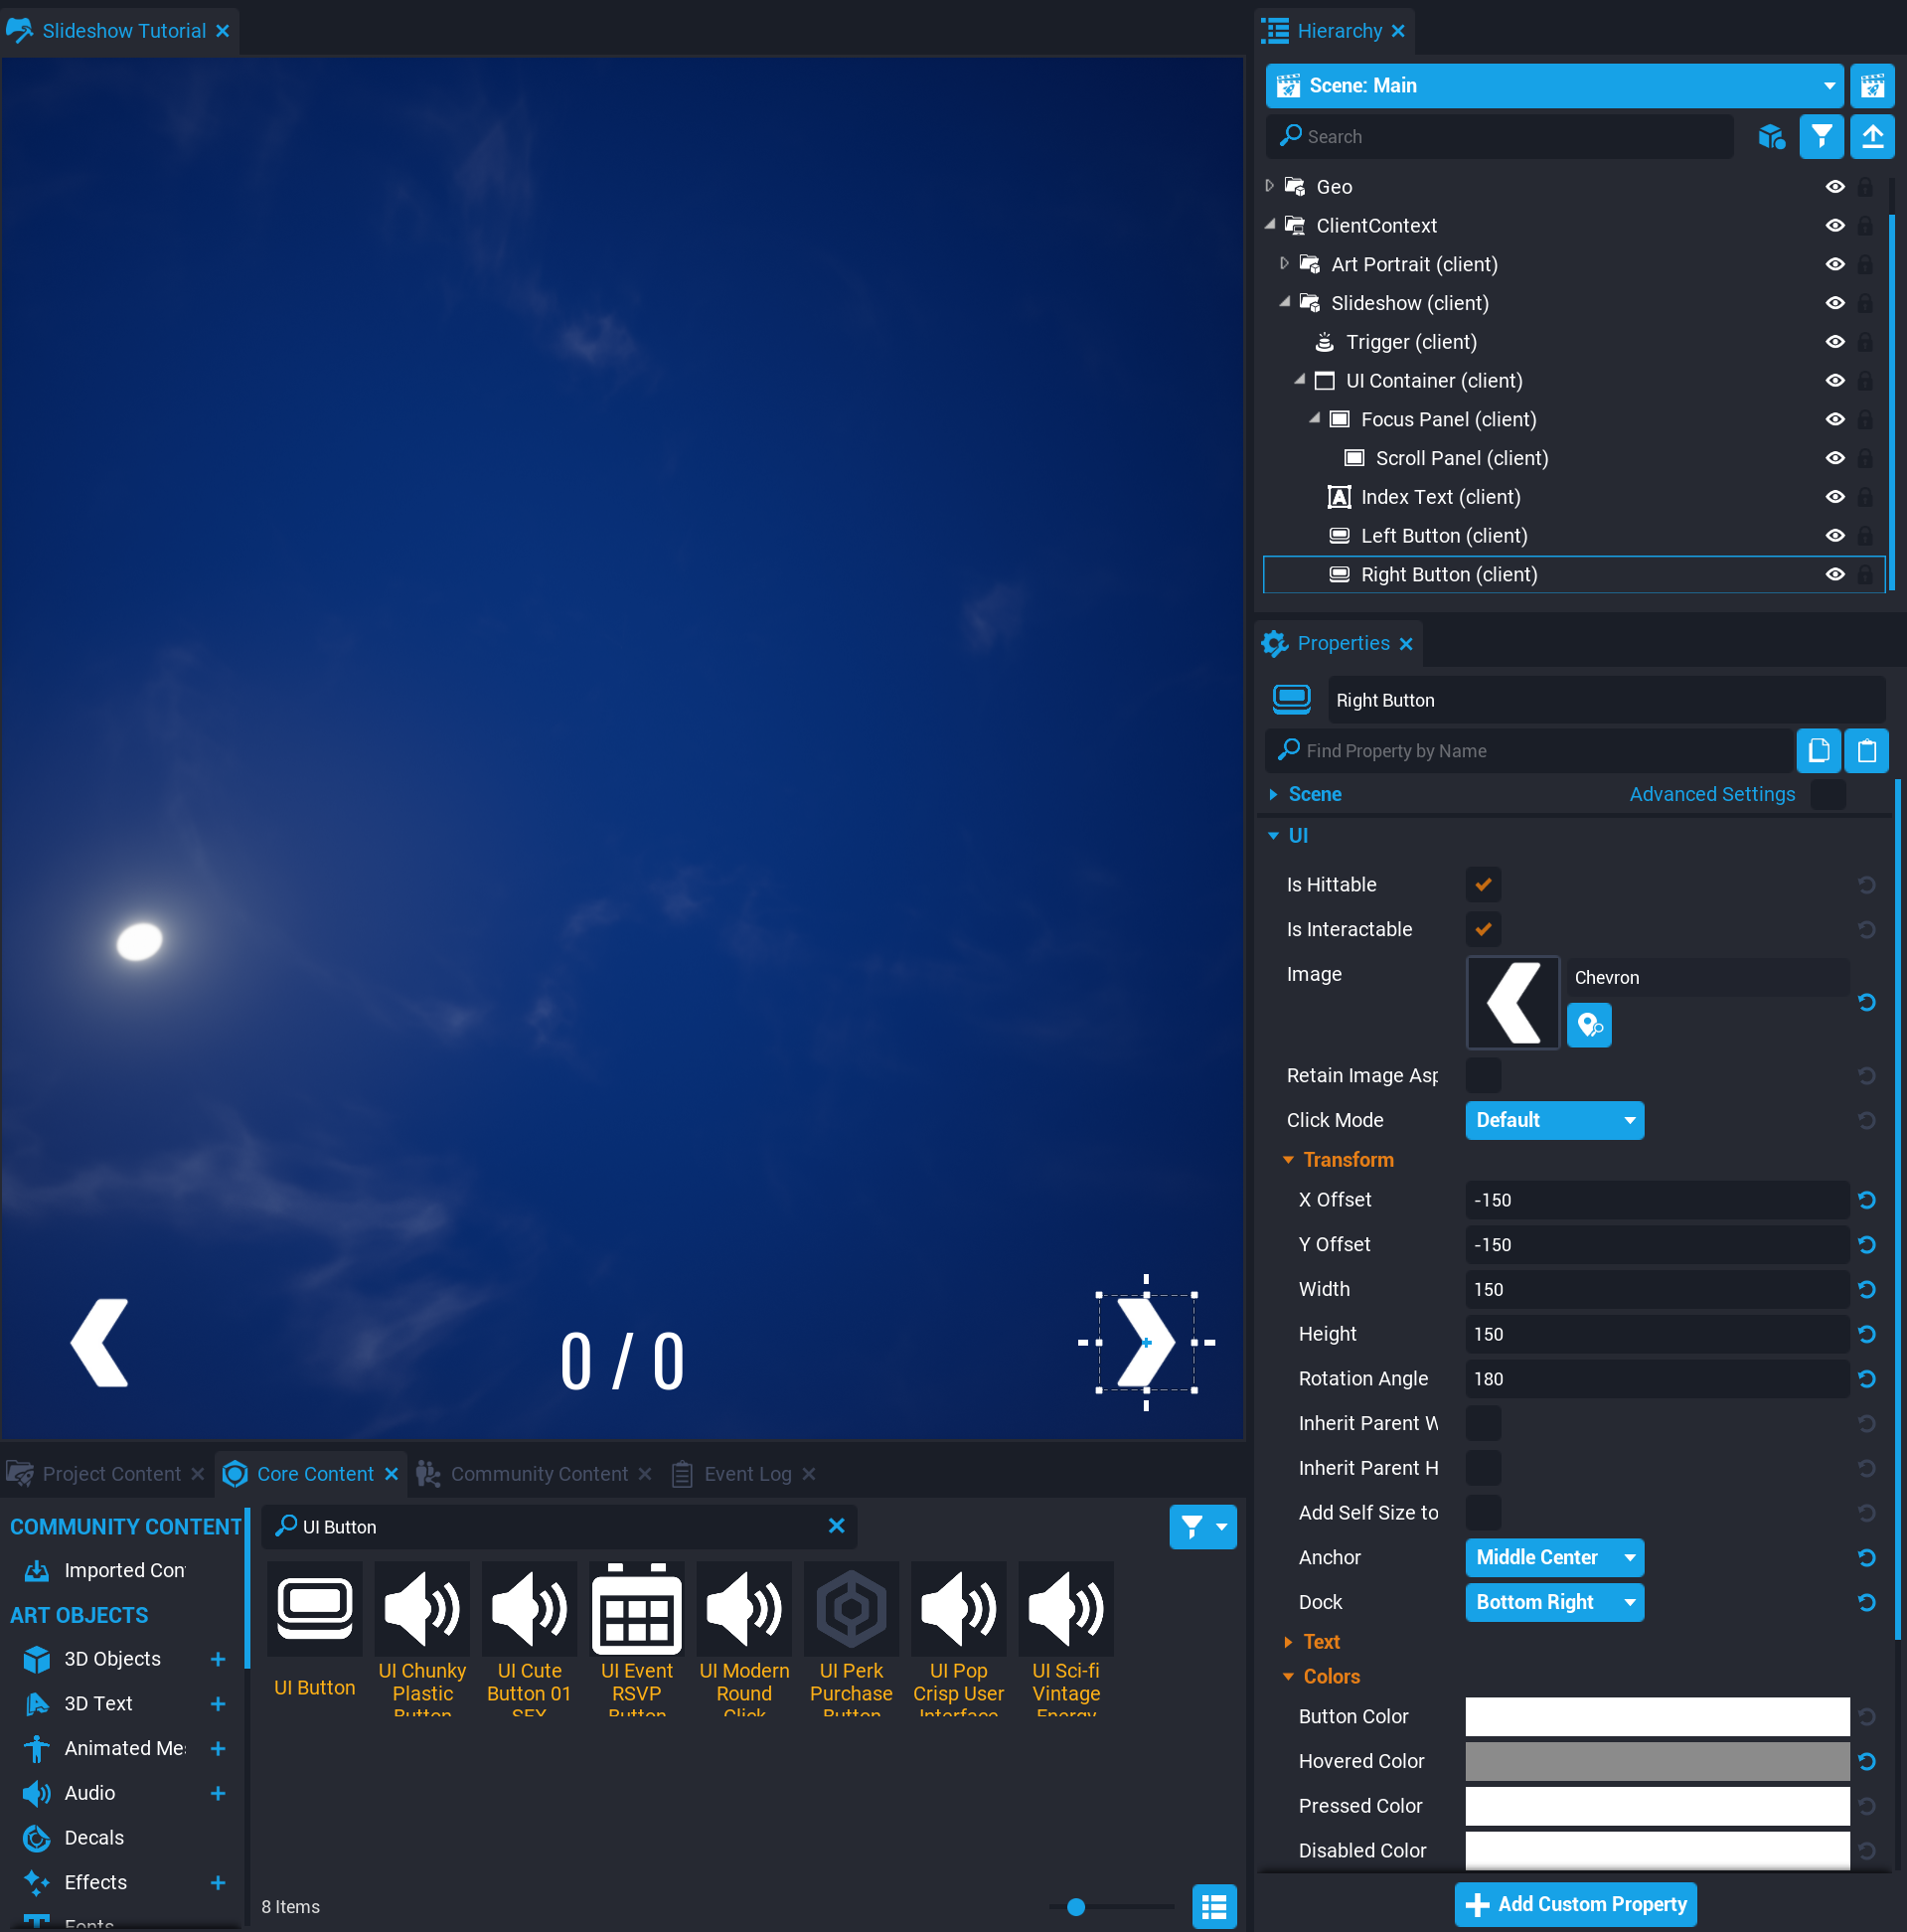
Right Button
Right click the Left Button and select Duplicate. Rename the duplicate Right Button. Select the Right Button and open the Properties window.
- Set the X Offset property to
-150. - Set the Rotation Angle property to
180. - Set the Dock property to Bottom Right.
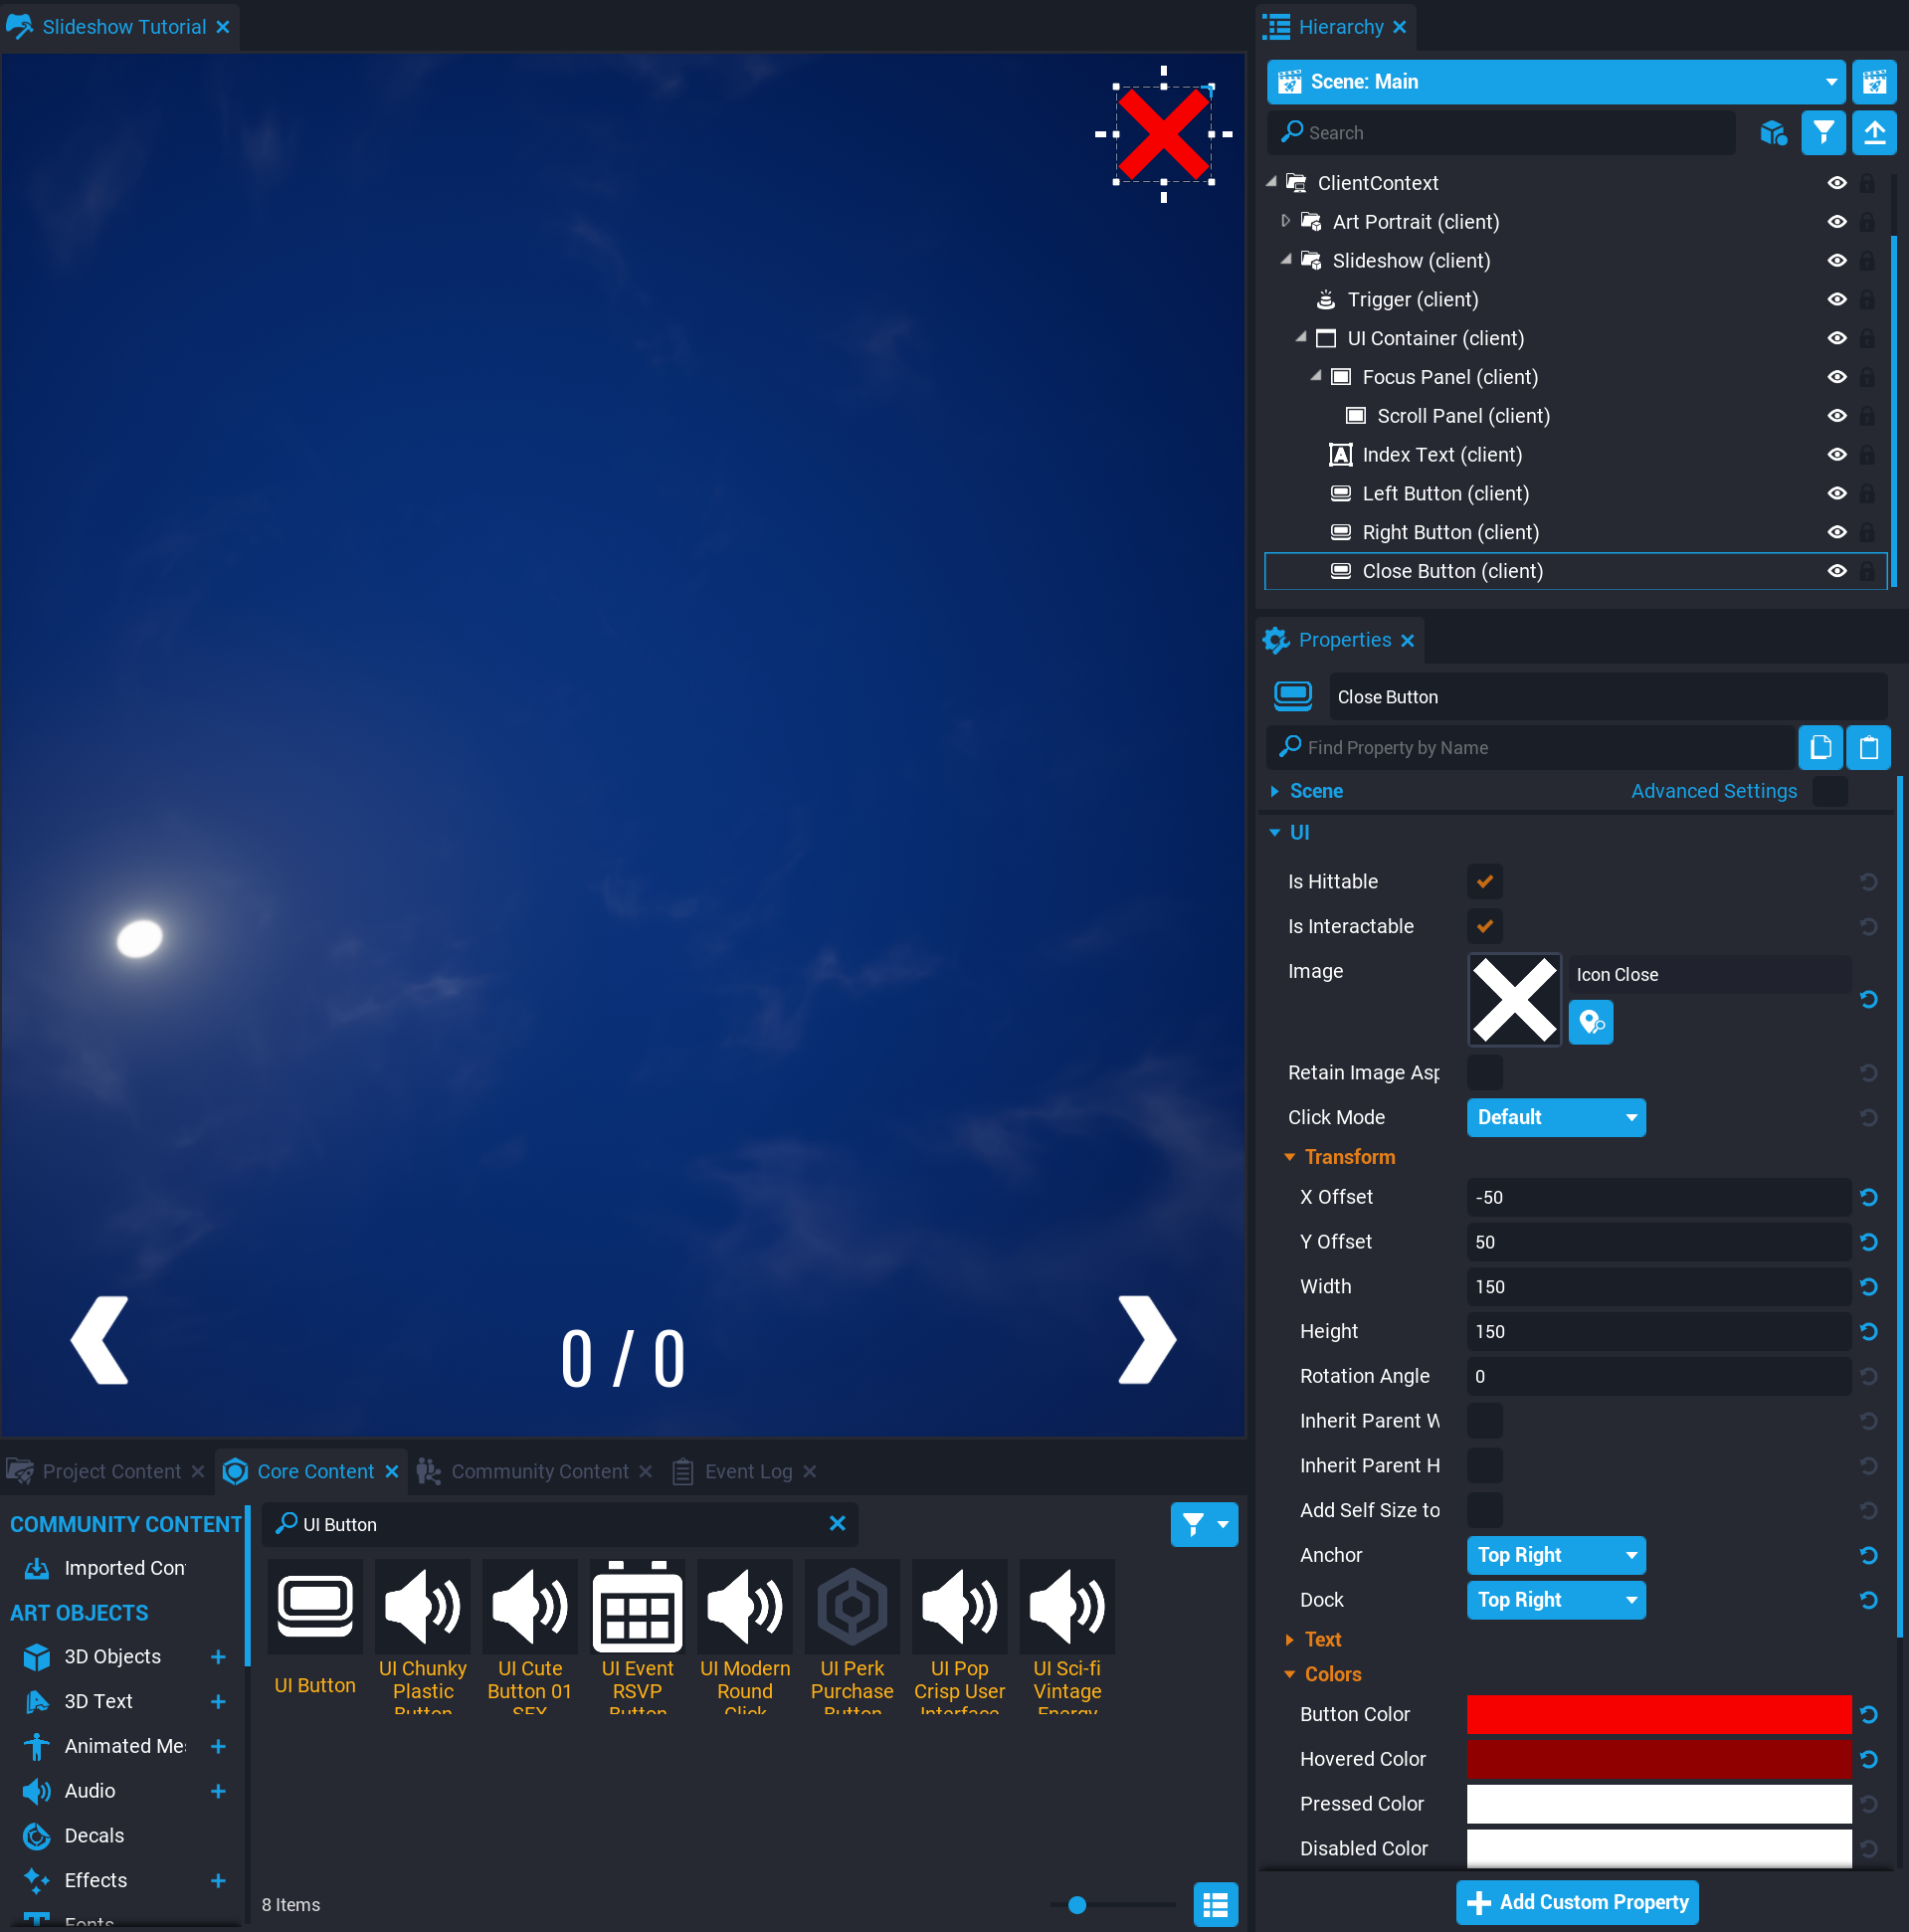
Close Button
The last component to add is a button to close the Slideshow UI. Add another UI Button to the Slideshow's UI Container and rename it Close Button. Select Close Button and open the Properties window.
- Set the Image property to Icon Close.
- Set the X Offset property to
-50. - Set the Y Offset property to
50. - Set the Width and Height property to
150. - Set the Anchor and Dock property to Top Right.
- Set the Button Color and Hovered Color property to shades of red.
NFT Slideshow Script
The last step for the Slideshow UI is the scripting to load the NFT images and give the UI components logic.
NFT Owner Address
The script will need an Owner Address to find a certain owner's CryptoPunk collection. This can be found on the OpenSea website when clicking on an owner's profile link. For this lesson, Snoop Dogg's collection will be used as an example.
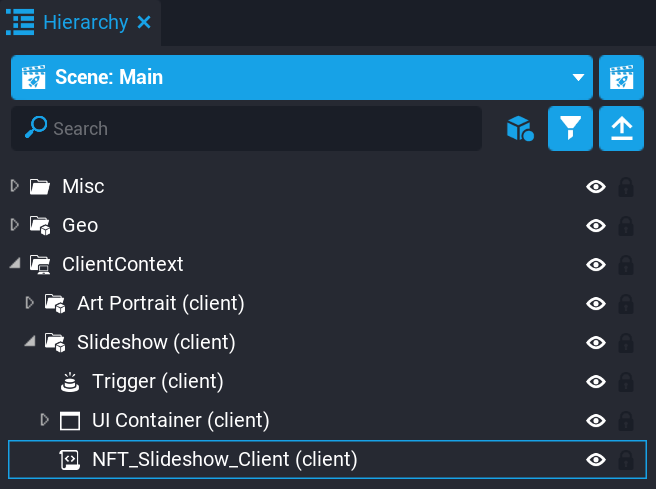
Create a New Script
Create a new script and name it NFT_Slideshow_Client. Add it to the Slideshow group in the Hierarchy.
Add Custom Properties
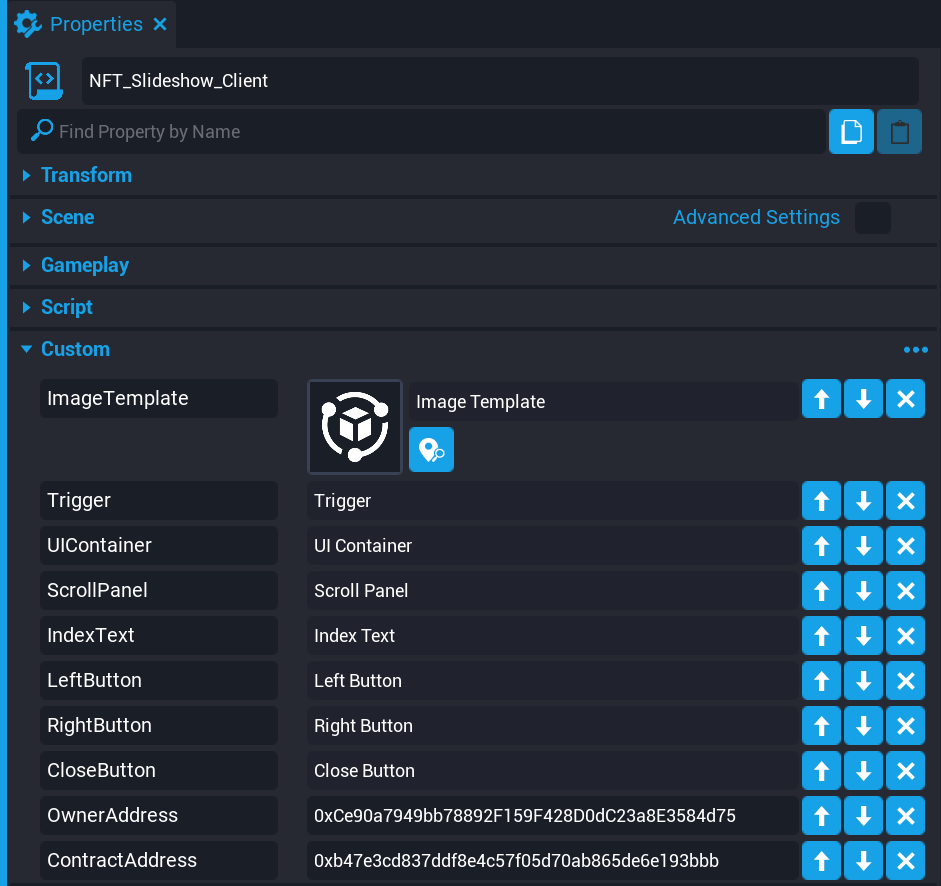
The script will need several custom properties for references and NFT options. Select the NFT_Slideshow_Client script and open the Properties window.
- From the Project Content window, add the Image Template as a custom property.
- From the Slideshow group, add the Trigger object as a custom property.
- Add the UI Container as a custom property.
- Add the Scroll Panel as a custom property.
- Add the Index Text as a custom property.
- Add the Left Button as a custom property.
- Add the Right Button as a custom property.
- Add the Close Button as a custom property.
- Create a new String custom property named
OwnerAddressand set it to0xCe90a7949bb78892F159F428D0dC23a8E3584d75. - Create a new String custom property named
ContractAddressand set it to0xb47e3cd837ddf8e4c57f05d70ab865de6e193bbb.
Add the Scripting
Double click the NFT_Slideshow_Client script to open the Script Editor window.
Reference the Custom Properties
Add the following code to create variables to store references for the custom properties.
local IMAGE_TEMPLATE = script:GetCustomProperty("ImageTemplate")
local TRIGGER = script:GetCustomProperty("Trigger"):WaitForObject()
local UICONTAINER = script:GetCustomProperty("UIContainer"):WaitForObject()
local SCROLL_PANEL = script:GetCustomProperty("ScrollPanel"):WaitForObject()
local INDEX_TEXT = script:GetCustomProperty("IndexText"):WaitForObject()
local LEFT_BUTTON = script:GetCustomProperty("LeftButton"):WaitForObject()
local RIGHT_BUTTON = script:GetCustomProperty("RightButton"):WaitForObject()
local CLOSE_BUTTON = script:GetCustomProperty("CloseButton"):WaitForObject()
local OWNER_ADDRESS = script:GetCustomProperty("OwnerAddress")
local CONTRACT_ADDRESS = script:GetCustomProperty("ContractAddress")
Create More Variables
Create more variables to track information about the slideshow. This includes the amount of images, the current image index, the size of images, and whether the player is overlapping the trigger.
local imageAmount = 0
local imageIndex = 0
local imageSize = 800
local isOverlapping = false
SetUIVisibility Function
Create a new function named SetUIVisibility to set the Slideshow UI and mouse cursor visibility. The function accepts a boolean parameter isVisible so the function can either activate or deactivate the UI.
local function SetUIVisibility(isVisible)
 UICONTAINER.visibility = isVisible and Visibility.FORCE_ON or Visibility.FORCE_OFF
 UI.SetCursorVisible(isVisible)
 UI.SetCanCursorInteractWithUI(isVisible)
end
UpdateUI Function
Create a new function named UpdateUI.
This will update the Index Text to show the current image index and amount. This will also set the Left and Right button's interactability depending on the image index. Lastly, the Scroll Panel will be moved to the position of the current image index.
local function UpdateUI()
 INDEX_TEXT.text = tostring(imageIndex) .. " / " .. tostring(imageAmount)
 LEFT_BUTTON.isInteractable = imageIndex > 1
 RIGHT_BUTTON.isInteractable = imageIndex < imageAmount
 SCROLL_PANEL.x = -(imageIndex - 1) * imageSize
end
CreateImages Function
Create a new function named CreateImages.
This function starts by using Blockchain.GetTokensFromOwner to return a BlockchainTokenCollection. In order to get all results from the collection, the while loop will continue until the collection has no more results. For each token from the results, an image will be created and the imageAmount is increased. Once all images are added, the Scroll Panel width is increased and the UI components are updated.
local function CreateImages()
 local collection = Blockchain.GetTokensForOwner(OWNER_ADDRESS, {contractAddress = CONTRACT_ADDRESS})
 local tokens

 while true do
  tokens = collection:GetResults()

  for _, token in ipairs(tokens) do
            local image = World.SpawnAsset(IMAGE_TEMPLATE, {parent = SCROLL_PANEL})
            image.x = imageAmount * imageSize
            image.width = imageSize
            image.height = imageSize
            image:SetBlockchainToken(token)
            imageAmount = imageAmount + 1
        end

        if collection.hasMoreResults then
         collection = collection:GetMoreResults()
        else
         SCROLL_PANEL.width = imageAmount * imageSize
         if imageAmount > 0 then
          imageIndex = 1
         end
         UpdateUI()
         return
        end
 end
end
Trigger Event Functions
Add three functions for the Trigger events. The trigger's interactability is toggled on and off based on the player being overlapped with the trigger. The Slideshow UI is displayed when the trigger is interacted and hidden if the player moves outside the trigger. Note the variable isOverlapping is being updated accordingly which will be useful for the Close Button click event.
local function OnBeginOverlap(trigger, other)
 if other:IsA("Player") then
  TRIGGER.isInteractable = true
  isOverlapping = true
 end
end

local function OnEndOverlap(trigger, other)
 if other:IsA("Player") then
  TRIGGER.isInteractable = false
  SetUIVisibility(false)
  isOverlapping = false

 end
end

local function OnInteracted(trigger, other)
 if other:IsA("Player") then
  TRIGGER.isInteractable = false
  SetUIVisibility(true)
 end
end
Button Event Functions
Add three new functions for each of the UI Button click events. The Left and Right buttons change the imageIndex variable and update the UI. The Close button hides the UI but also needs to make the Trigger interactable if the player is still overlapping it.
local function OnLeftButtonClicked(button)
 imageIndex = imageIndex - 1
 UpdateUI()
end

local function OnRightButtonClicked(button)
 imageIndex = imageIndex + 1
 UpdateUI()
end

local function OnCloseButtonClicked(button)
 SetUIVisibility(false)
 if isOverlapping then
  TRIGGER.isInteractable = true
 end
end
Connect the Event Functions
Connect the previously made functions to their respective events.
TRIGGER.beginOverlapEvent:Connect(OnBeginOverlap)
TRIGGER.endOverlapEvent:Connect(OnEndOverlap)
TRIGGER.interactedEvent:Connect(OnInteracted)

LEFT_BUTTON.clickedEvent:Connect(OnLeftButtonClicked)
RIGHT_BUTTON.clickedEvent:Connect(OnRightButtonClicked)
CLOSE_BUTTON.clickedEvent:Connect(OnCloseButtonClicked)
Run Initial Functions
Call these three initial functions.
When the script first runs, the Slideshow UI should be hidden and updated. The NFT tokens should then be loaded and created into images which may take some time.
SetUIVisibility(false)
UpdateUI()
CreateImages()
The NFT_Slideshow_Client Script
NFT_Slideshow_Client Script
local IMAGE_TEMPLATE = script:GetCustomProperty("ImageTemplate")
local TRIGGER = script:GetCustomProperty("Trigger"):WaitForObject()
local UICONTAINER = script:GetCustomProperty("UIContainer"):WaitForObject()
local SCROLL_PANEL = script:GetCustomProperty("ScrollPanel"):WaitForObject()
local INDEX_TEXT = script:GetCustomProperty("IndexText"):WaitForObject()
local LEFT_BUTTON = script:GetCustomProperty("LeftButton"):WaitForObject()
local RIGHT_BUTTON = script:GetCustomProperty("RightButton"):WaitForObject()
local CLOSE_BUTTON = script:GetCustomProperty("CloseButton"):WaitForObject()
local OWNER_ADDRESS = script:GetCustomProperty("OwnerAddress")
local CONTRACT_ADDRESS = script:GetCustomProperty("ContractAddress")

local imageAmount = 0
local imageIndex = 0
local imageSize = 800
local isOverlapping = false

local function SetUIVisibility(isVisible)
    UICONTAINER.visibility = isVisible and Visibility.FORCE_ON or Visibility.FORCE_OFF
    UI.SetCursorVisible(isVisible)
    UI.SetCanCursorInteractWithUI(isVisible)
end

local function UpdateUI()
    INDEX_TEXT.text = tostring(imageIndex) .. " / " .. tostring(imageAmount)
    LEFT_BUTTON.isInteractable = imageIndex > 1
    RIGHT_BUTTON.isInteractable = imageIndex < imageAmount
    SCROLL_PANEL.x = -(imageIndex - 1) * imageSize
end

local function CreateImages()
    local collection = Blockchain.GetTokensForOwner(OWNER_ADDRESS, {contractAddress = CONTRACT_ADDRESS})
    local tokens

    while true do
        tokens = collection:GetResults()

        for _, token in ipairs(tokens) do
            local image = World.SpawnAsset(IMAGE_TEMPLATE, {parent = SCROLL_PANEL})
            image.x = imageAmount * imageSize
            image.width = imageSize
            image.height = imageSize
            image:SetBlockchainToken(token)
            imageAmount = imageAmount + 1
        end

        if collection.hasMoreResults then
            collection = collection:GetMoreResults()
        else
            SCROLL_PANEL.width = imageAmount * imageSize
            if imageAmount > 0 then
                imageIndex = 1
            end
            UpdateUI()
            return
        end
    end
end

local function OnBeginOverlap(trigger, other)
    if other:IsA("Player") then
        TRIGGER.isInteractable = true
        isOverlapping = true
    end
end

local function OnEndOverlap(trigger, other)
    if other:IsA("Player") then
        TRIGGER.isInteractable = false
        SetUIVisibility(false)
        isOverlapping = false

    end
end

local function OnInteracted(trigger, other)
    if other:IsA("Player") then
        TRIGGER.isInteractable = false
        SetUIVisibility(true)
    end
end

local function OnLeftButtonClicked(button)
    imageIndex = imageIndex - 1
    UpdateUI()
end

local function OnRightButtonClicked(button)
    imageIndex = imageIndex + 1
    UpdateUI()
end

local function OnCloseButtonClicked(button)
    SetUIVisibility(false)
    if isOverlapping then
        TRIGGER.isInteractable = true
    end
end

TRIGGER.beginOverlapEvent:Connect(OnBeginOverlap)
TRIGGER.endOverlapEvent:Connect(OnEndOverlap)
TRIGGER.interactedEvent:Connect(OnInteracted)

LEFT_BUTTON.clickedEvent:Connect(OnLeftButtonClicked)
RIGHT_BUTTON.clickedEvent:Connect(OnRightButtonClicked)
CLOSE_BUTTON.clickedEvent:Connect(OnCloseButtonClicked)

SetUIVisibility(false)
UpdateUI()
CreateImages()
Preview the Project
The Slideshow UI should now work and display all of Snoop Dogg's CryptoPunk NFTs.
Summary
The new Blockchain API has some cool functions to retrieve NFT data from a specific token and a collection of tokens. The retrieved data can be displayed on a UI Image to allow players to see it in a Core project. This is a narrow example of how NFTs can be used in a project. There are many more possibilities such as getting NFTs from a player or using the NFT data to spawn objects in a game.
Learn More
Blockchain API | UI Image API | NFT Inventory Loot Tutorial | Blockchain Reference | UI Reference