Media Library
Overview
The Media Library in Core allows creators to upload content to their account which can be displayed in any of the creator's games.
Content that can be uploaded such as images supports JPEG, JPG, and PNG, along with support for transparency.
There is an account limit of 1,000 images or 104 MB, whichever is hit first. Individual images have a 5 MB limit.
Opening the Media Library
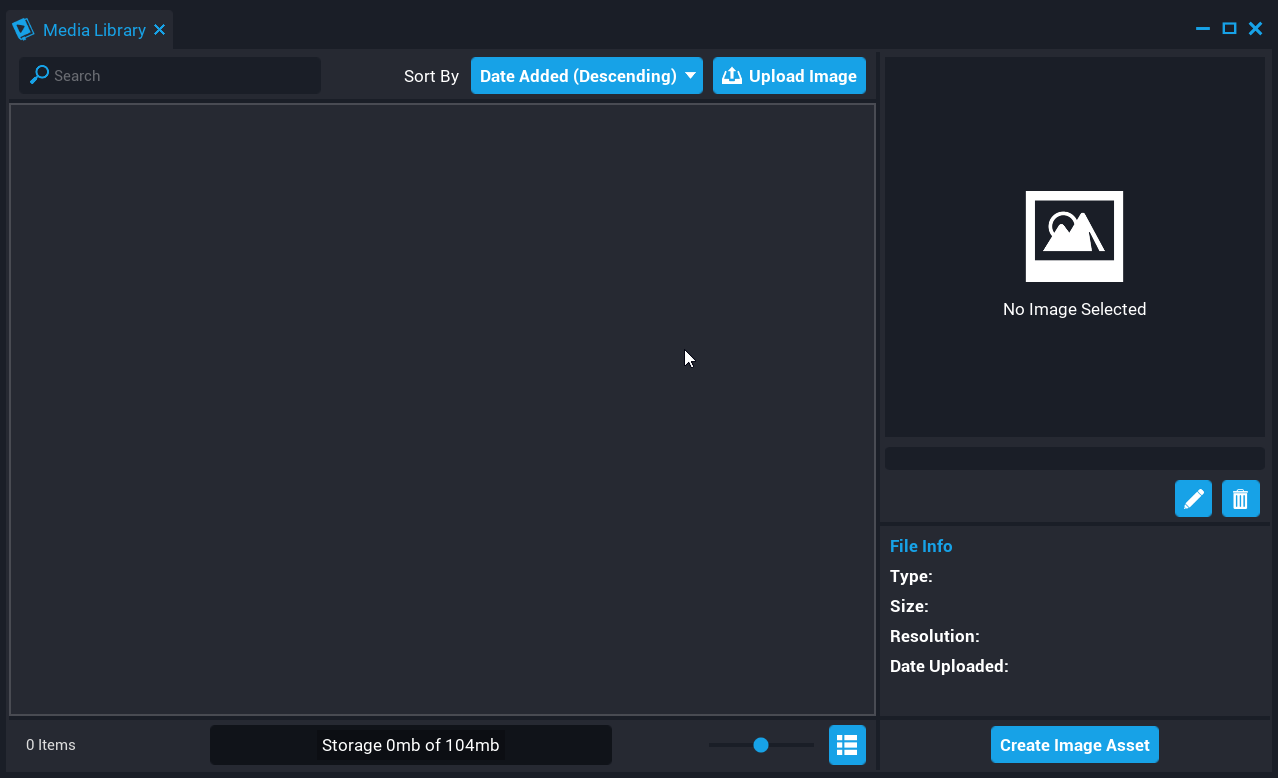
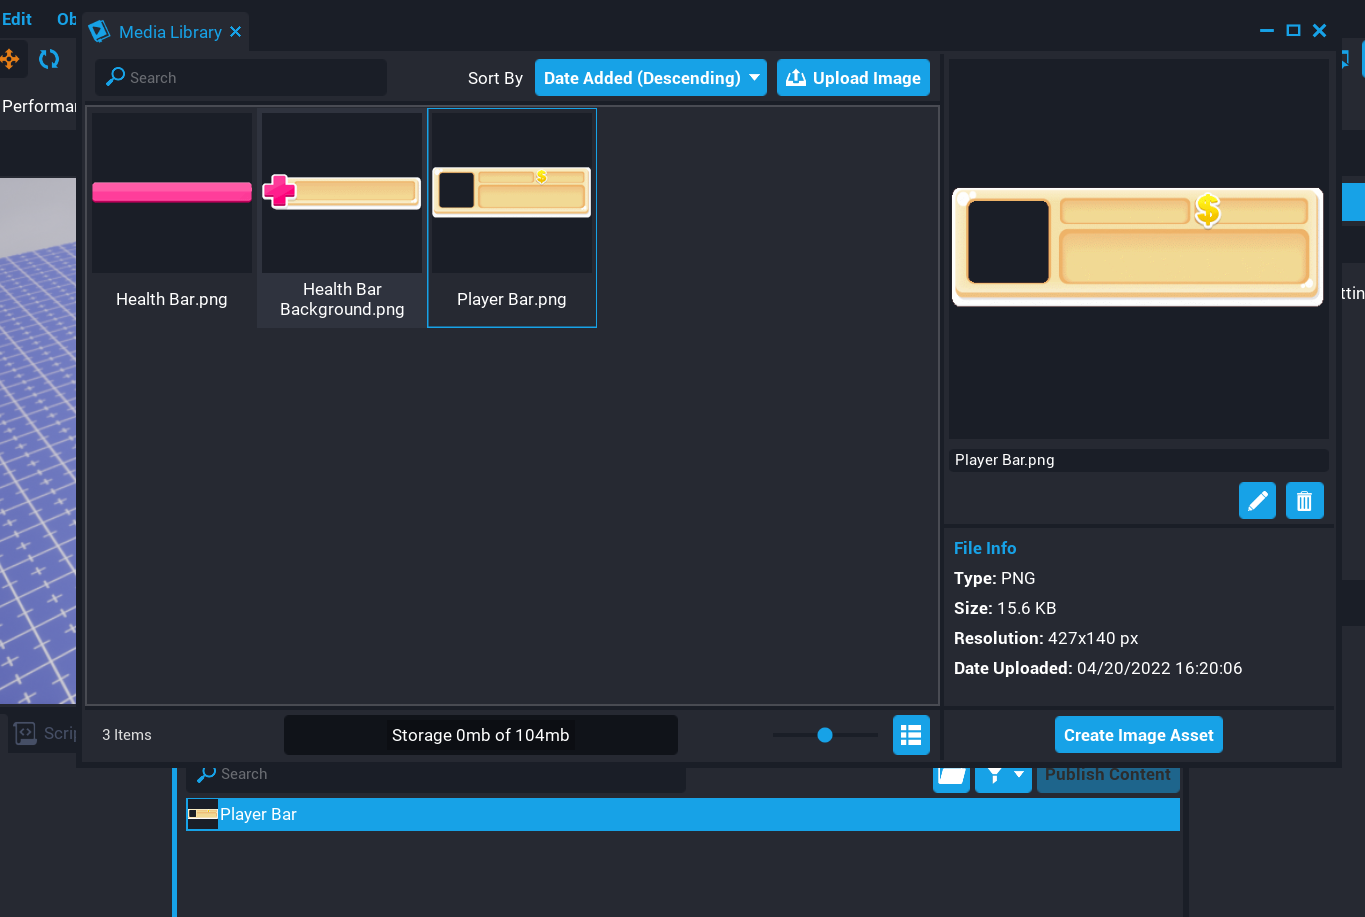
The Media Library can be opened by selecting Media Library from the Window menu. From this window, creators can view, rename, and delete content they have uploaded to the account.
The Medial Library will show all content uploaded by the creator. The uploaded content is tied to the creator's account, not to a project. This gives creators flexibility with using content from the Media library in any of their projects.
The Media Library will show how much space the creator has left at the bottom of the window. The amount of space available is per creator account.
Uploading Content
Creators can upload JPEG, JPG, and PNG files to the Media Library by clicking on the Upload Image button. When the Upload Image button is clicked on, a file dialog will appear where creators can browse for the image they want to upload to their library.
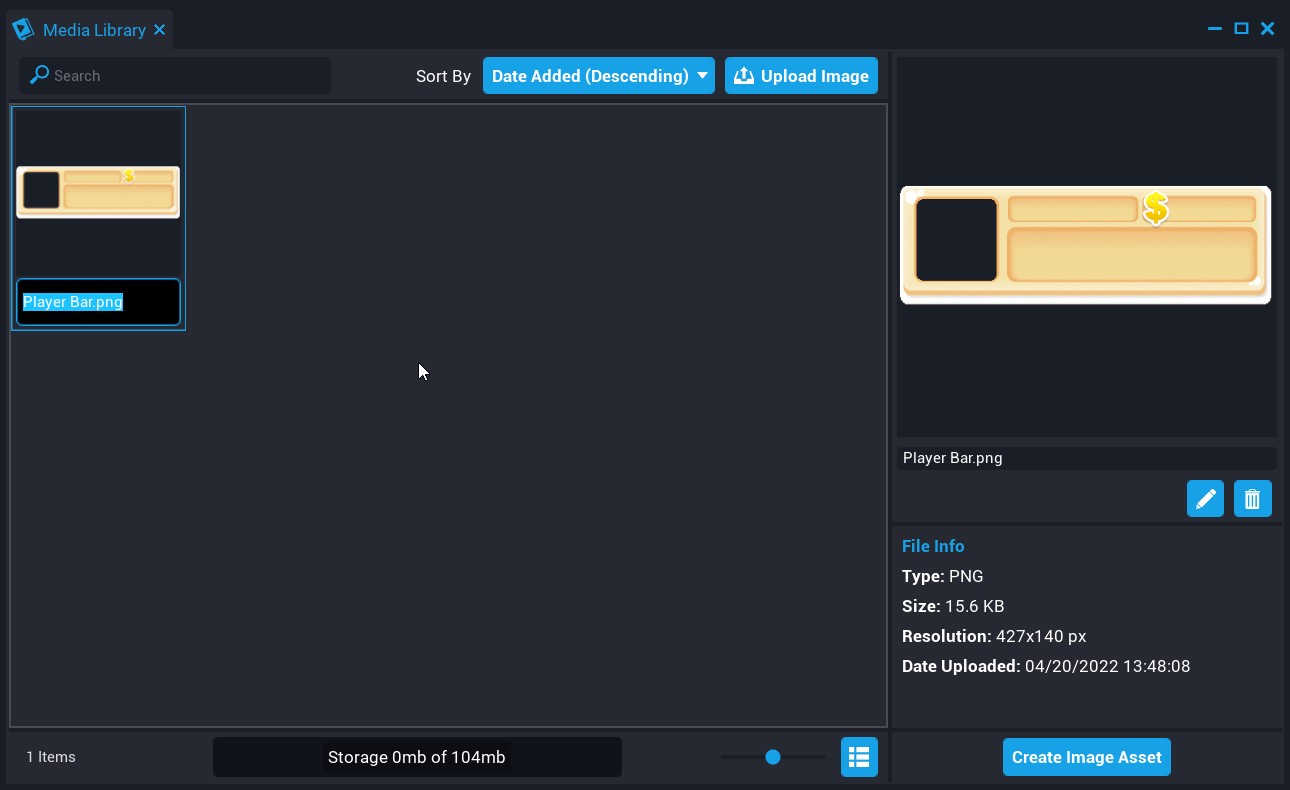
After the selected image has been uploaded, it will appear in the library where you can view, rename, or delete it. On the right side of the Media Library, information about the image will be displayed.
Community Content / Shared Projects
Because the content in the Media Library is tied to a creator's account, it is currently not possible to share templates or projects using Media Library content from creators.
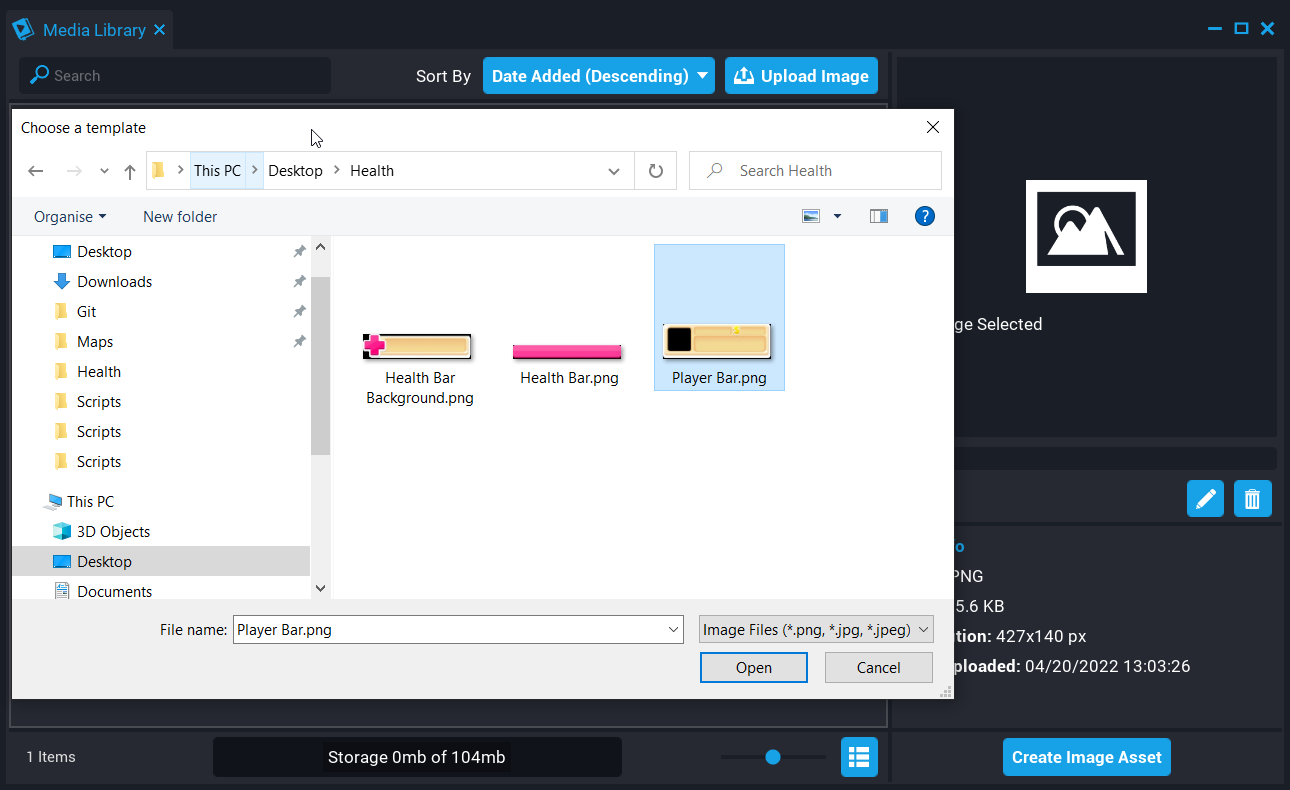
 File Dialog Browser (left) - Uploaded Image (right)
Creating Image Assets
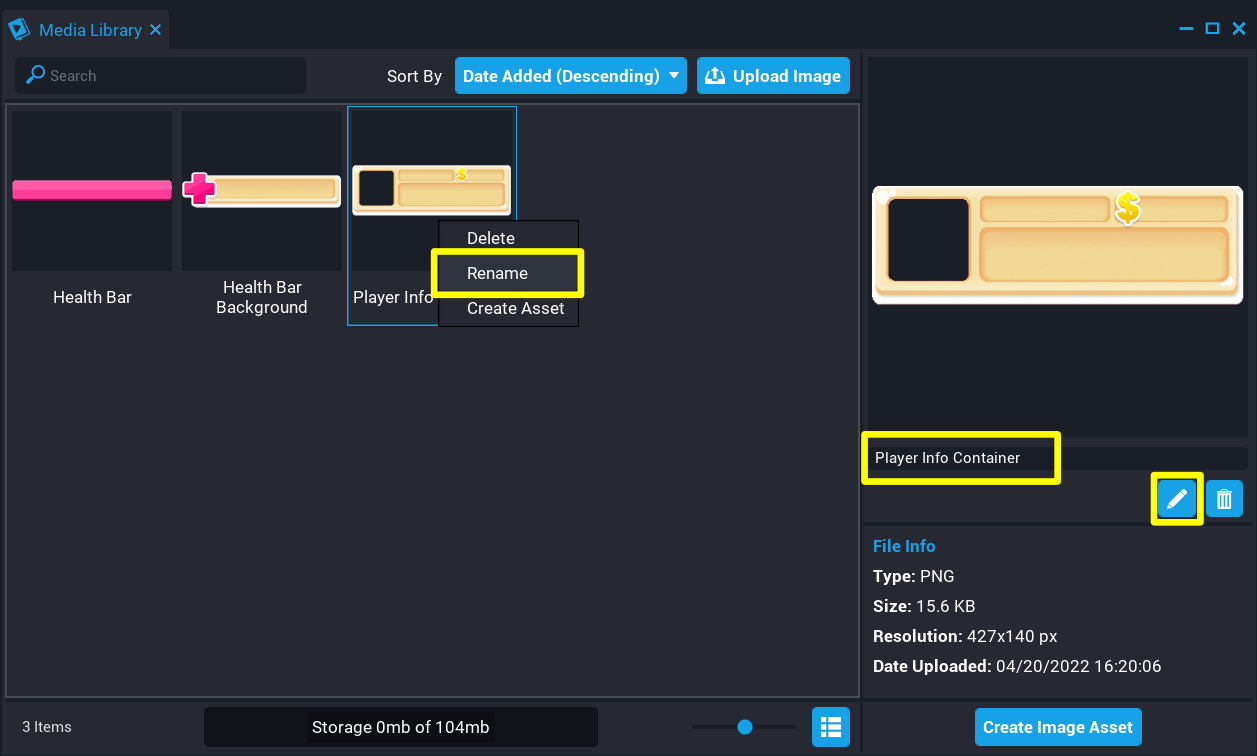
Creating an image asset can be done from the Media Library by clicking on an existing image and then clicking the Create Image Asset. Creators can also right-click on the image and select Create Asset.
Creating an asset will create an image brush in My Brushes that will be added to the existing project that can be used.
Renaming Content
Images in the Media Library can be renamed by right-clicking on the image and selecting Rename, or from the preview panel in the Media Library. Renaming an image allows creators to keep their Media Library content organized.
Notice how the content in the image below is named according to what they are which makes finding these images much easier as the library gets bigger.
Deleting Content
Deleting images from the Media Library can be done by right-clicking on the image and selecting Delete, or from the preview panel in the Media Library. Deleting an image will delete it from the Media Library, and brushes that have been created using that image in any of the creator's projects will show up as white in the game as the image will no longer be valid.

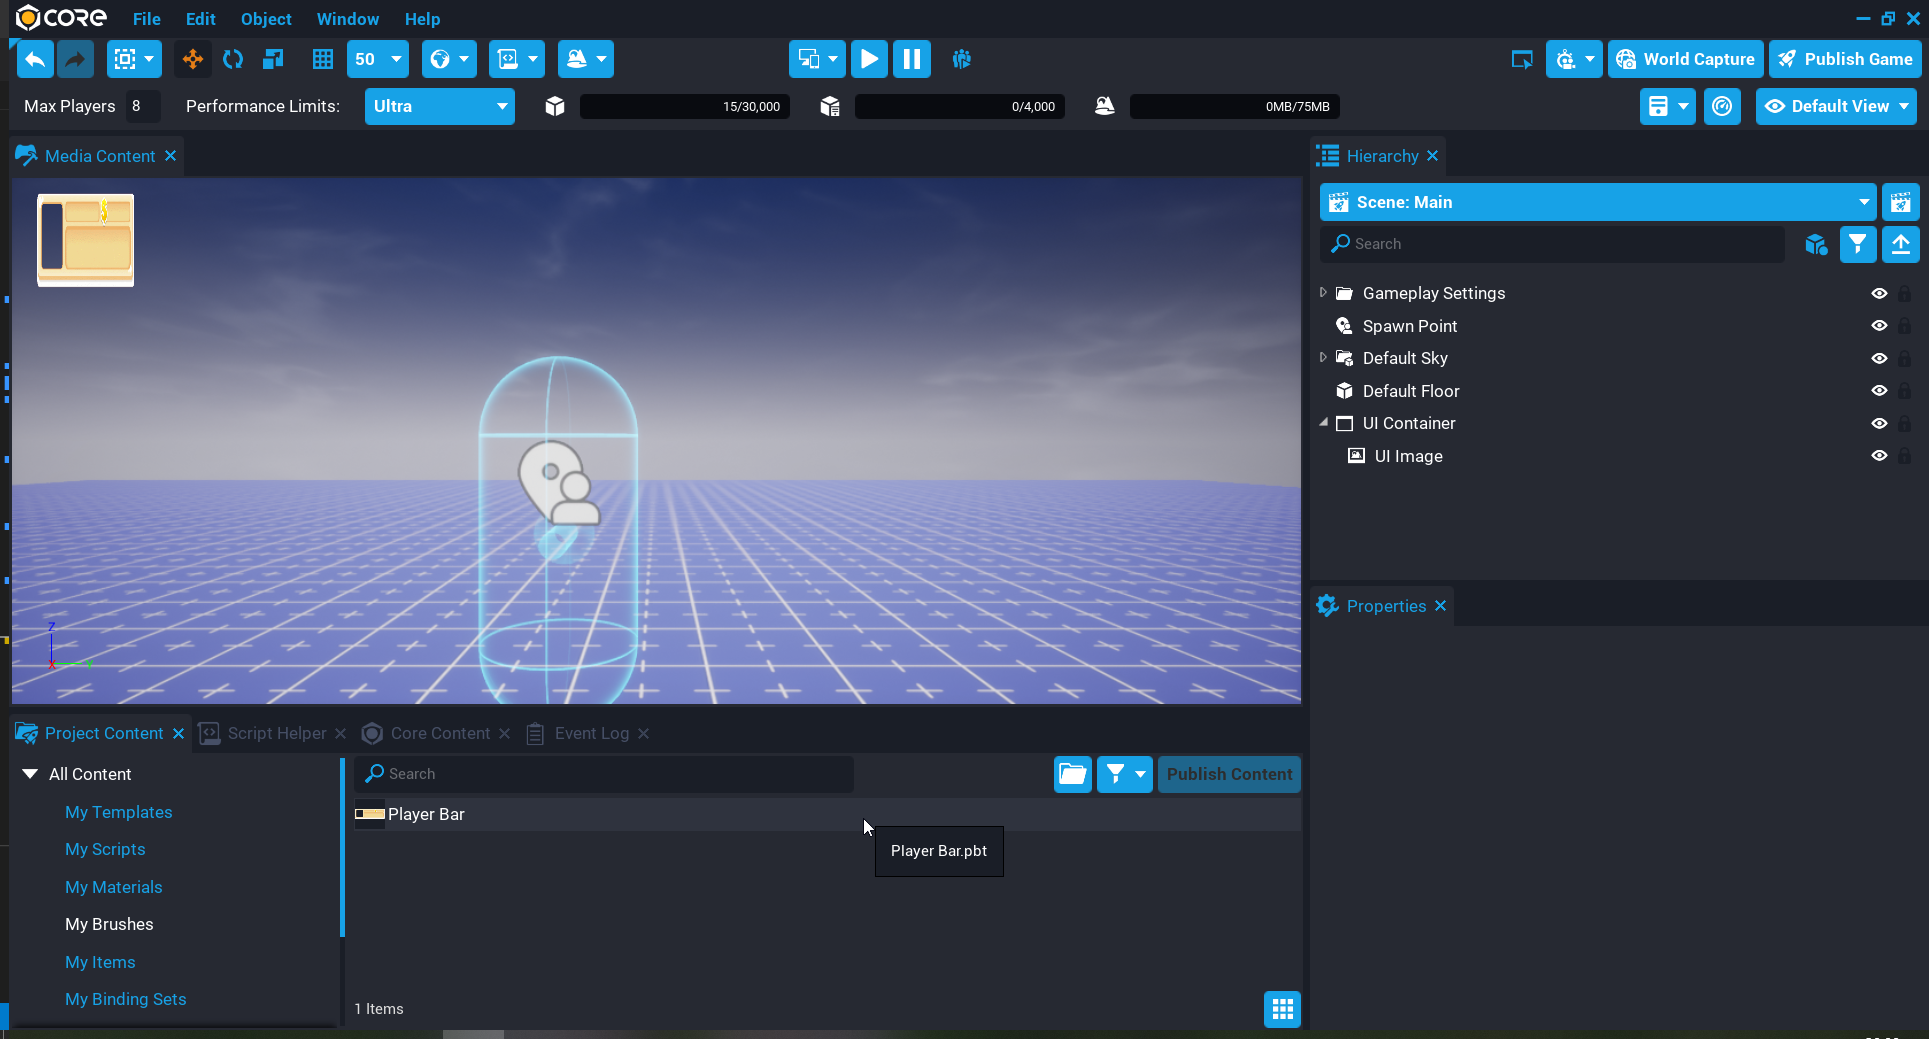
My Brushes
All assets created from the Media Library can be found in My Brushes in the Project Content window. These brushes can be used in the UI by dragging them into the preview window or Hierarchy.
If a brush is not added to an existing UI Container, then one will be created automatically.
Retaining Aspect Ratio
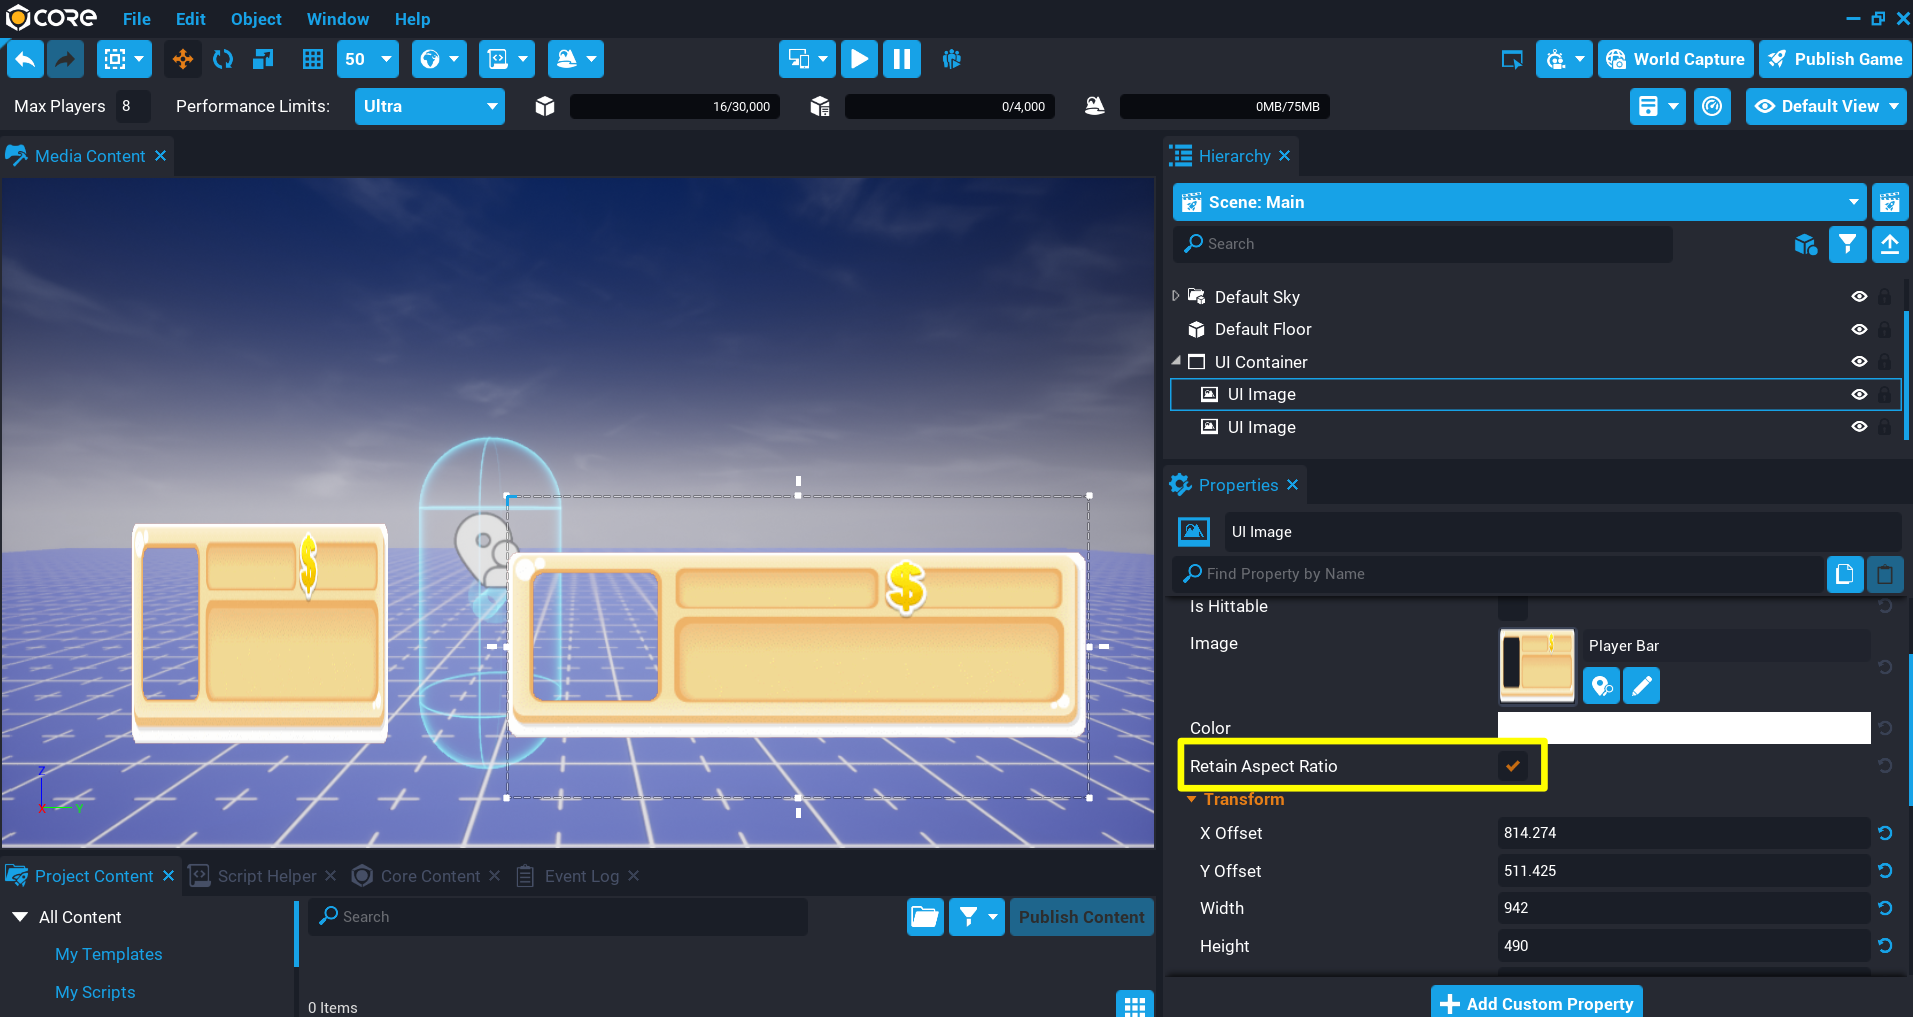
Creators may notice that brushes that get added to the Hierarchy do not maintain the original aspect ratio of the image. By enabling the option Retain Aspect Ratio in the Properties window of the UI Image, the aspect ratio will be retained regardless of its given dimensions.
In the image below, the left UI Image does not have Retain Aspect Ratio enabled, whereas the right UI image does. This can still be scaled but will retain the aspect ratio.
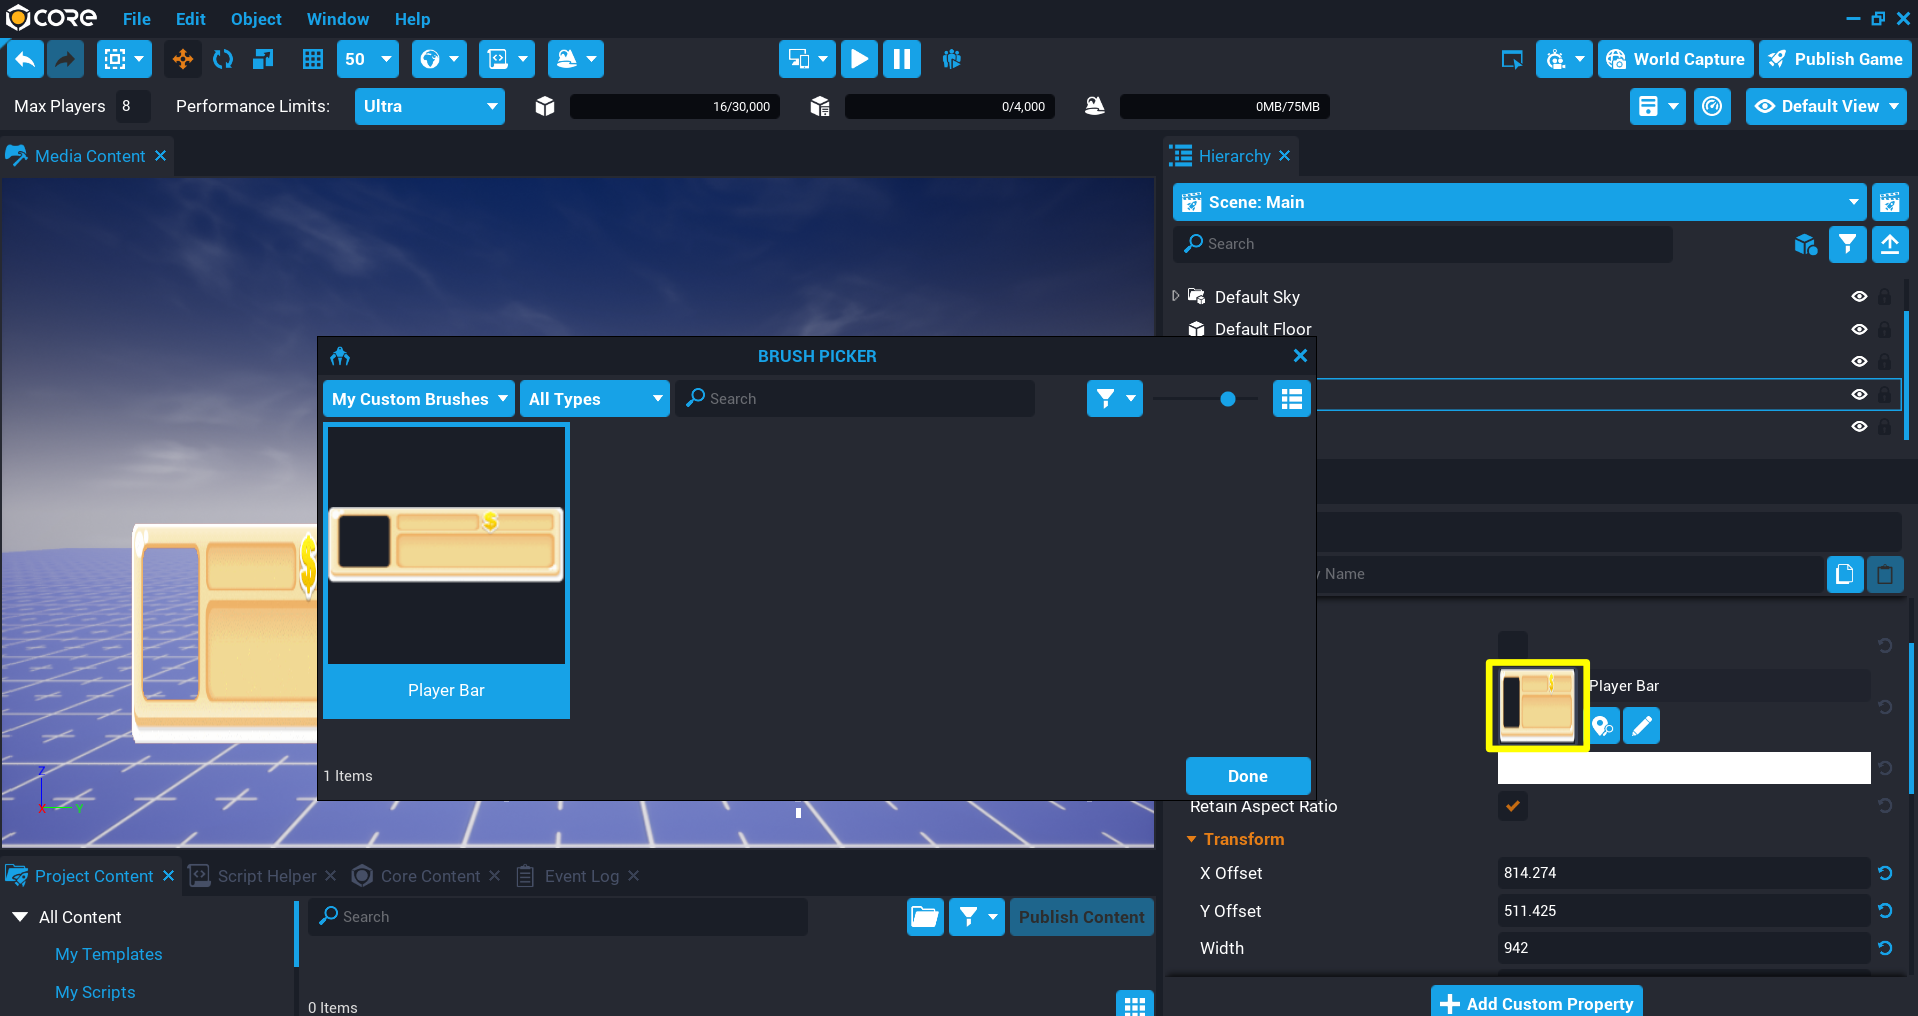
Brush Picker
The Brush Picker window will allow creators to find Core Base Brushes and their brushes quickly when needing to swap out an existing brush. The Core Base Brushes can be filtered by selecting a type from the filter drop-down.