Interconnected Games
Introduction
Core makes it easy for players to move between games, and for creators to link multiple games together into a massive, interconnected game world. Creators can offer portals to any other creator's game, but they can also save data between their own projects, and create parent-child game relationships that put players in one main game while they move through others.
Jumping Between Games
You can direct players to another game through both a Game Portal Core Object and through a simple line of code. The only thing required is the Game ID, which is part of the game page's URL on coregames.com.
Find a Game ID
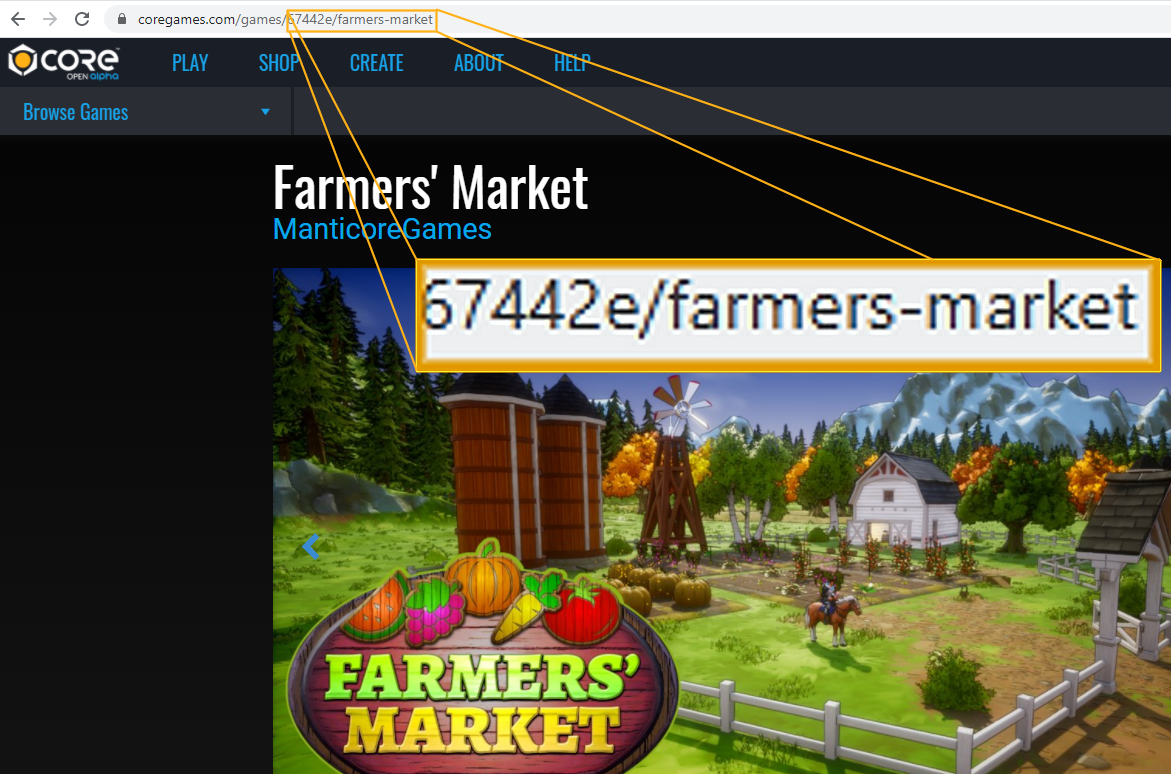
- Navigate to your game page. You can do this by following the shareable link from the create menu, or by searching for the game title at coregames.com.
- In the URL in the top, you should see something that beings with coregames.com/games/. Copy everything that comes after that part of the URL. This is the Game ID
The Game Portal Object
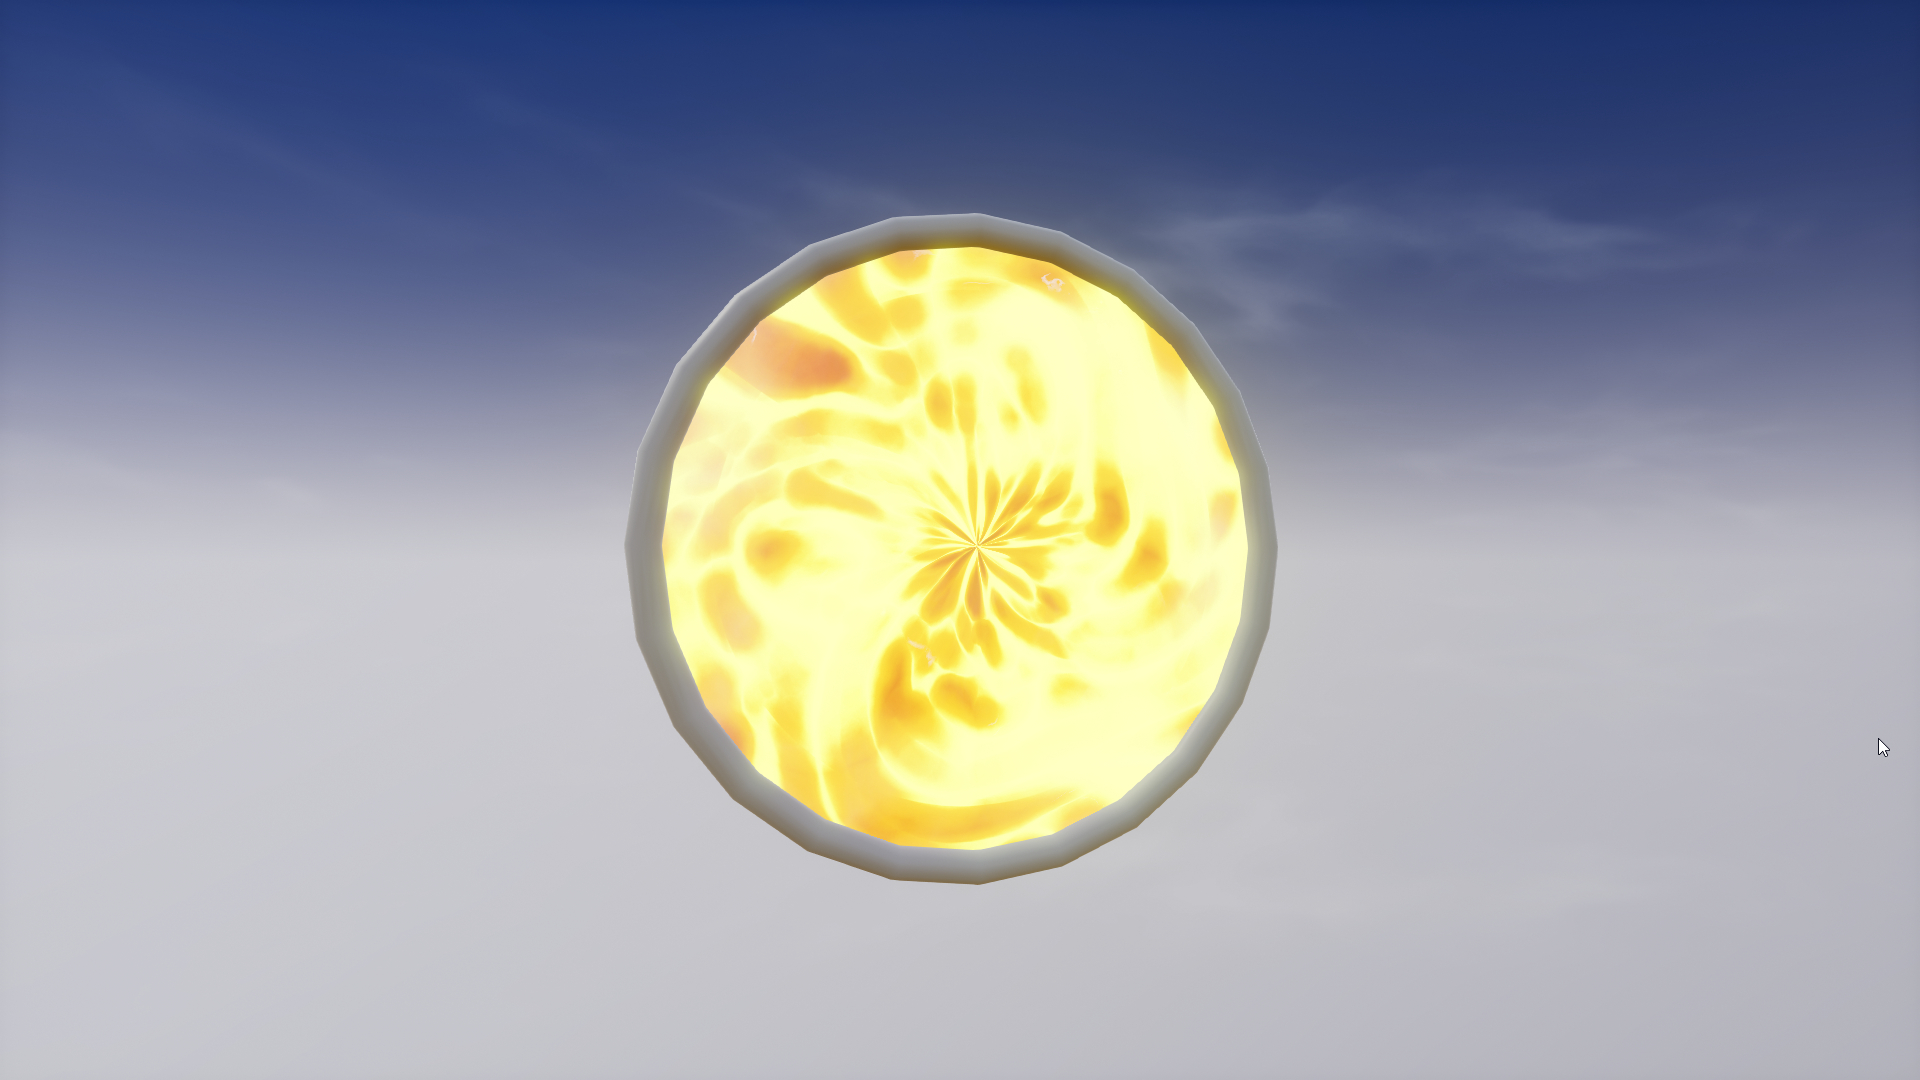
The Game Portal allows a no-scripting solution to creating portals between games. It includes visual effects and all the logic needed to make a gate between worlds.
To use the Game Portal:
- In Core Content, search for
Game Portal, or open the Game Components and Map sections to find it in the General subcategory. - Click and drag the Game Portal into either the Main Viewport or the Hierarchy to add it to your project.
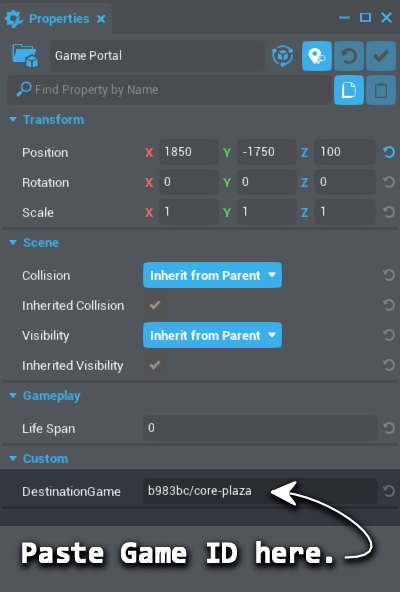
- Select the Game Portal in the Hierarchy and open the Properties window.
- In the Custom section find the DestinationGame property, and paste the Game ID into this field.
The Player TransferToGame(gameId) method
Only one line of code is required to move players to different games. Once you have a reference to a specific player, you can call TransferToGame, with the Game ID as an argument. See the Player section of the API reference or an example use with a trigger.
Creating Private Sub-Games
Creators can build networks of interconnected games where only one is actually public, and the rest are accessible from the main game. This main game would be a parent, and has the advantage of showing players as active in the parent game when they are in any of the child games.
Publish a Parent Game
You will need a publicly published game before you can publish any children of a game. This is the same workflow as any normal publish, and you can find more specific instructions in the Publishing Reference.
Create a Child Game
Once you have a public game to use as a parent, any other game you publish can be marked as a child of that game.
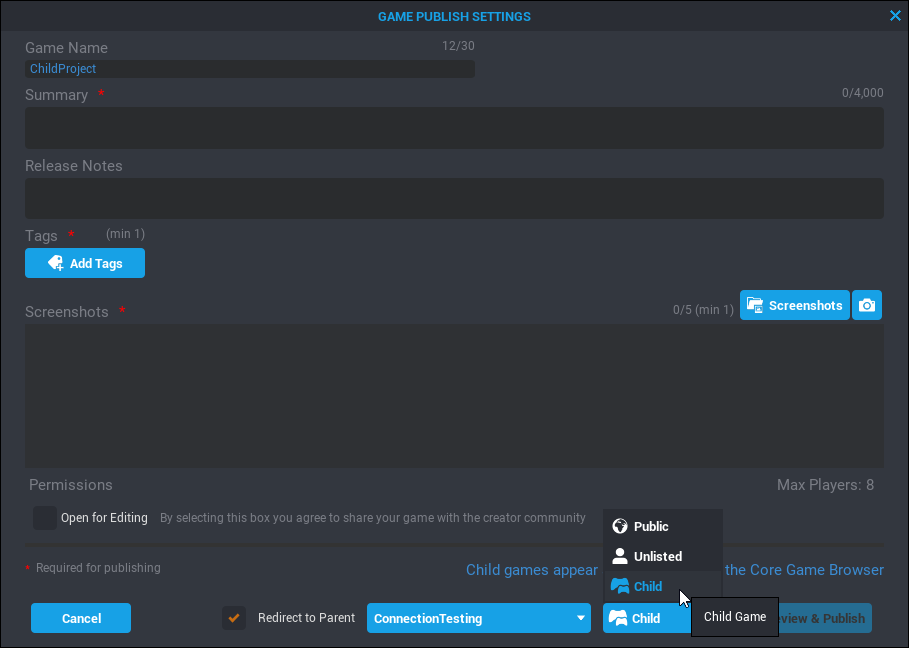
- In the upper right corner, click the Publish button.
- In the drop-down menu next to the Publish button, select Child.
- In the drop-down menu next to**Redirect to Parent** , select your parent game.
- Leave the Redirect to Parent box checked if you want players who attempt to connect directly to this game to be sent to the parent game instead.
- Click Publish.
Note
This method establishes a relationship between your games, but does not automatically connect them. You can do that using the techniques in the Jumping Between Games section of this document.
Shared Storage
To keep cohesion in the player's experience, you can use Shared Storage Tables to pass data between your published games. See the Shared Storage reference for more information.
Keeping Templates Consistent between Game Files
Core Object (.pbt) files are very small in size, and easy to pass between projects, to keep everything from large constructions to UI designs synchronized between different project maps. This can be done a variety of ways, including simple copy and paste from one open project to another.
Clobber Copying between Games
Clobber Copy allows creators to override the current version of an object, group, or template with a new one when copying and pasting between projects. A complex model or other template can be modified on one project, and then those changes can be brought into a second project, overriding the state.
- Modify a template in the Hierarchy.
- Make sure the object is select in the Hierarchy and press Ctrl + C.
- Save and close the current project, and open up the connected or related project through the Core client.
- Press Ctrl + V to paste the template in.
- Choose "Overwrite Existing Assets" to replace the previous version with the new one.
Exporting Templates as PNG
Export as PNG allows creators to export a template that can be dropped into existing projects. This also has the added benefit of becoming a shareable asset that can be shared with other people.
- In Project Content, find a template to export, right click and select Export as PNG.
- When promoted, select Yes to create a screen shot.
After doing the above steps, the folder that contains the image will be opened up. The image generated can then be dropped into existing projects by opening the project first, and dragging the image into the editor. This can also be shared with other people by sending them the png file that will also allow them to drag it into their own editor.
Learn More
Player in Core API Reference | Player.TransferToGame Example | Publishing Reference | Shared Storage | Template Reference