Dungeon Framework Reference
Parts of the Framework
Framework Documentation
This section contains two scripts, DocumentationFrameworkOverview and DocumentationNPCKit. These do not contain code, but instead have instructions on how to use this framework, and how to use the non-player character enemies in the dungeon (NPC's).
Game Settings
This section contains the existing logic of the game.
- Game Settings has options for in-game chat, player death behavior, and most importantly the Enable Player Storage setting which is necessary to save player's levels, gold, and equipment.
- Team Settings is used to create two teams, one for all of the players, and another for all of the enemies.
- The ResourcePersisterServer script keeps track of players' gold, even when they disconnect and reconnect later.
- The EquipmentPersistentStarterServer gives players the same weapons they had last when they disconnect and reconnect.
- Basic Level Progression allows players to increase in level with experience (XP), gaining more hit points (HP). In the Levels List folder, there are objects for each level with custom properties that allow you to change how much RequiredXP players need to reach the level, and what the player's MaxHP will be when they level up.
- The Loot Drop Factory template includes logic to make enemies give items to players when they are defeated. Inside this template are folders of the Common, Uncommon, and Rare drops which can be modified to change the rewards that players get, and how likely they are to appear.
- Combat Dependencies contains the scripts that allow enemy AI's to fight and take damage.
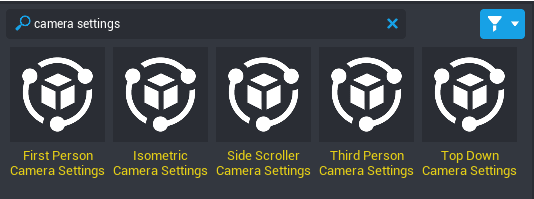
- Third Person Camera Settings has options for how the camera is controlled in game. You could trade out this object for one of the other Camera Settings objects in Core Content for a totally different player experience.
UI Settings
This section includes all the of the information displayed on the screen to tell players about their health, XP, coins, abilities, and which location they are in. You can change the way these are displayed. Check out the Core UI Reference to learn more about using the 2D User Interface elements.
Map
The Map folder contains all of the objects you can see in the game. This is the section you will modify in this tutorial
- The Environment folder contains the sky template, which is currently the only source of light for the game.
- The Lobby folder is the heart of the project. It has folders of all the example pieces, the shop, teleporters to the dungeons, and all the explanatory text that you can currently see in the world.
- The Dungeons folder contains the enemies and obstacles that make up each of the three dungeons
- The Wall and Ground folders contain all the objects that make up the ground and outer walls.
- The Kill Zone is a trigger that kills any player that gets outside of the boundaries of the dungeon, so that they can be reset back into the game rather than stuck outside of it.
NavMesh
This folder contains a script that uses Plain objects to determine where the enemies can go. This is invisible by default, and we will make it visible in order to be able to build around the AI behavior, and modify it as necessary.
Testing the Base Game
Start a Preview
If Multiplayer Preview Mode is enabled, turn it off now to preview the game with just yourself.
- Click
 to turn it gray and turn off Multiplayer Preview Mode.
 - Press
 to start the preview.
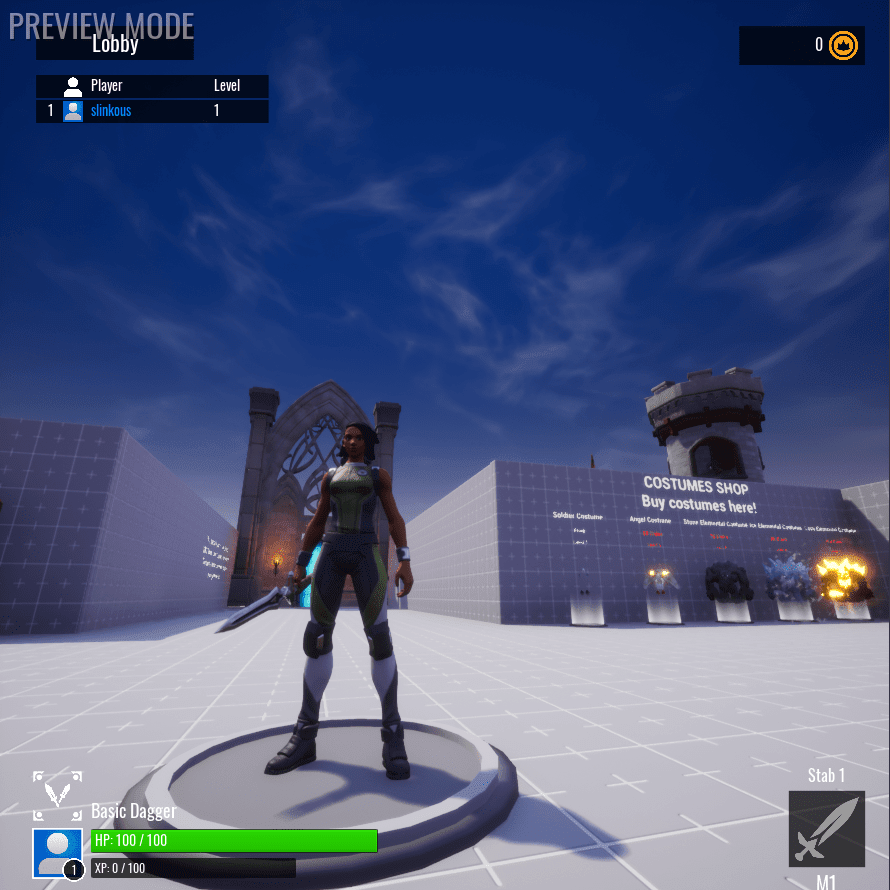
Player Stats
The UI elements on the screen should now show information specific to your player.
- In the top left corner, you should see a list of players and their levels, that will just be you at level 1.
- In the bottom left corner, you have a Basic Dagger, 100 HP, and 0 XP.
- In the bottom right corner, you have the ability to Stab using M1, which is the left mouse button.
- In the top right corner, you have 0 gold, represented by a yellow coin icon.
The Portal to Core Haven
Behind the place where you spawned into the game, you should see a hallway leading to a giant magical doorway.
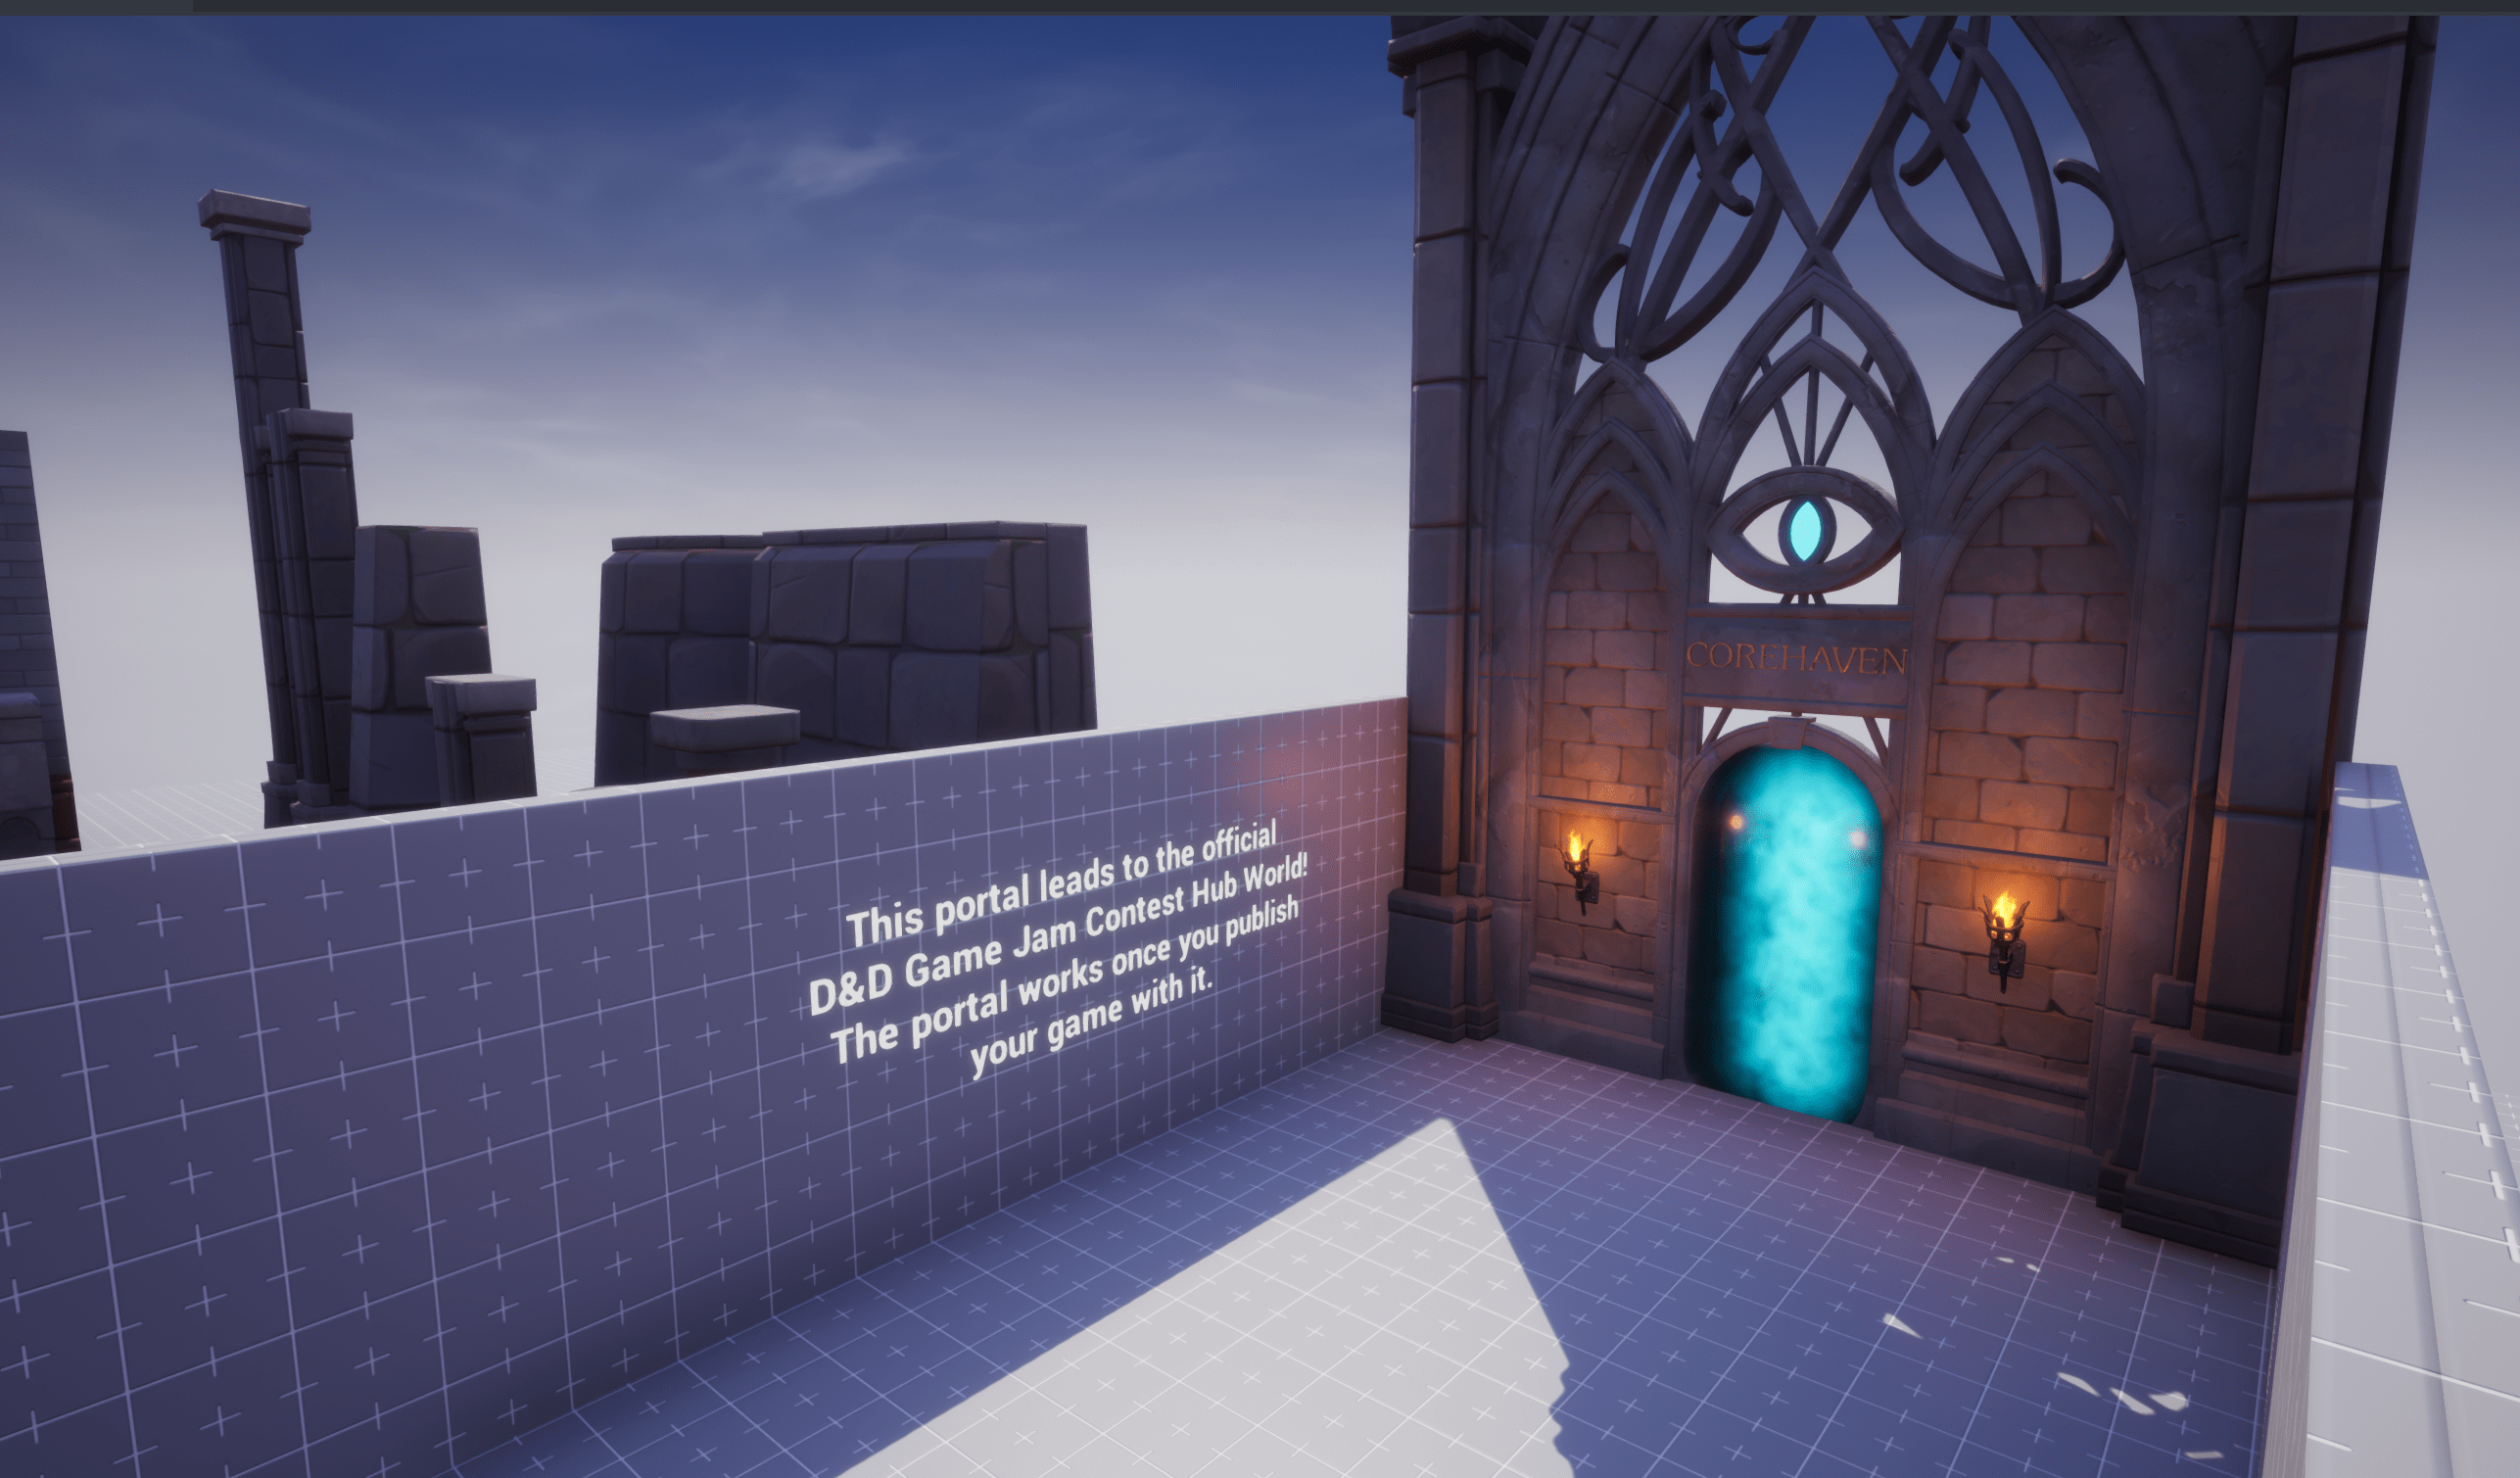
This portal will take players to a fantasy world, with portals to other Fantasy RPG games.
Sample Objects
Castle Tileset
Outside the walls of the lobby, you should see various castle parts. These are all available in Core Content. You can see them by opening the 3D Objects folder in Core Content navigation, then opening Tilesets and Fantasy.
The Castle section holds the parts you see outside the walls, and the Templates section has some example builds using those pieces
Fantasy Props
On the right side of the Lobby you should see different chests, potions, and candles showing off the available fantasy props. These can also be found in Core Content by opening the 3D Objects fp;der. and then Props and Fantasy.
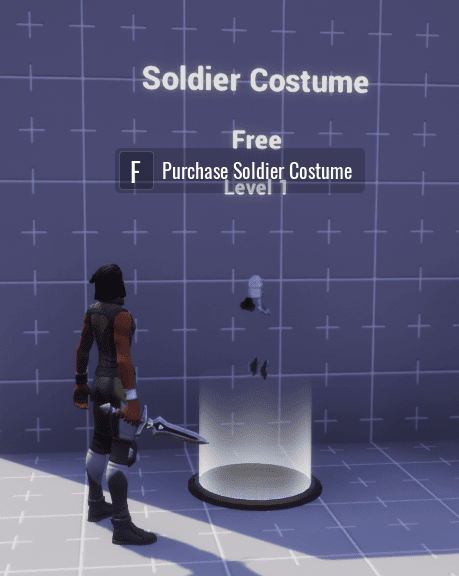
Weapons Shop and Costumes Shop
As you return to the Lobby, you should see items along the wall on your left, representing a Costumes Shop and a Weapons Shop.
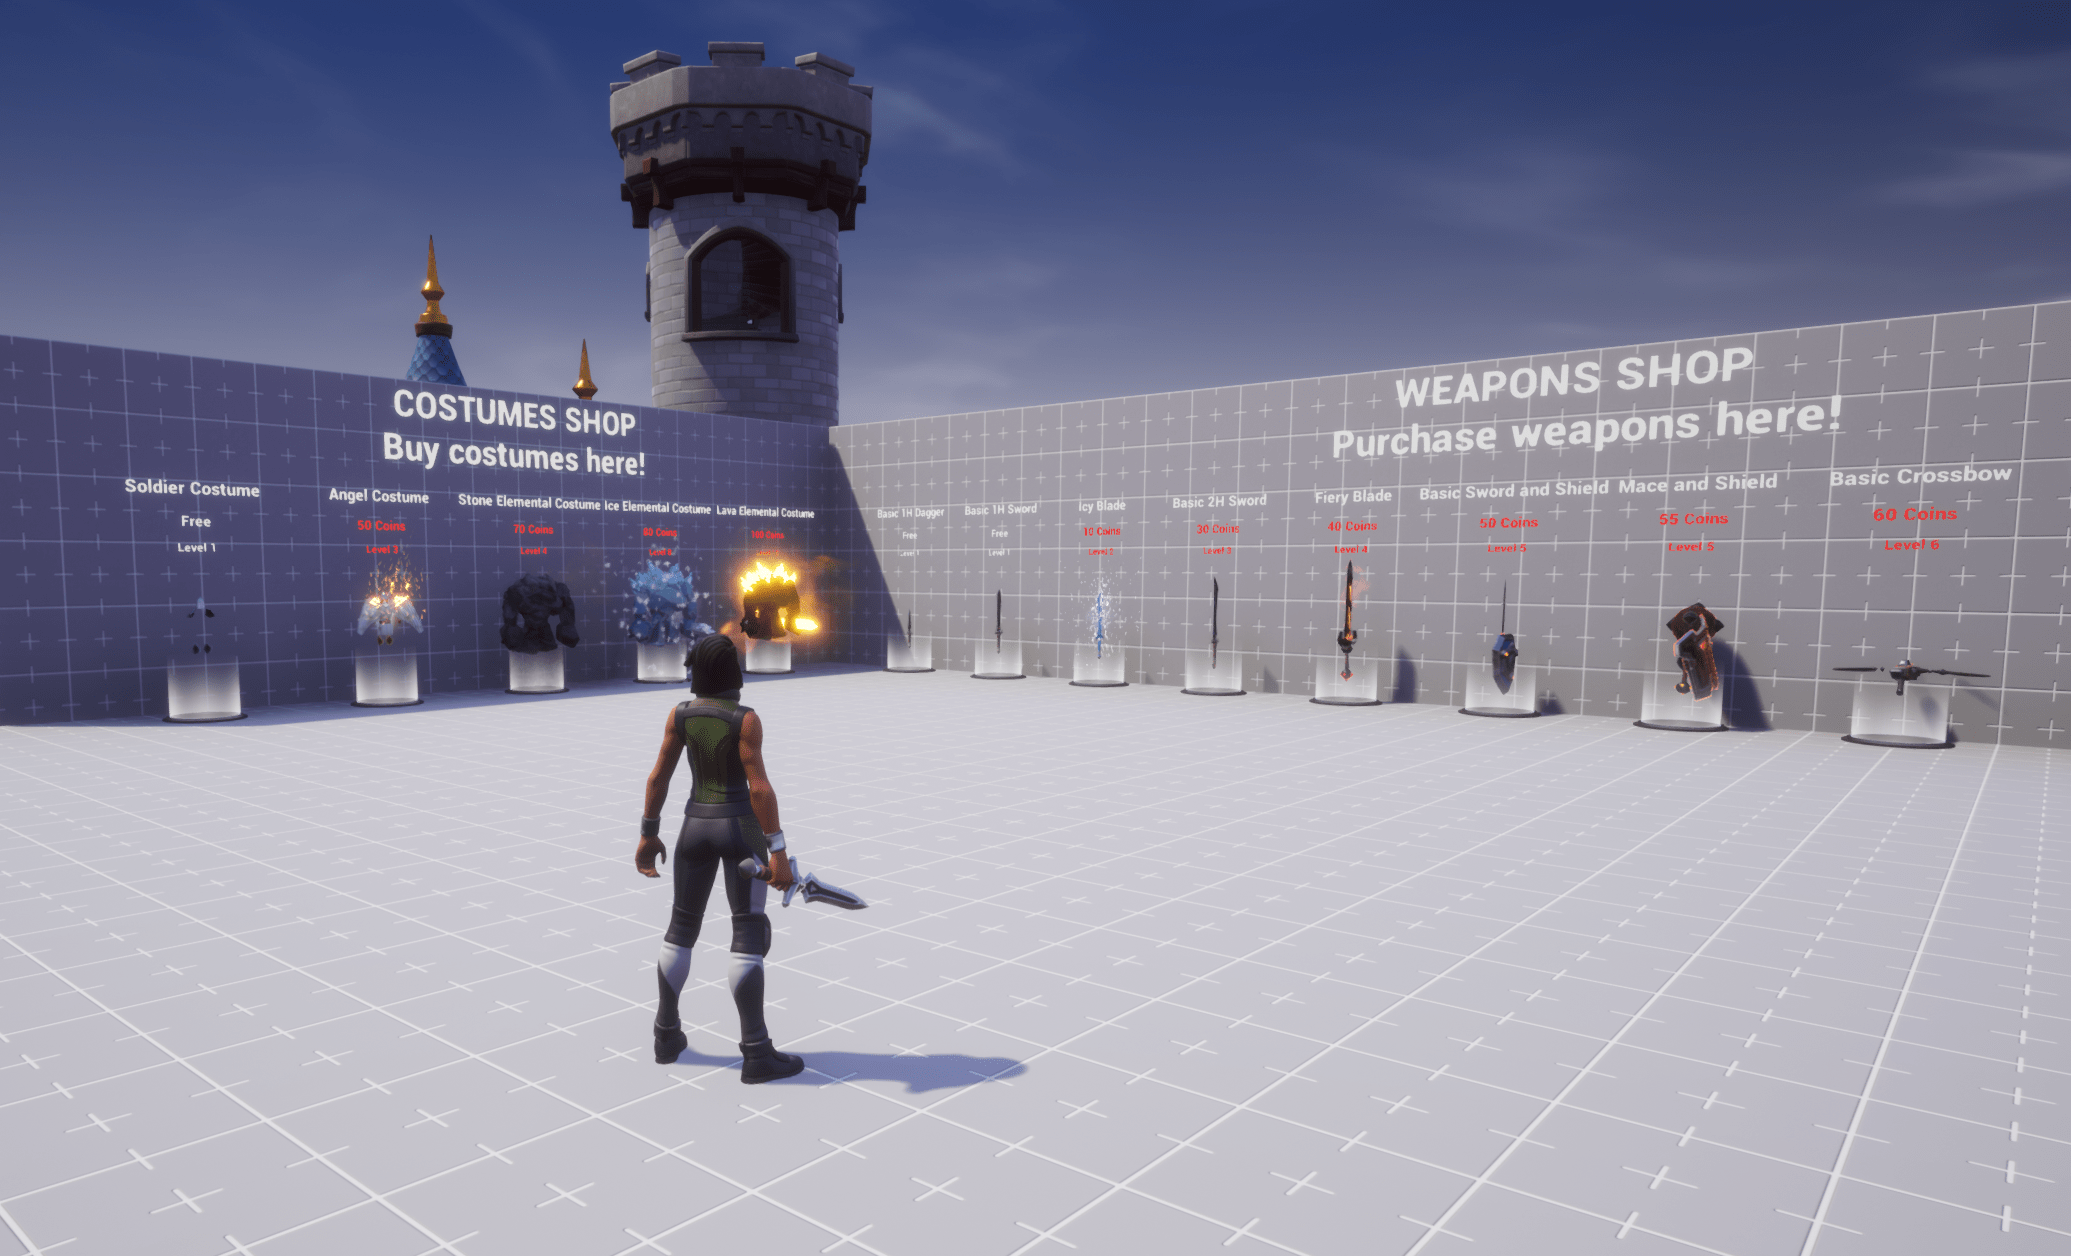
There are two upgrades you can afford right now, for 0 gold:
Walk up to the Soldier Costume and press F to equip it
Next, find the Basic 1H Sword and press F to equip it

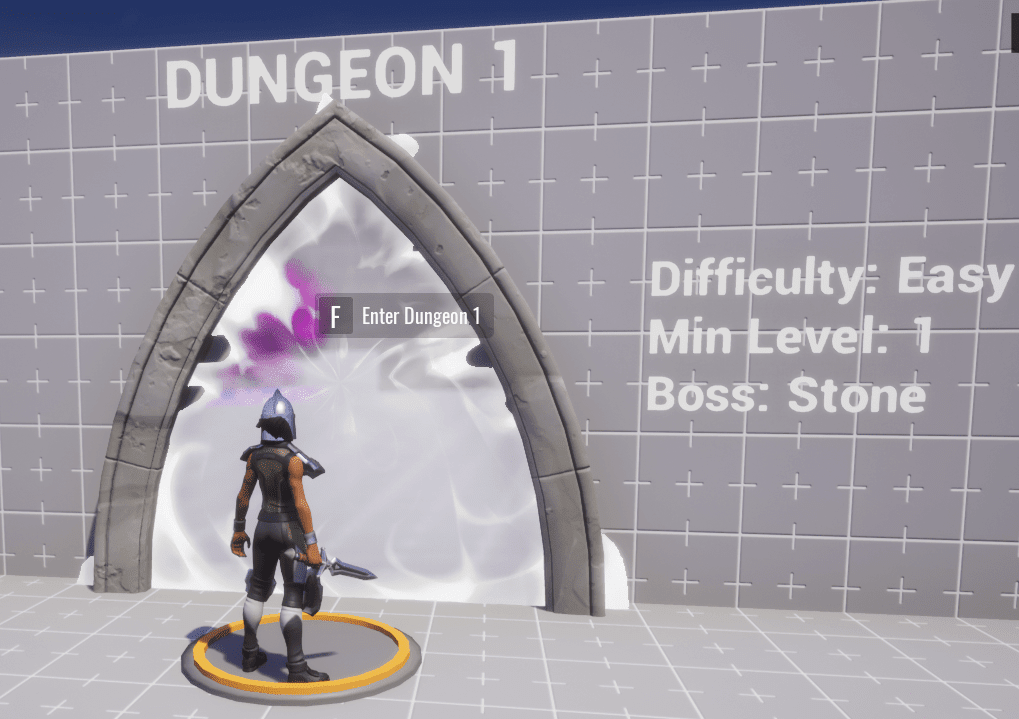
The First Dungeon
You are now ready for your first adventure. Stand on the platform in front of Dungeon 1, and press F to teleport inside.
As you play the dungeon, you should notice a few things:
- Enemies will chase after you, but only if you are in their line of sight.
- Killing enemies drops loot, but not always, since "Nothing" is one of the common possibilities in the Loot Table.
- Killing enemies also gives you XP so that you can level up.
- At the end of the dungeon, you should see a door to a boss fight.
Good luck on your adventure.