Persistent Storage in Core
Overview
Persistent Storage allows you to store data for players in your game so when they return back in a future session, they can continue where they left off. This allows the players to continue their progress without starting from scratch.
You might be familiar with this in other games you have played; there are achievements, player levels, currency, inventory items, and many more. Without persistent storage, each time a player rejoins your game they would be starting from scratch, and players will not get a sense of long-term accomplishment.
In this tutorial you will be learning how to save and load data for a player so that it persists between game sessions. You will add a weapon to destroy some objects that will save the players score. In the second part of the tutorial, you will also be persistently saving the weapon so when the player rejoins the game, they start with that weapon they last had equipped.
Here are just a few ideas on ways persistent storage can be used:
- Player high score / player stats.
- Player level / experience.
- Player equipment / inventory.
- Player resources (that is wood, metal, coal).
- Currency (that is gold, gems).
- Achievements / Trophies.
- Completion Time: 20 minutes
- Knowledge Level: No knowledge absolutely required, but this will be easier to understand with a grasp on Lua already.
- Skills you will learn:
- How to store data for a player persistently between game sessions.
- Sending the player score from the server to the client to display in the UI.
- How to spawn the last equipment the player used when they join.
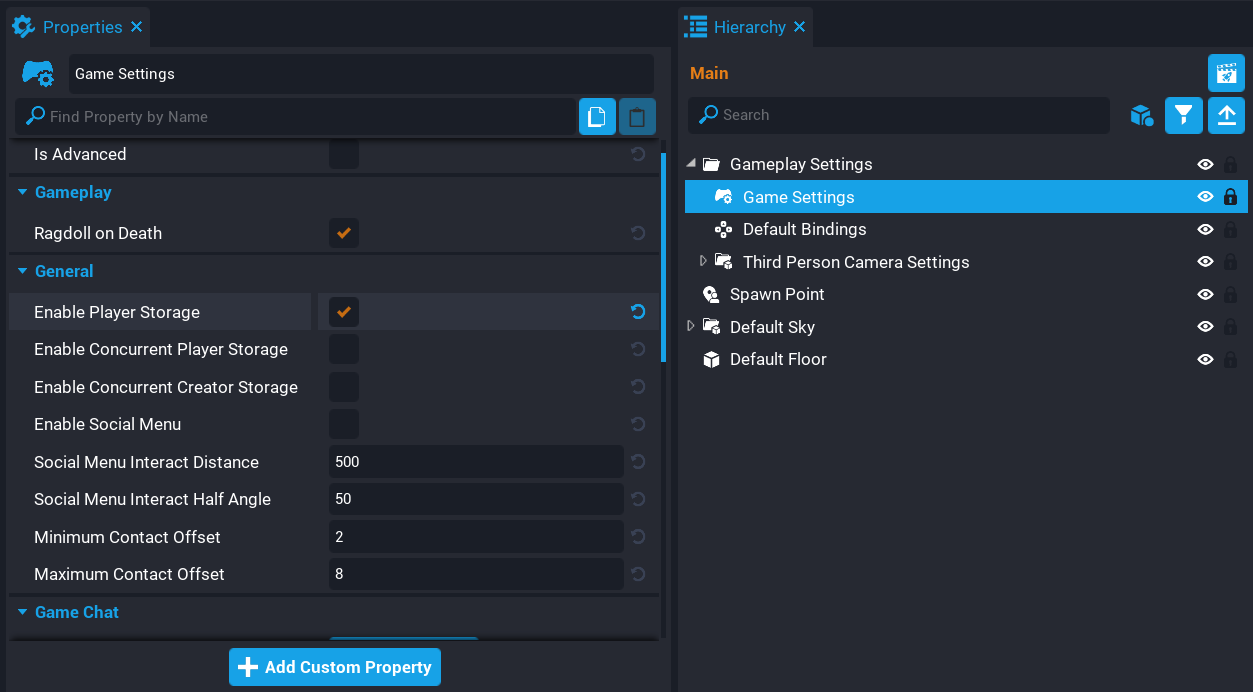
Enable Player Storage
For your game to store data persistently for players, you will need to enable player storage. Doing this will allow you to use the Storage API to Set and Get data for players.
Modify Game Settings
- In the Hierarchy window, look for a folder called Gameplay Settings and open that folder.
- Look for an object called Game Settings and click on it to make it the active object in the Hierarchy.
- In the Properties window, look for an option called Enable Player Storage.
- Click on Enable Player Storage so it is enabled.
Missing Game Settings
If you do not have a Game Settings object in your Hierarchy, it can be added to your hierarchy from the Core Content window by searching for Game Settings.
Add Objects to Hierarchy
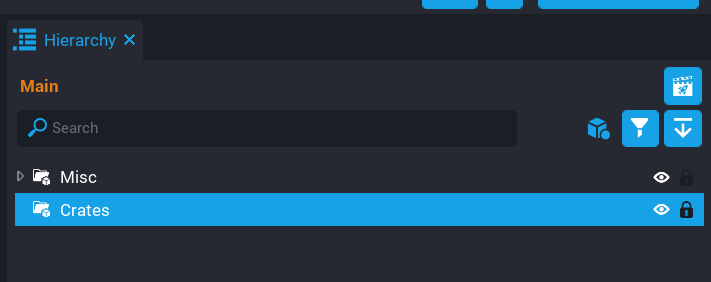
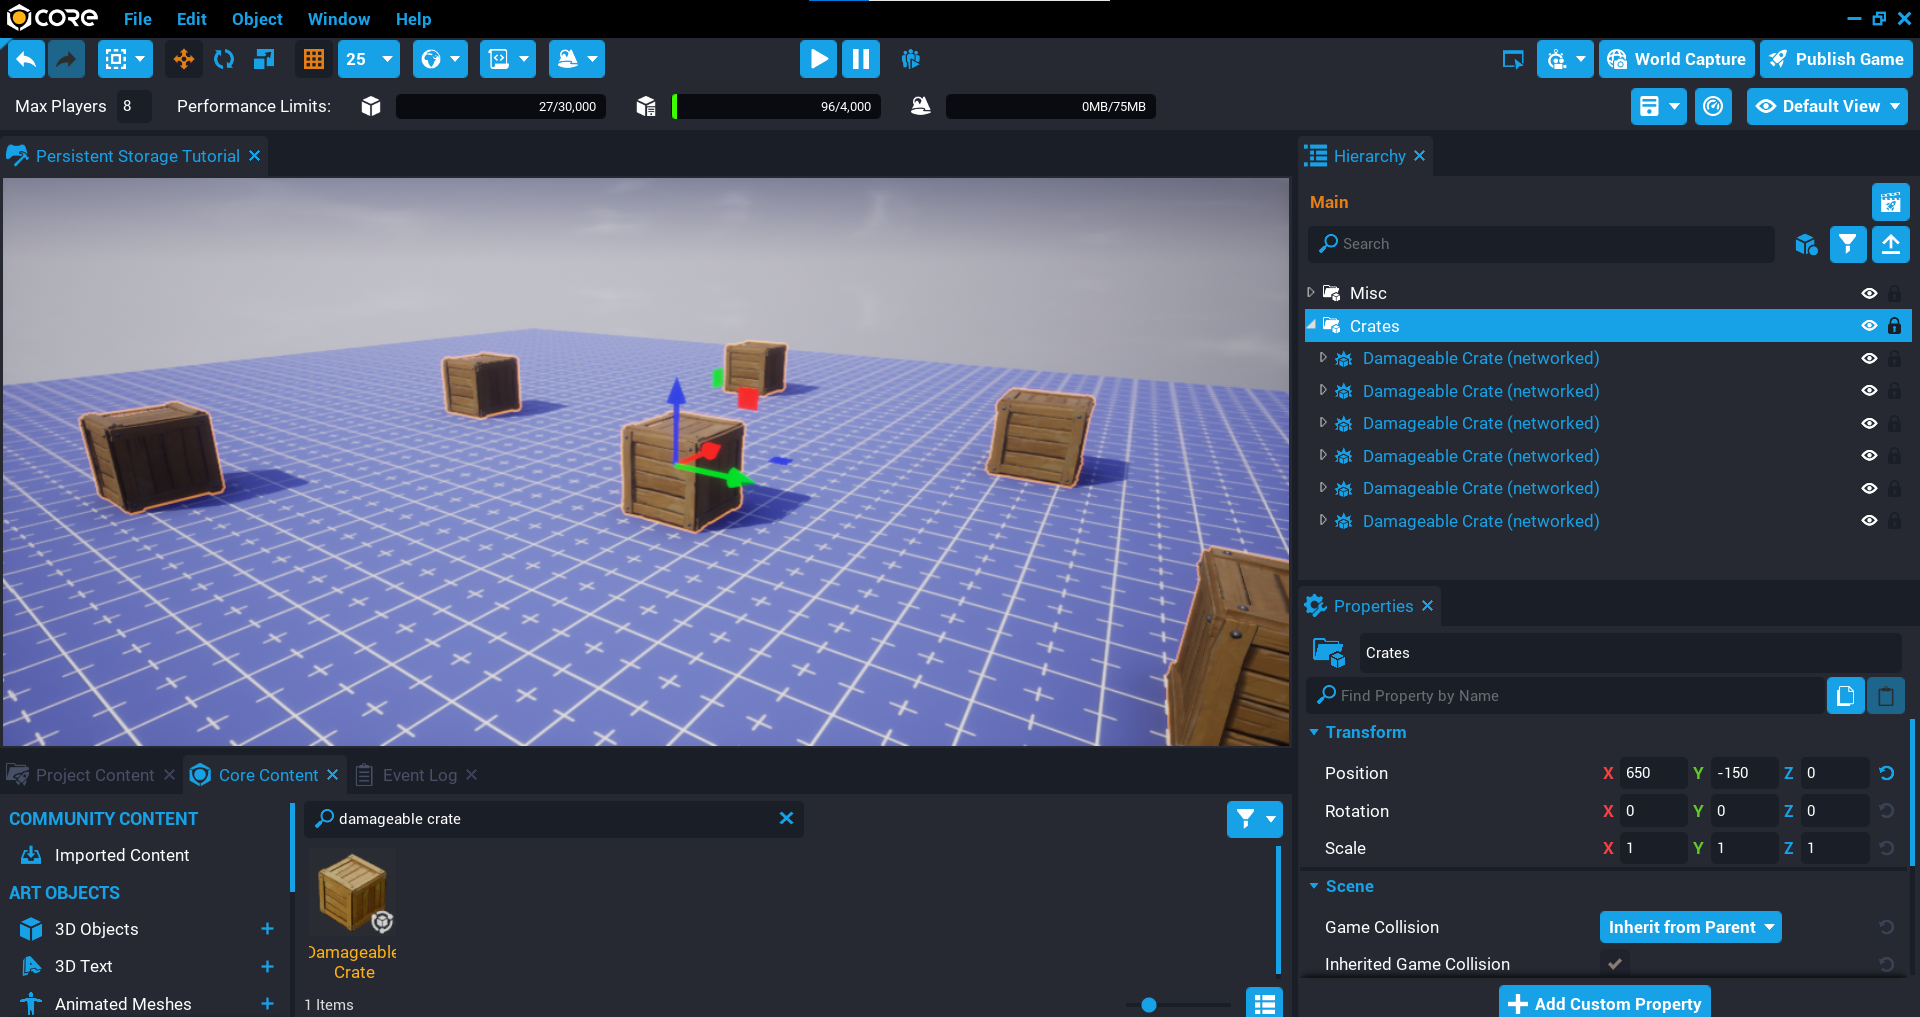
Create Crates Group
In the Hierarchy create a new group called Crates. This group will contain all the crates you will add.
Add Crate Template
- In Core Content search for
Damageable Crate. - Drag as many crates into the Crates group as you like, and move them around so they are spaced out.
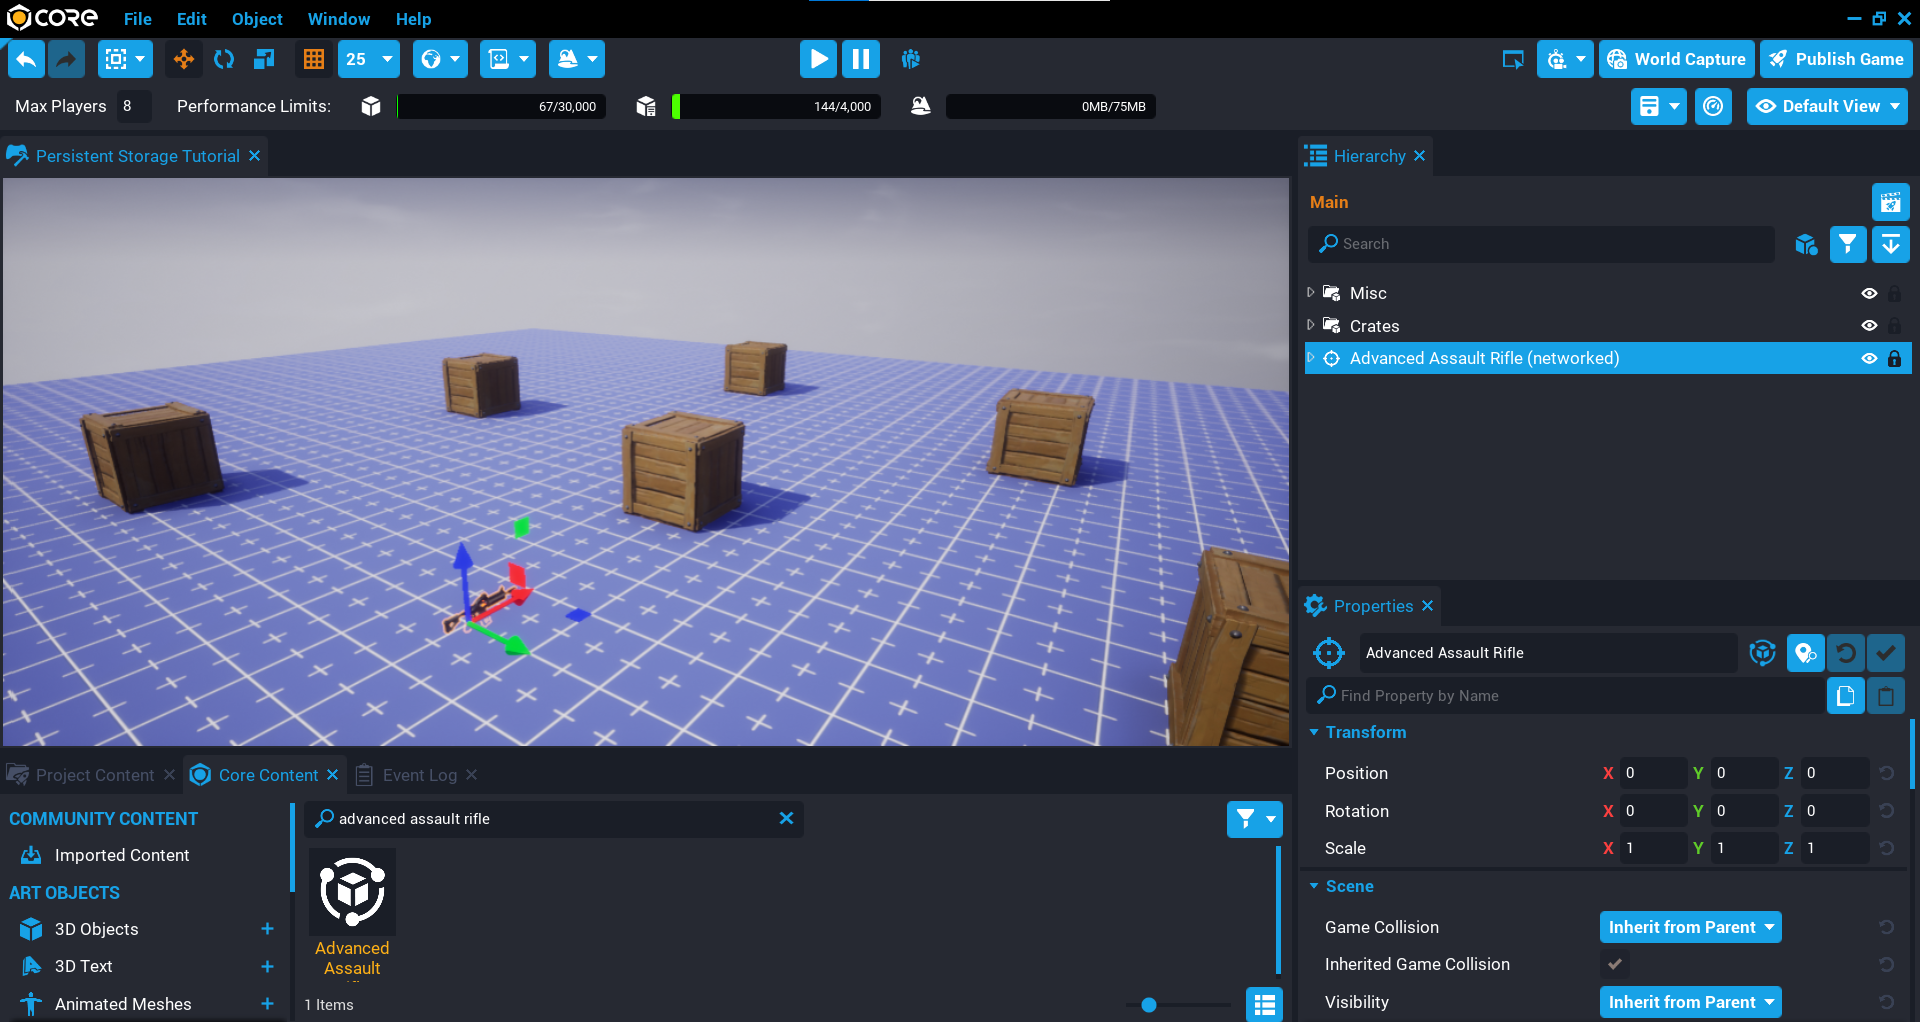
Add Weapon Template
The player will need a weapon to destroy the crates.
- In Core Content search for
Advanced Assault Rifle. - Drag one rifle into the Hierarchy.
Test the Game
Test the game by picking up the weapon and shooting the crates. When the crates receive enough damage, they will be destroyed.
Create ScoreServer Script
Create a new script called ScoreServer and add it to your Hierarchy. This script will handle saving and loading the player's data. When a crate has been destroyed, the player's score will be updated and saved.
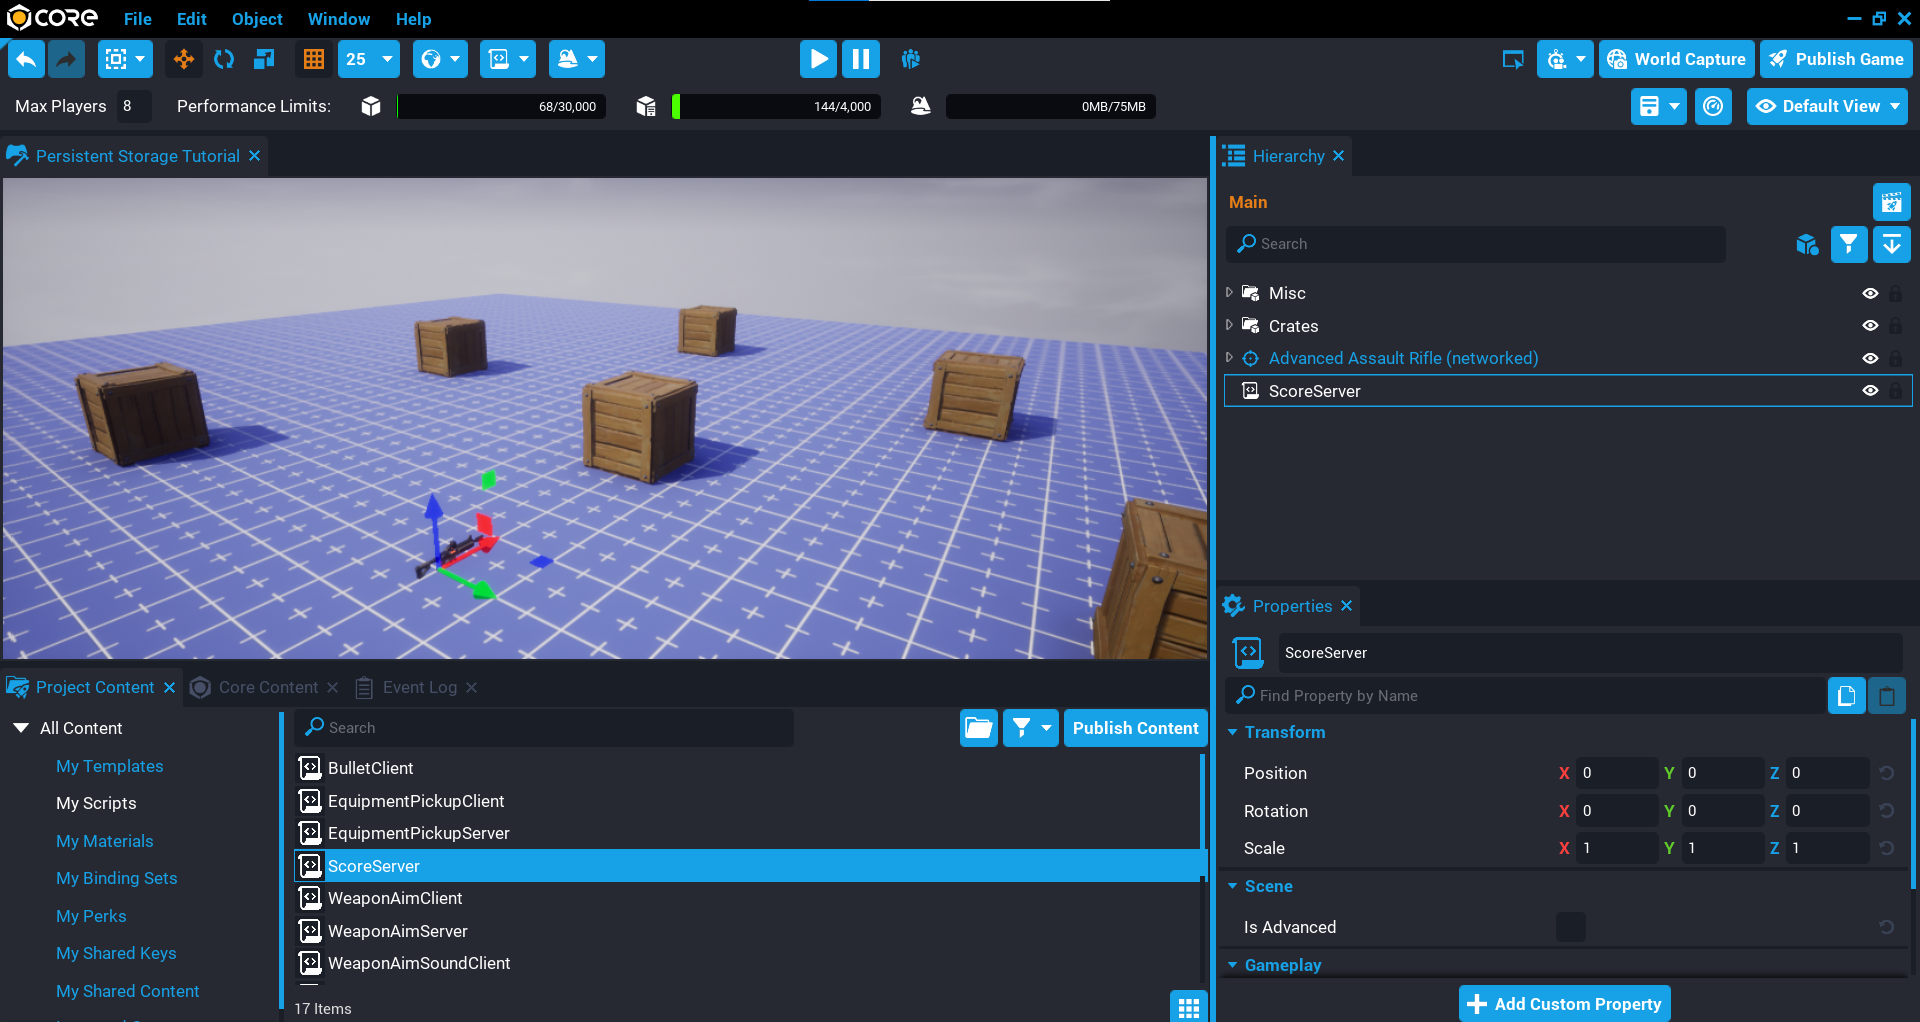
Add Crates Custom Property
The ScoreServer script needs to know about the crates so it can award score to the player when they are destroyed.
- Click on the ScoreServer script in the Hierarchy so it becomes the active object.
- Drag the Crates group onto the Add Custom Property in the Properties window.
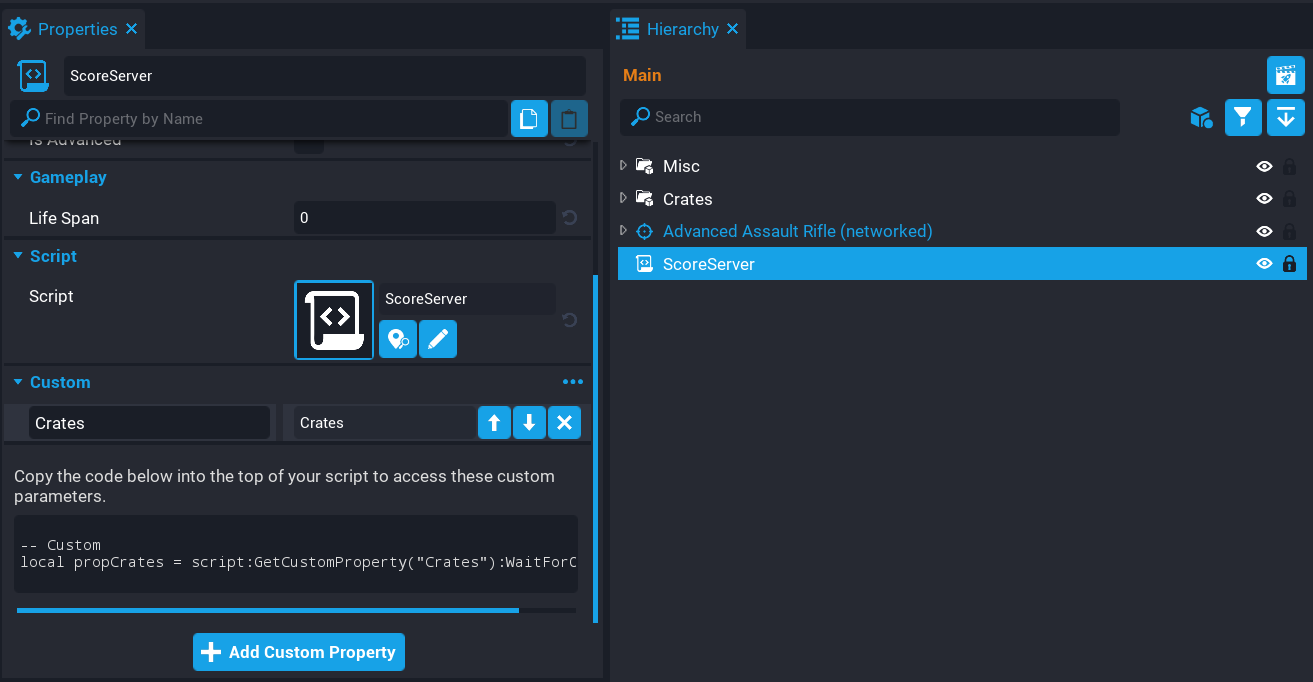
Edit ScoreServer Script
Open up the ScoreServer script and add a reference to the crates for later use.
local CRATES = script:GetCustomProperty("Crates"):WaitForObject()
Create scoreAmount Variable
Add the variable scoreAmount that will hold the amount of score to give to the player when they destroy a crate.
local scoreAmount = 50
Create PlayerJoined Function
The PlayerJoined function will be called for each player that joins the game. It will get the player's storage data (table) and put it into the variable data. Using SetResource, you can set the score resource for the player using the data.score value. This value is what is saved in the player's storage. If there is no score property, then you can set the resource value to 0.
GetPlayerData requires the player as the first argument.
local function PlayerJoined(player)
    local data = Storage.GetPlayerData(player)

    player:SetResource("score", data.score or 0)
end
Create PlayerLeft Function
The PlayerLeft function will be called for each player that leaves the game. The function will get the current players score from the resource score, and store it in the score property of the data table. The player's data table is loaded here to make sure anything else that might be stored in the data is also saved.
SetPlayerData requires 2 arguments, the player to save the data for, and a table of data that will be saved.
local function PlayerLeft(player)
    local data = Storage.GetPlayerData(player)

    data.score = player:GetResource("score")
    Storage.SetPlayerData(player, data)
end
Create CrateDestroyed Function
The CrateDestroyed function will add the scoreAmount to the player's score resource for the player that destroyed the crated.
local function CrateDestroyed(obj, damage)
    damage.sourcePlayer:AddResource("score", scoreAmount)
end
Create WatchCrates Function
The WatchCrates function will loop over all the crates in the CRATES group, and connect CrateDestroyed function to the diedEvent. When the player destroys a crate, the diedEvent will fire, which will call the CrateDestroyed function.
local function WatchCrates()
    for index, crate in ipairs(CRATES:GetChildren()) do
        crate.diedEvent:Connect(CrateDestroyed)
    end
end
Connect Events
Connect up the events for when the player joins and leaves the game. These 2 events will load and save the player's data.
Game.playerJoinedEvent:Connect(PlayerJoined)
Game.playerLeftEvent:Connect(PlayerLeft)
Call WatchCrates Function
Call the WatchCrates function to setup the diedEvent for all the crates.
WatchCrates()
The ScoreServer Script
ScoreServer
-- Get reference to the group that contains all the crates
local CRATES = script:GetCustomProperty("Crates"):WaitForObject()

-- The amount of score to give to the player when a crate is destroyed
local scoreAmount = 50

-- Function to call when the player joins the game.
-- This function will get the current players storage
-- data and set the resource "score" to either the
-- score saved, or 0 if it doesn't exist.

local function PlayerJoined(player)
    local data = Storage.GetPlayerData(player)

    player:SetResource("score", data.score or 0)
end

-- When the player leaves the game, save the score
-- to storage.
local function PlayerLeft(player)
    local data = Storage.GetPlayerData(player)

    data.score = player:GetResource("score")
    Storage.SetPlayerData(player, data)
end

-- When a crate is destroyed, add to the players score.
local function CrateDestroyed(obj, damage)
    damage.sourcePlayer:AddResource("score", scoreAmount)
end

-- Loop through all the children in the crates group
-- and connect up the diedEvent to call CrateDestroyed.
local function WatchCrates()
    for index, crate in ipairs(CRATES:GetChildren()) do
        crate.diedEvent:Connect(CrateDestroyed)
    end
end

-- Connect up the player events for leaving and joining.
Game.playerJoinedEvent:Connect(PlayerJoined)
Game.playerLeftEvent:Connect(PlayerLeft)

-- Call WatchCrates to setup the diedEvents.
WatchCrates()
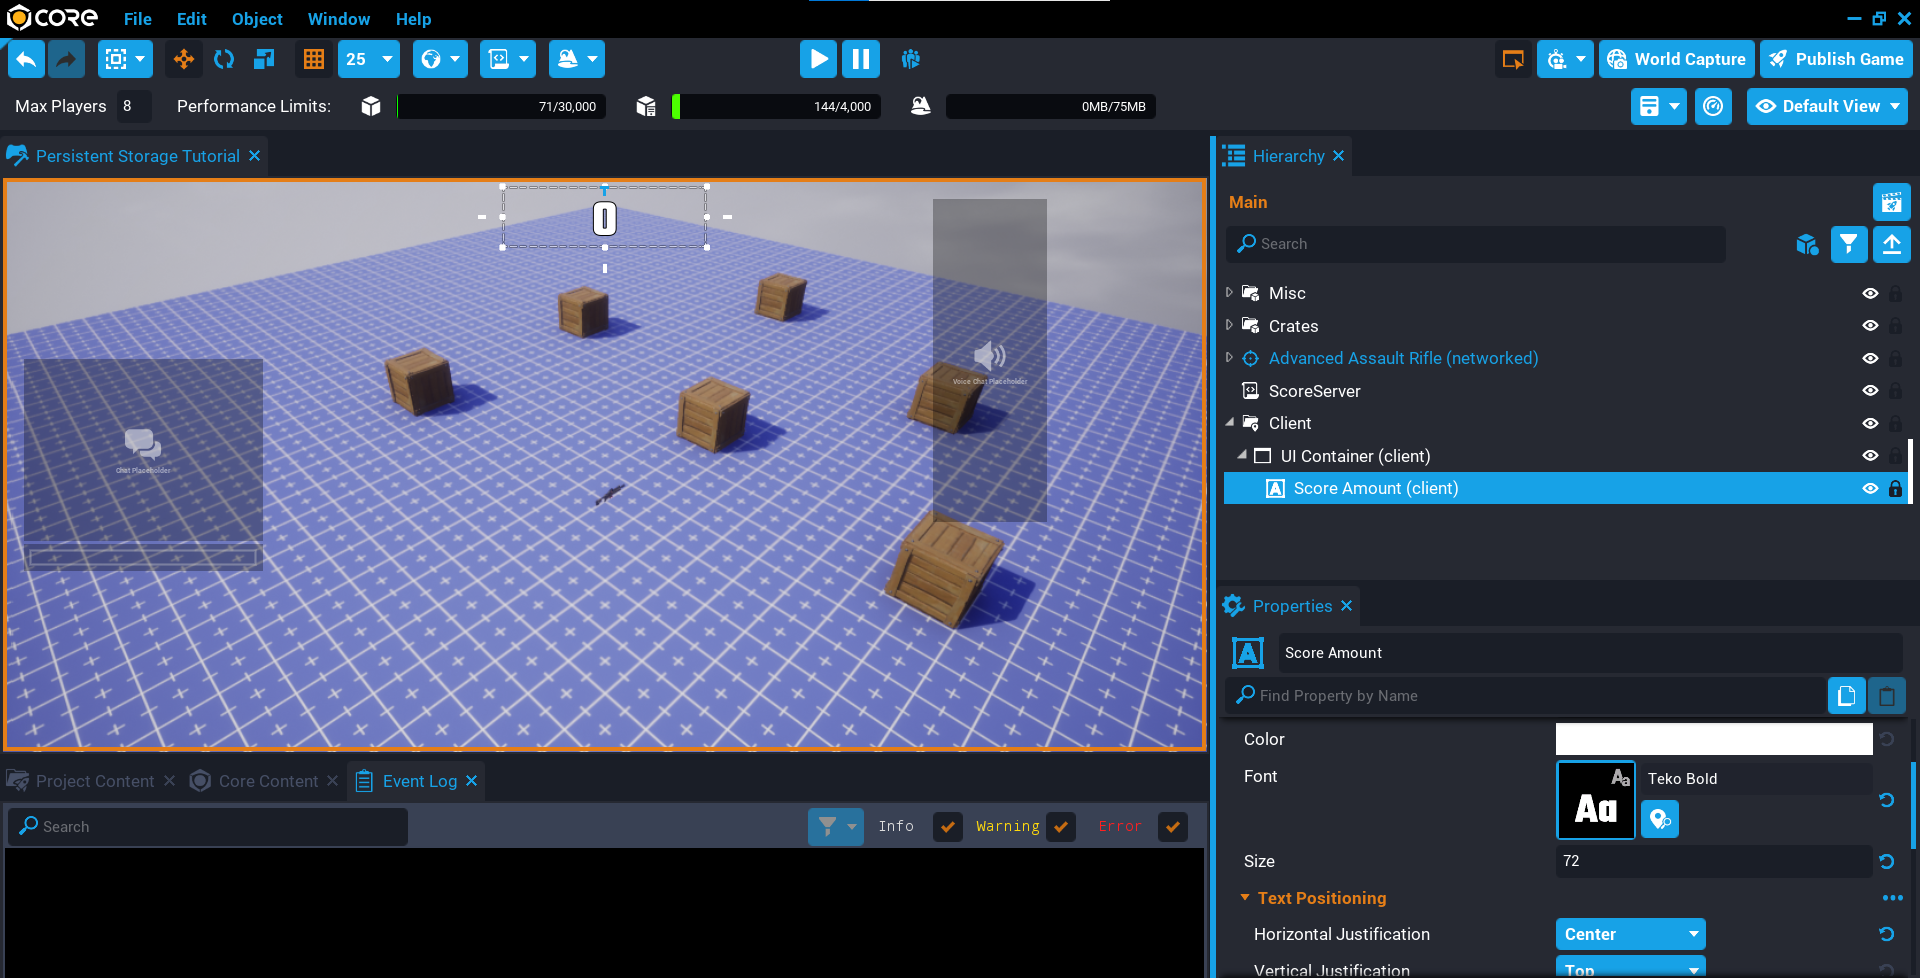
Create Score UI
The player will need to see what their score is when they join the game and when they destroy crates.
- Create a Client Context in the Hierarchy and call it
Client. - Create a UI Container inside the Client folder.
- Create a UI Text object inside the UI Container, and name the text object
Score Amount. - Modify the Score Amount by setting the font, color, size, and position to how you want.
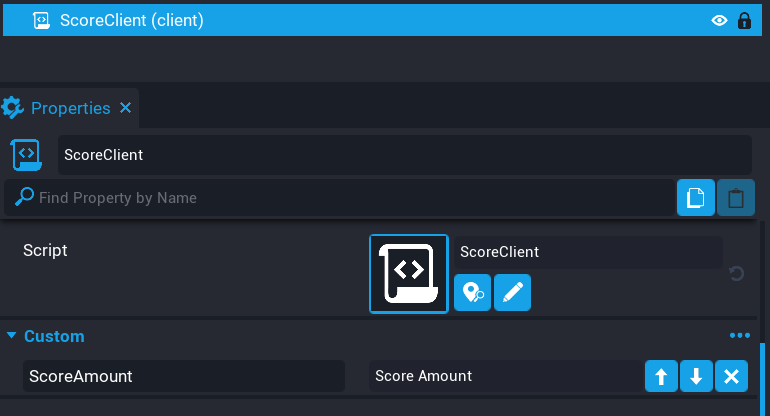
Create ScoreClient Script
Create a new script called ScoreClient and place it inside the Client folder. This script will be responsible for updating the score UI text to display the score the player has.
Add Score UI Text Custom Property
The script needs a reference to the score UI text object.
Add the Score Amount text object to the ScoreClient script as a custom property, name it ScoreAmount.
Edit ScoreClient Script
Open up the ScoreClient script and add a reference to the property ScoreAmount so you can update the text in the UI for the player from the script.
local SCORE_AMOUNT = script:GetCustomProperty("ScoreAmount"):WaitForObject()
Create Local Player Variable
Using the Game.GetLocalPlayer function will give you a reference to the local player (client).
local localPlayer = Game.GetLocalPlayer()
Create UpdateScore Function
The UpdateScore function will be called to update the SCORE_AMOUNT text in the UI for the player. This will be called when the player's resources has changed, and also at the end of the script. You can check which resource has changed by checking the value of the prop parameter. In this case the prop value is being checked if it equals score.
Because the amount parameter is a number (integer), it needs to be converted to a string before setting the text property.
local function UpdateScore(player, prop, amount)
    if prop == "score" then
        SCORE_AMOUNT.text = tostring(amount)
    end
end
Connect Resource Changed Event
Connect up the resourceChangedEvent. This event will fire anytime a player's resource has changed. For example, if they destroy a crate the score will be updated for that player, so the event will fire which calls the UpdateScore function.
localPlayer.resourceChangedEvent:Connect(UpdateScore)
Call UpdateScore Function
A manual call to UpdateScore is required, because the resourceChangedEvent may not have connected in time to receive the changes when the player joins the game.
UpdateScore(local_player, "score", localPlayer:GetResource("score"))
The ScoreClient Script
ScoreClient
local SCORE_AMOUNT = script:GetCustomProperty("ScoreAmount"):WaitForObject()

local localPlayer = Game.GetLocalPlayer()

local function UpdateScore(player, prop, amount)
    if prop == "score" then
        SCORE_AMOUNT.text = tostring(amount)
    end
end

localPlayer.resourceChangedEvent:Connect(UpdateScore)

UpdateScore(local_player, "score", localPlayer:GetResource("score"))
Test the Game
Test the game and make sure the following work:
- Destroying crates increases the score in the UI.
- Leaving and rejoining the game displays the score the player had before leaving.
Save Player Weapon
In this section you will learn how to save the player's weapon selection. Player's will be able to press 1 or 2 to switch between 2 different weapons.
Create Bindings
The Default Binding set will need a couple of new bindings added to detect when the player presses a specific key.
Open up the Bindings Manager window from the Window menu, or by double clicking on the Default Binding set in My Binding Sets found in the Project Content window.
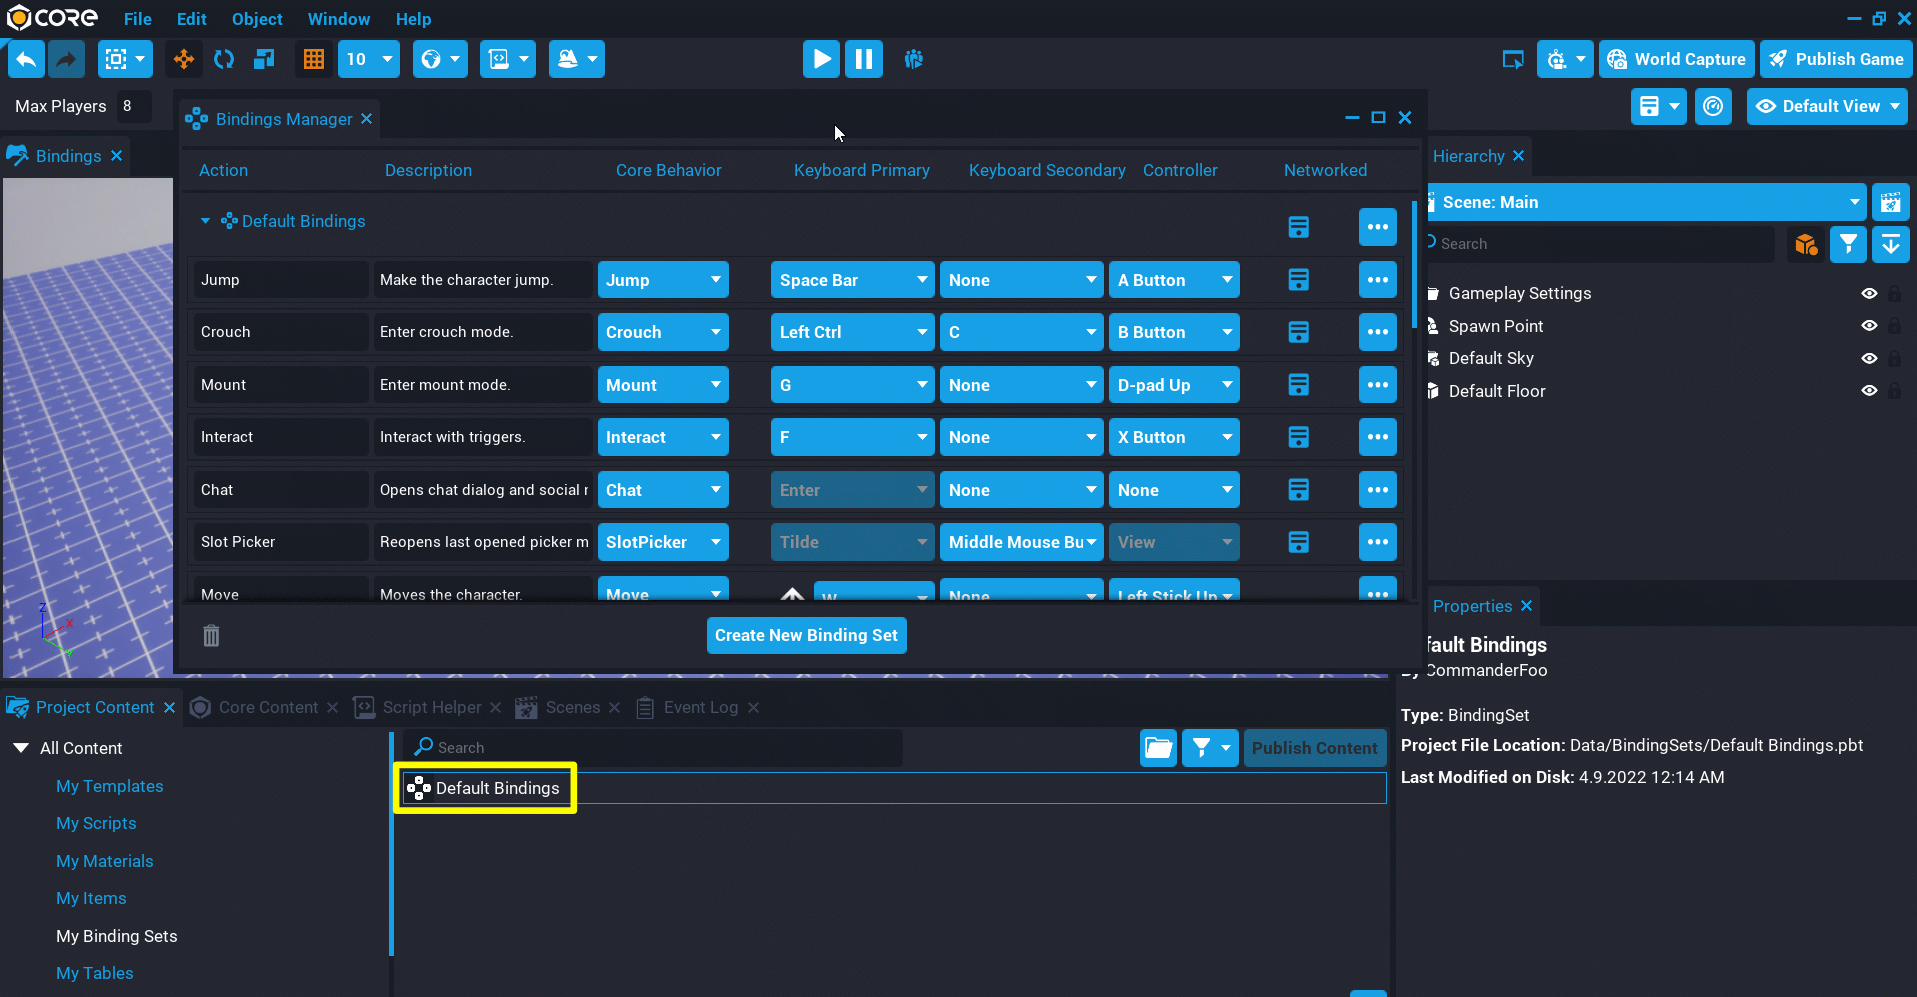
Add Bindings
From the Bindings Window, click on the Add Bindings button to add a new row to the binding set.
- In the Action field, enter
Equip Weapon 1. - From the Keyboard Primary drop down, select the 1 key.
- Mark the binding as networked so the server can listen for it.
Repeat this for a second weapon using the 2 key.

Remove Advanced Assault Rifle
Remove the advanced assault rifle that you added to your Hierarchy in the previous section. Instead of having the player pickup the weapon, it will be spawned into the world and equipped on the player.
Create WeaponServer Script
Create a new script called WeaponServer and place it into your Hierarchy. This script will be responsible for spawning the player's weapon selection, and saving that selection to persistent storage so the next time they join the game they start out with the last weapon they equipped.
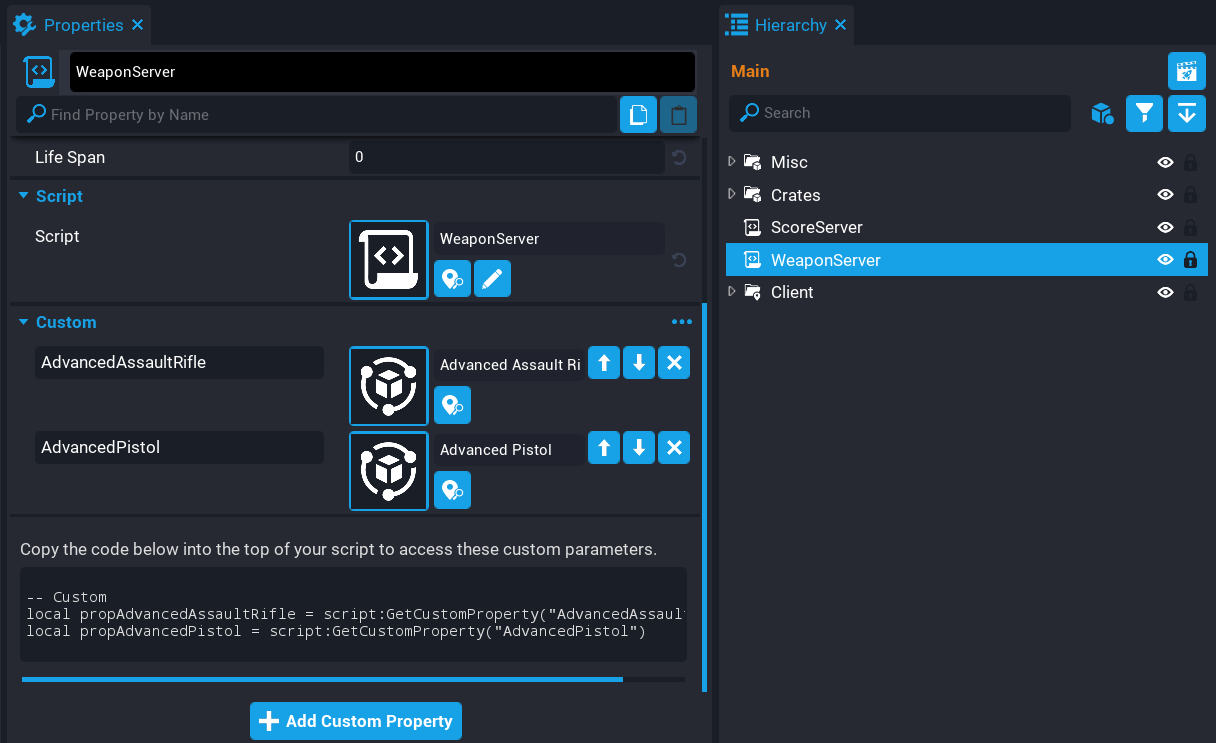
Add Weapon Custom Properties
The player will need at least 2 weapons to pick between.
- Search for
Advanced Assault Riflein Core Content and add it as a custom property. - Search for
Basic Pistolin Core Content and add it as a custom property.
Edit WeaponServer Script
Open up the WeaponServer script and create a table called weapons that contains the references to the weapons you added as custom properties. A table is used so an index lookup can be done, as the index of the weapon will be saved to the player's storage.
local weapons = {

    script:GetCustomProperty("AdvancedAssaultRifle"),
    script:GetCustomProperty("AdvancedPistol")

}
Create RemoveWeapon Function
The RemoveWeapon function will destroy any equipment the player has to make sure the player can only have one item.
local function RemoveWeapon(player)
    for e, equipment in pairs(player:GetEquipment()) do
        equipment:Destroy()
    end
end
Create EquipWeapon Function
The EquipWeapon function will spawn the weapon asset using SpawnAsset based on the index that is passed in. At the same time it will save the index to the player's storage in the weaponIndex property.
SetPlayerData requires 2 arguments, the player who you are saving the data for, and the table of data to be saved.
local function EquipWeapon(player, index)
    RemoveWeapon(player)

    if index ~= nil and weapons[index] ~= nil then
        local weapon = World.SpawnAsset(weapons[index])

        weapon:Equip(player)

        local data = Storage.GetPlayerData(player)

        data.weaponIndex = index
        Storage.SetPlayerData(player, data)
    end
end
Create OnActionPressed Function
The OnActionPressed function will check which key the player is pressing and equip the correct weapon for the player.
local function OnActionPressed(player, action)
    if action == "Equip Weapon 1" then
        EquipWeapon(player, 1)
    elseif action == "Equip Weapon 2" then
        EquipWeapon(player, 2)
    end
end
Create PlayerJoined Function
The PlayerJoined function will be called when the player joins the game. This function will get the player's data and pass the weaponIndex to the EquipWeapon function so it is spawned for that player.
local function PlayerJoined(player)
    local data = Storage.GetPlayerData(player)

    EquipWeapon(player, data.weaponIndex)
end
Connect Player Joined Event
Connect the playerJoinedEvent so that when the player joins the game, they will continue with the weapon they last selected.
Game.playerJoinedEvent:Connect(PlayerJoined)
Connect actionPressed Event
To detect when a player has pressed a binding, you will need to connect the actionPressedEvent.
Input.actionPressedEvent:Connect(OnActionPressed)
The WeaponServer Script
WeaponServer
local weapons = {

    script:GetCustomProperty("AdvancedAssaultRifle"),
    script:GetCustomProperty("AdvancedPistol")

}

local function RemoveWeapon(player)
    for e, equipment in pairs(player:GetEquipment()) do
        equipment:Destroy()
    end
end

local function EquipWeapon(player, index)
    RemoveWeapon(player)

    if index ~= nil and weapons[index] ~= nil then
        local weapon = World.SpawnAsset(weapons[index])

        weapon:Equip(player)

        local data = Storage.GetPlayerData(player)

        data.weaponIndex = index
        Storage.SetPlayerData(player, data)
    end
end

local function OnActionPressed(player, action)
    if action == "Equip Weapon 1" then
        EquipWeapon(player, 1)
    elseif action == "Equip Weapon 2" then
        EquipWeapon(player, 2)
    end
end

local function PlayerJoined(player)
    local data = Storage.GetPlayerData(player)

    EquipWeapon(player, data.weaponIndex)
end

Game.playerJoinedEvent:Connect(PlayerJoined)
Input.actionPressedEvent:Connect(OnActionPressed)
Test the Game
Test the game and make sure the following work:
- Pressing 1 or 2 changes the player's weapon.
- Leaving and rejoining the game gives the last weapon the player selected.
Player Storage File Location
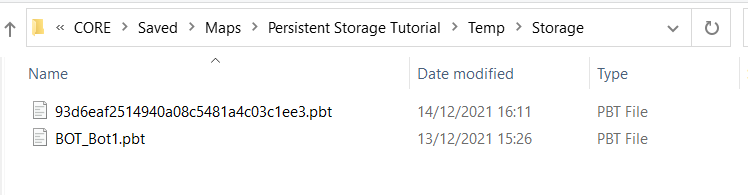
Something that is useful to know is where to find the storage files when you are locally testing your game. This can be useful to see what data is being saved for the player.
Project Explorer Location
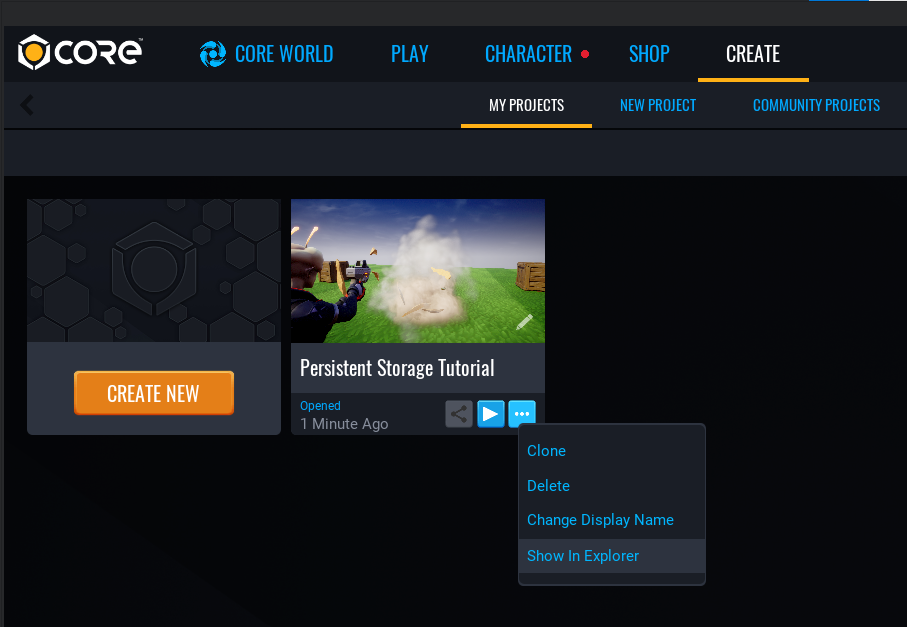
To find where you project exists, you can go to the Create tab and click on the option button and select Show In Explorer. This will open the folder to your project.
Player Storage Files
If you have been saving data for a player using any of the Storage API functions, then you will see a Temp folder in your project folder. Open that folder up and you will see another folder called Storage. This is where the files for player storage are saved. These files can be opened so you can inspect the data in them. The name of the files are named after the player's ID.
Summary
Adding persistent storage to your game can improve the experience for players, and give them something to work for that will keep them coming back to play your game. This could be a leveling system, player stats, or whatever else you can think of.
Learn More
Persistent Storage Reference | Storage API | Basic Weapons Tutorial | Networking Reference | Shared Storage Reference | Concurrent Storage Reference | Concurrent Storage Tutorial | Binding Sets